Azure Virtual Machines are one of the several Compute services offered by Azure Cloud. Compute service refers to the hosting model used for azure resources like Network, Storage & Servers to run application code. Of the three well-known hosting models Infrastructure-as-a-service (IaaS), Platform-as-a-service (PaaS) and Function-as-a-Service (FaaS), Virtual Machines fall under the IaaS hosting category.
In this blog, I shall discuss following topics to help you understand what Azure Virtual Machines are and how to create them:
- Why Use Azure Virtual Machines?
- Azure VM – Scalability and Availability
- Azure VM – Design Considerations
- Naming Convention
- Resource Location
- Size of the Virtual Machine
- Maximum Number of Virtual Machines
- Virtual Machine Operating System
- Automatic Provisioning on Startup
- Additional Resources Required
- Create a Virtual Machine
- Validate Virtual Machine and Resources Deployment
- Connect to Virtual Machine
- Install & Validate Web Services
- Conclusion
Why Use Azure Virtual Machines?
Azure Virtual Machines provides cloud environment which is closest to the traditional on-prem environment. Microsoft is responsible for managing the underlying infrastructure while user is responsible for managing the operating system and applications running on it. It is user’s responsibility to take care of the networking and storage components associated with the virtual machines. So, you go for virtual machines when you need more control over the compute environment than other choices offered by the cloud.
Azure VM – Scalability and Availability
Azure Virtual Machines support autoscaling using Virtual Machine Scale Set (VMSS). Azure VMs can also be scaled by deploying Load Balancer with VMs.
Azure VMs support multi-region failure using Azure Traffic Manager, Azure Front-door and cross-region Azure Load Balancer.
Azure VM – Design Considerations
Following is the list of design aspects that must be considered before starting to provision a VM.
Naming Convention
Naming convention means to standardize the format used to assign names to Azure resources. Naming strategy is important for effective Azure cloud governance and security. It helps to maintain inventory of Azure resources, keep track of cost and respond effectively in case of operational / security incidents.
Azure virtual machine names have resource group level scope which means that names of VMs must be unique at a resource group level. A comprehensive format could be vm-<workload, application, or project>-<environment>-<###>. In this tutorial, we shall use vm-tutorial-dev as the name of our virtual machine.
Resource Location
You need to plan the location where resources are stored. Azure provides over 70 regions globally which are located across many different geographies. These regions consist of one or more datacenters. While designing a solution, you must choose a region which is close to your users to reduce latency. For this tutorial, we shall select West US 3 location.
Size of the Virtual Machine
Azure provides a wide range of Virtual Machines options to choose from based on CPU, memory and storage requirements of the application. These options have been categorized into different families and types, each optimized for a specific use case. Following is a high level overview of the VM sizes and families supported by Azure:
1. General Purpose
General purpose VM sizes provide balanced CPU-to-memory ratio. They include A-family, B-family, D-family & DC-family of VMs. They are ideal for development, testing, small to medium databases and low to medium web traffic. DC-series VMs are ideal for managing, storing, and processing sensitive data, such as personal identifiable information (PII), financial data, health records.
2. Compute Optimized
These VM sizes have high CPU-to-memory ratio. They include F-family and FX-family. These VMs are best suited for medium to high web traffic, network appliances, batch processing and application servers not having high memory demand.
3. Memory Optimized
Memory optimized VM sizes provide high memory-to-CPU ratio. They include E-family, Eb-family, EC-family and M-family. These families are best for relational databases, medium to large caches and in-memory analytics.
4. Storage Optimized
Storage optimized VM sizes provide high disk throughput and IO. They include L-family and are best suited for Big Data, SQL, NoSQL databases and data warehousing.
5. GPU Accelerated
They are specialized VMs with GPUs. They include NC-family, ND-family, NG-family and NV-family. They are designed for compute-intensive, graphic-intensive and visualization tasks.
6. FPGA Accelerated
They are specialized VMs with FPGAs (Field Programmable Gate Array). They include NP-family and are best suited for real-time data processing, AI and machine learning inference, genomic sequencing, video streaming / transcoding, signal processing and database acceleration.
Note that all VM families offer multiple configurations of vCPU, RAM, temporary / permanent storage, NICs, network bandwidth and disk throughput. For example, following are the two VMs from A-family:
Standard_A1_v2
(vCPU=1, RAM=2GB, Temp Disk Size=10GiB, Max. Remote Storage Disks=2, Max. NICs=2, Max. Network Bandwidth=250 Mbps)
Standard_A2_v2
(vCPU=2, RAM=4GB, Temp Disk Size=20GiB, Max. Remote Storage Disks=4, Max. NICs=2, Max. Network Bandwidth=500 Mbps)
Maximum Number of Virtual Machines
There is a quota for overall number of virtual machines in a region which vary by subscription type like Free Trial or Pay-As-You-Go and by VM family series. For instance, total number of VMs per subscription is 25,000 per region.
Total number of vCPUs also have quota based on region and VM size family.
Virtual Machine Operating System
Azure supports various Linux and Windows OS distributions e.g. Ubuntu, SUSE, RHEL, Windows Server 2022 Datacenter: Azure Edition etc.
Automatic Provisioning on Startup
Azure supports Cloud-init across most Linux distributions. Cloud-init is used to customize Cloud image instance based on User Data (Custom Data in Azure). User Data is used to automatically provision VM during first boot with host name, networking, storage, SSH keys, packages and various other system aspects already configured.
Additional Resources Required
In order to create virtual machine, following additional resources also need to be created:
- Resource Group
Resource group is used to group resources that share same lifecycle, permissions and policies.
- Virtual Network (VNET)
Virtual network enables virtual machine to communicate with other Azure resources.
- Network Interface Card (NIC)
A virtual NIC enables VM to connect to virtual network.
- Private / Public IP Address
A private IP address and public IP address is used for internal and external / internet communication of VM.
- Network Security Group (NSG)
Network security group is used to control network traffic to and from the VM.
- OS and Data Disk
All new VMs need have an OS disk and a local disk. You can also attach a separate Data disk for your data.
Once we have taken into account the design considerations, let’s start step-by-step process to create a virtual machine, connect to it and validate services.
Create a Virtual Machine
- Sign in to Azure Portal.
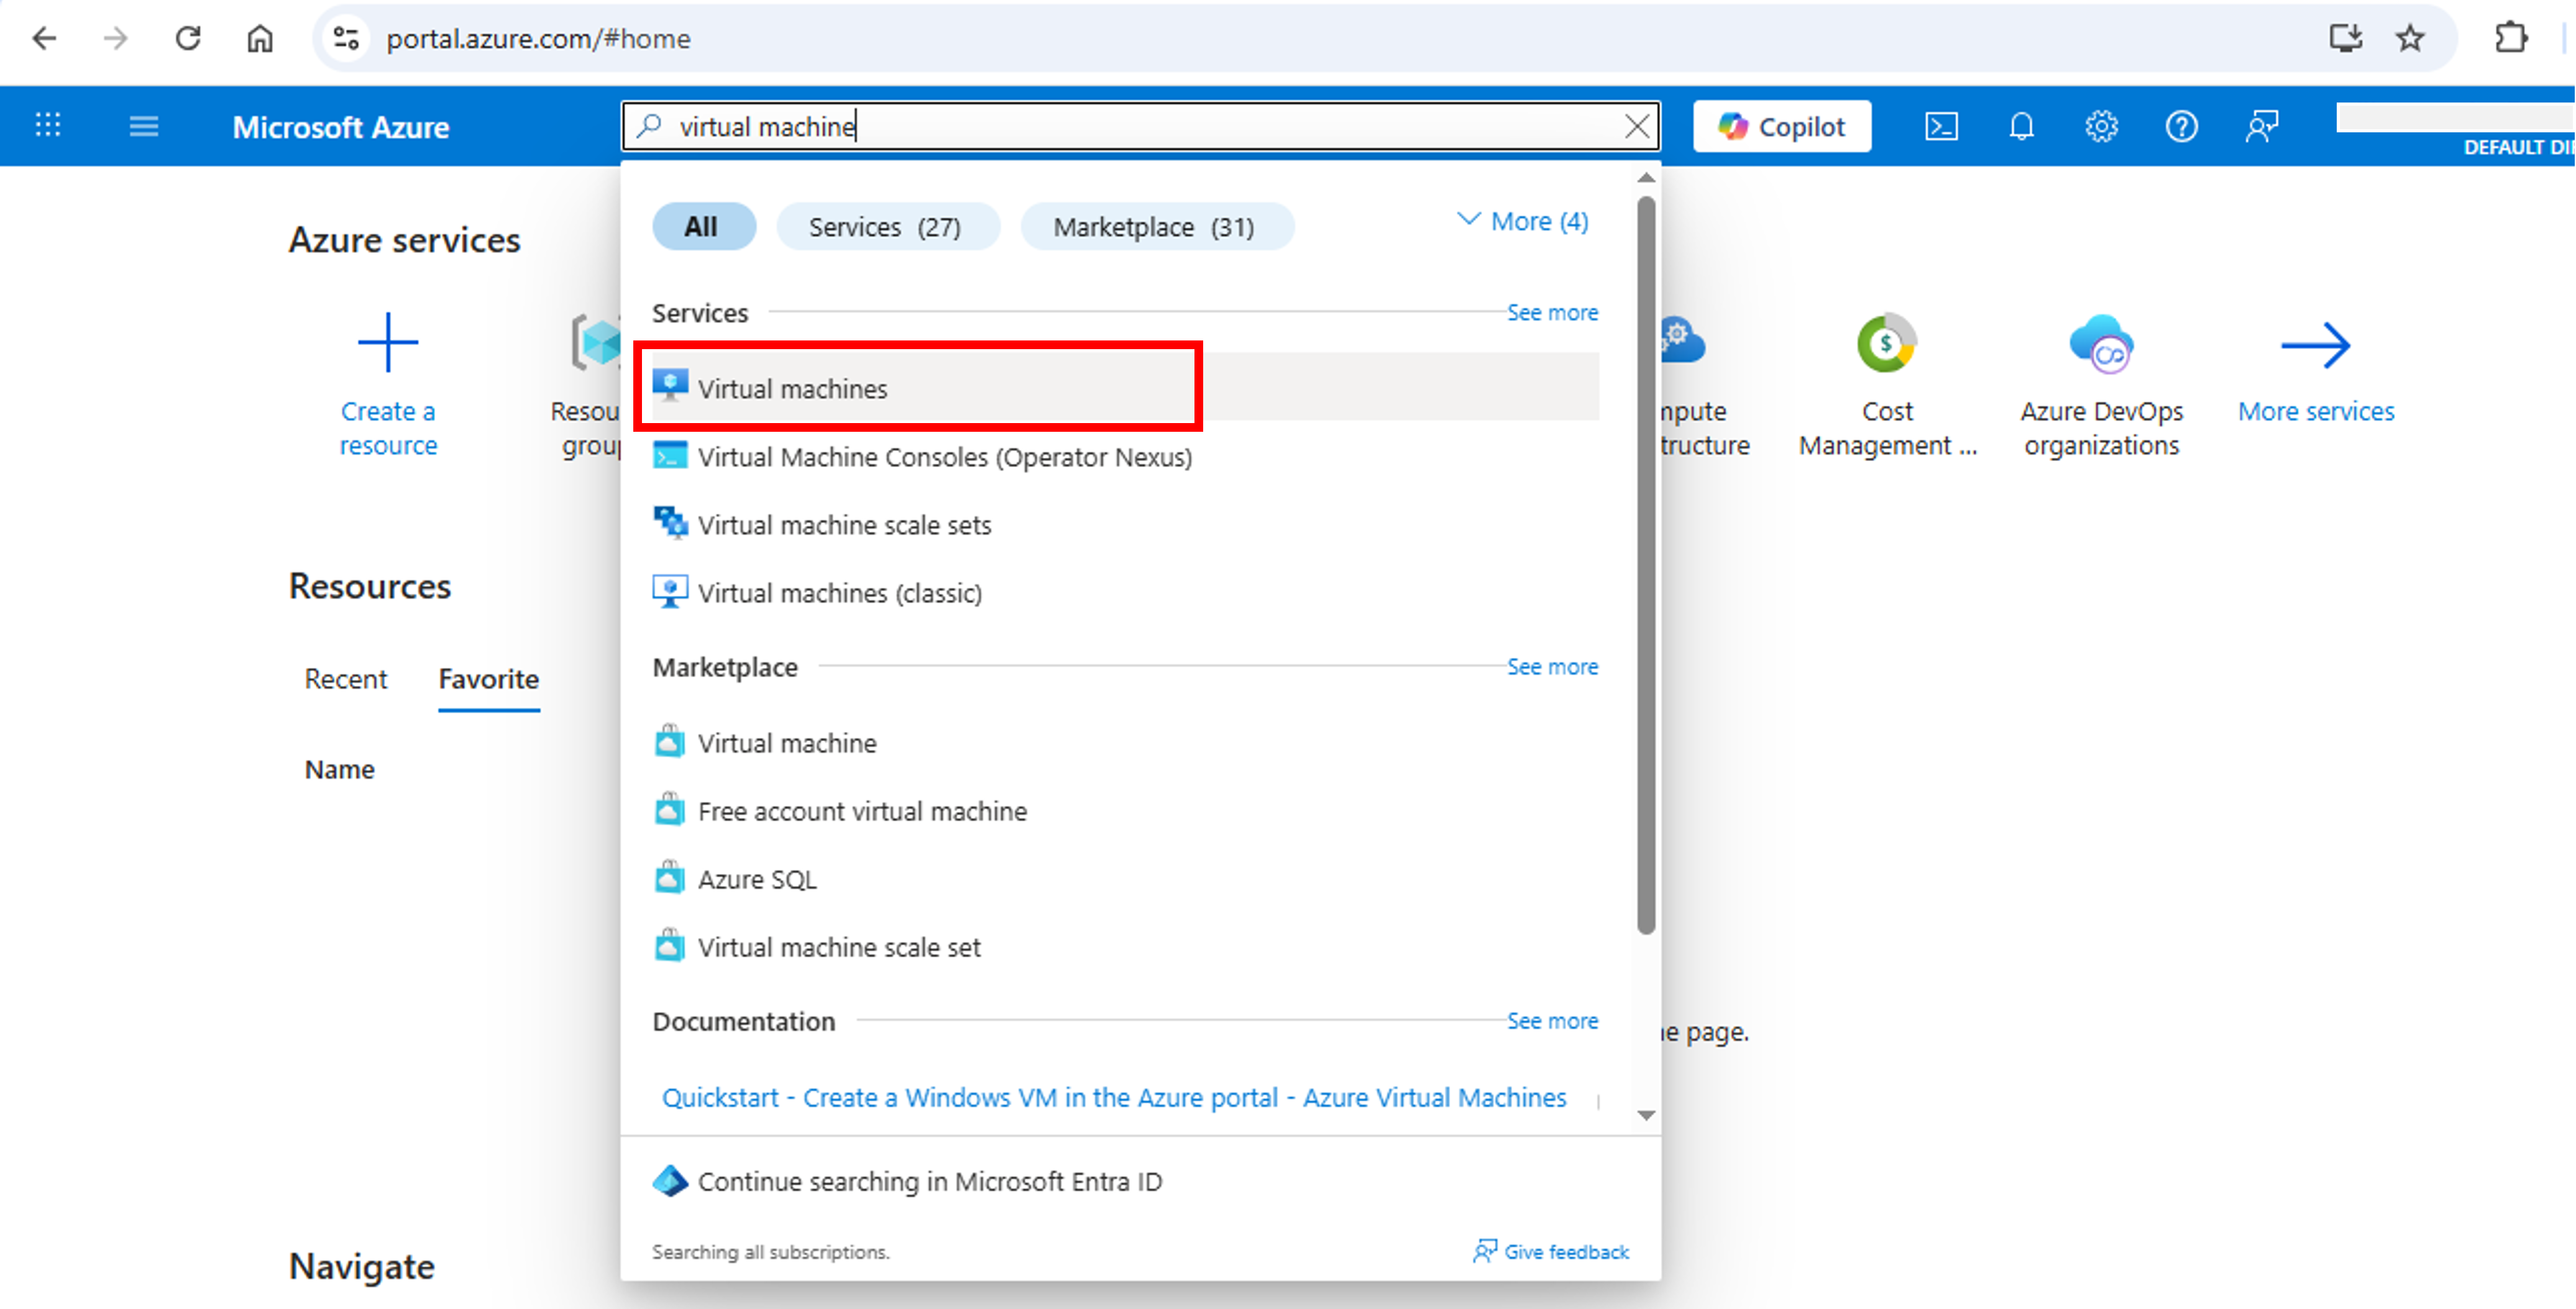
- Enter virtual machine in the Search bar. Select Virtual Machine under Services.

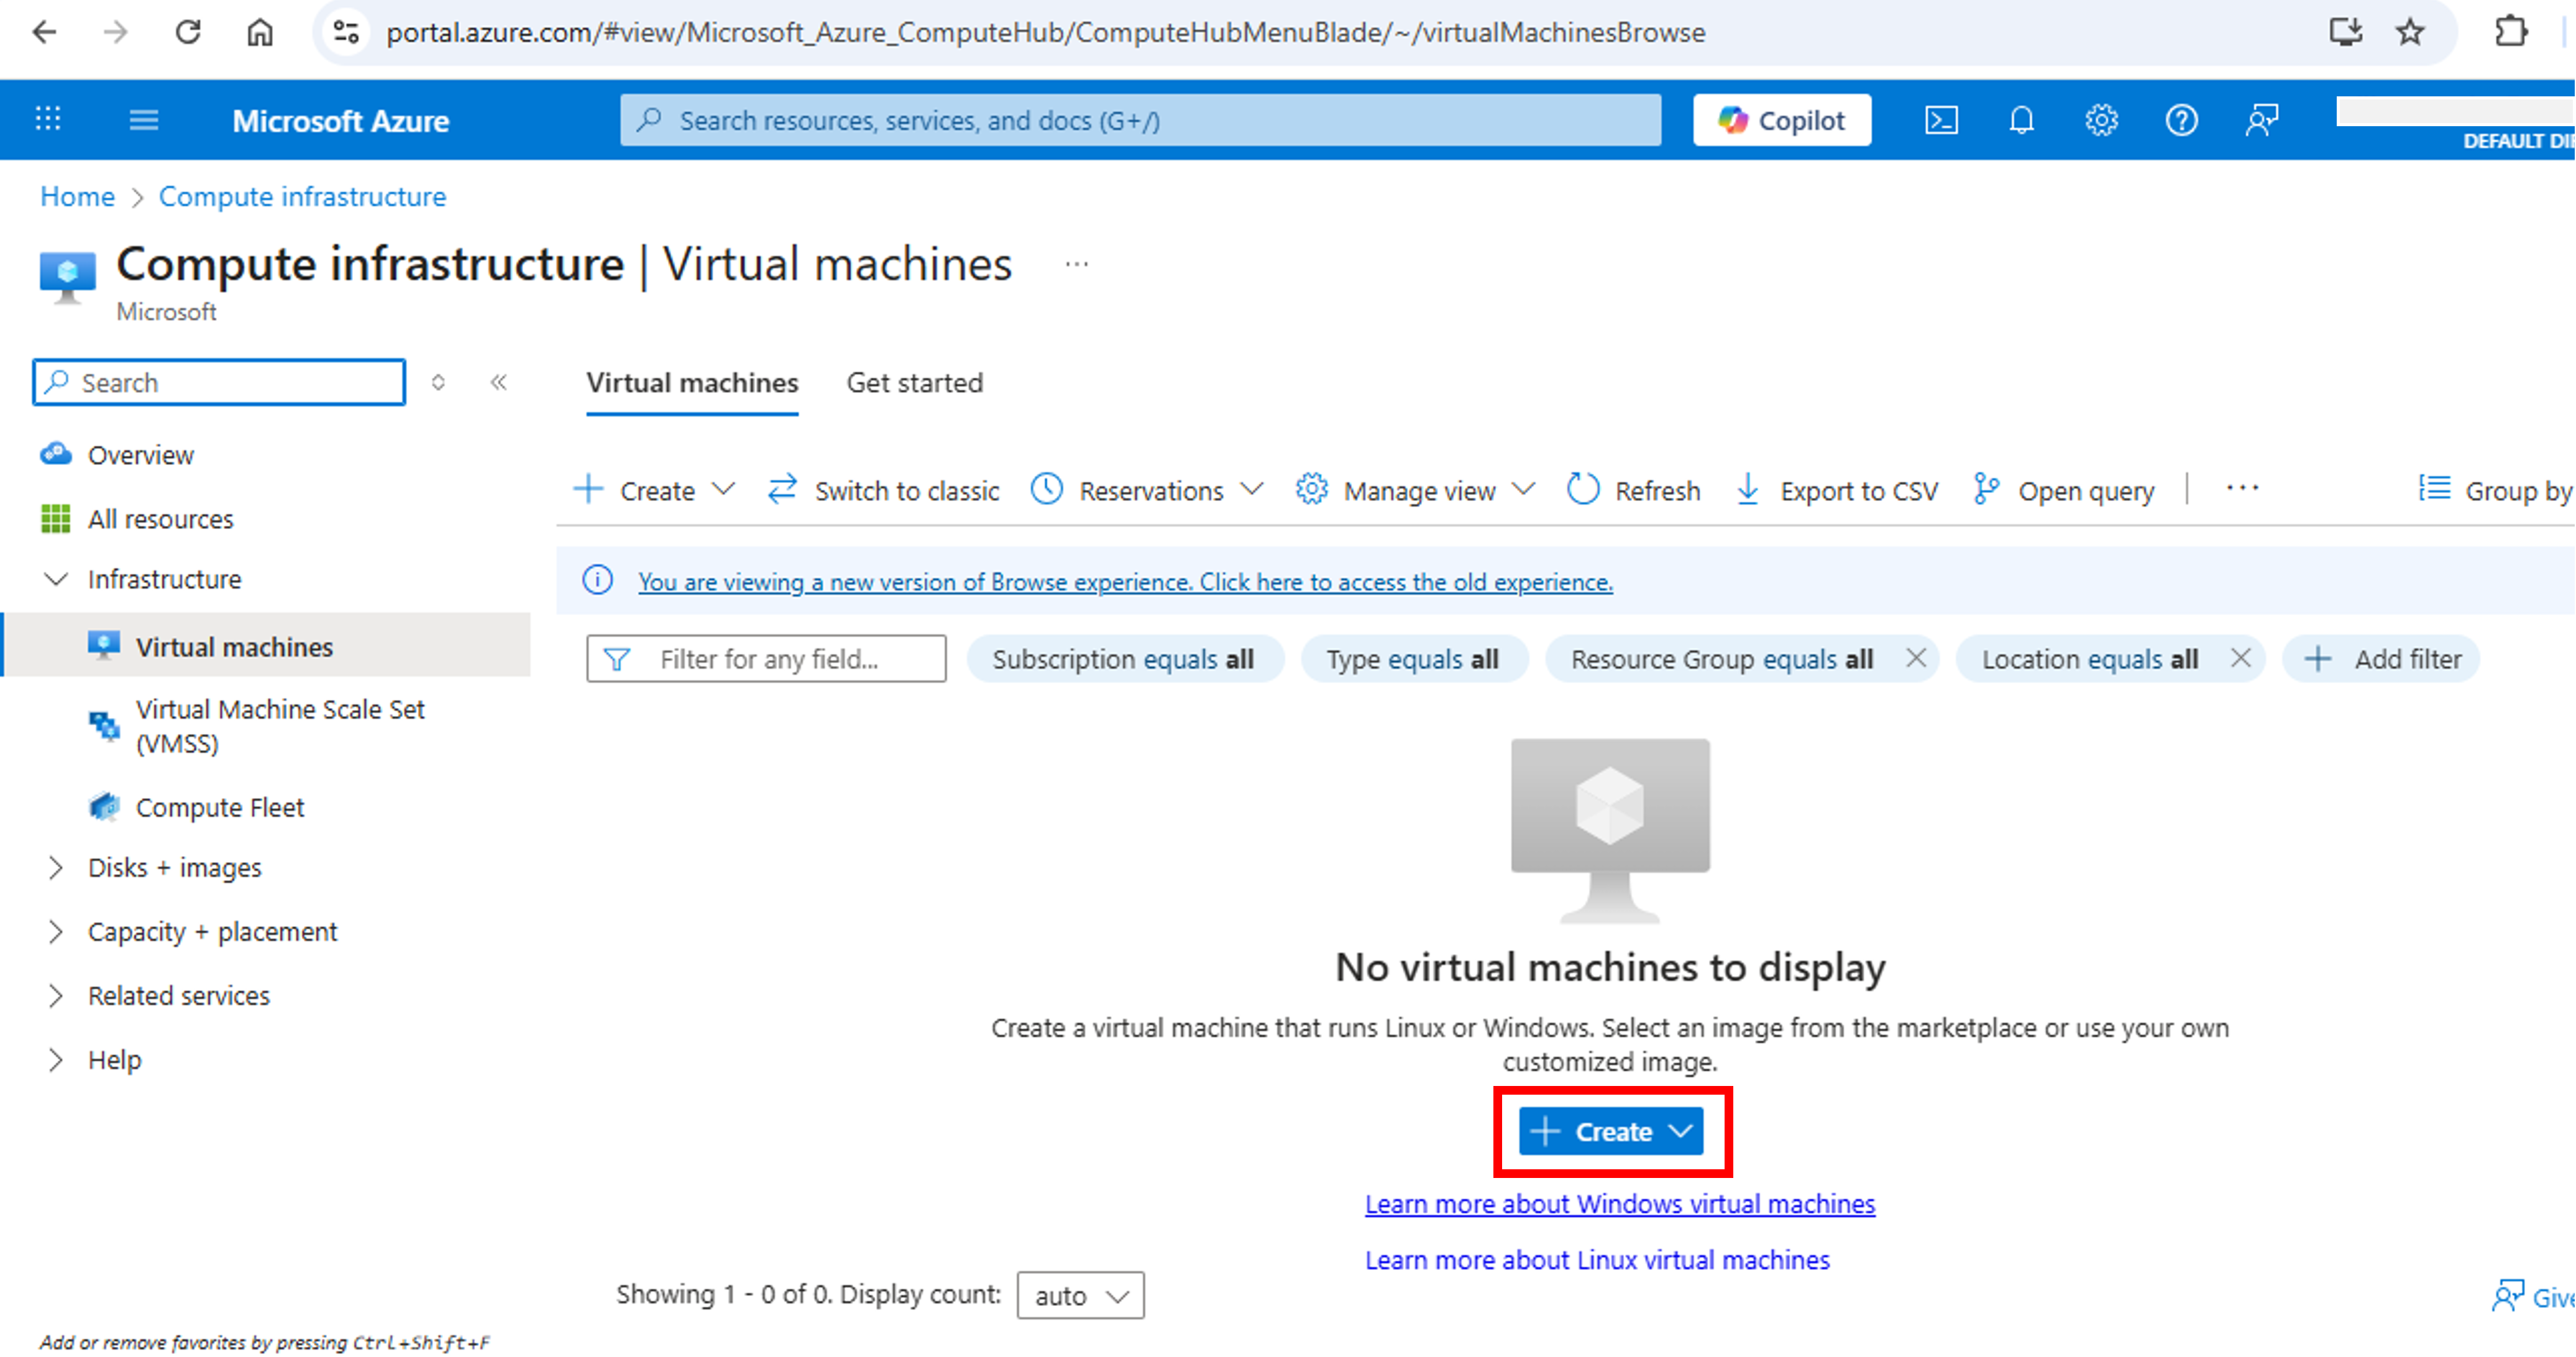
- On Compute Infrastructure | Virtual Machines page, click on Create.

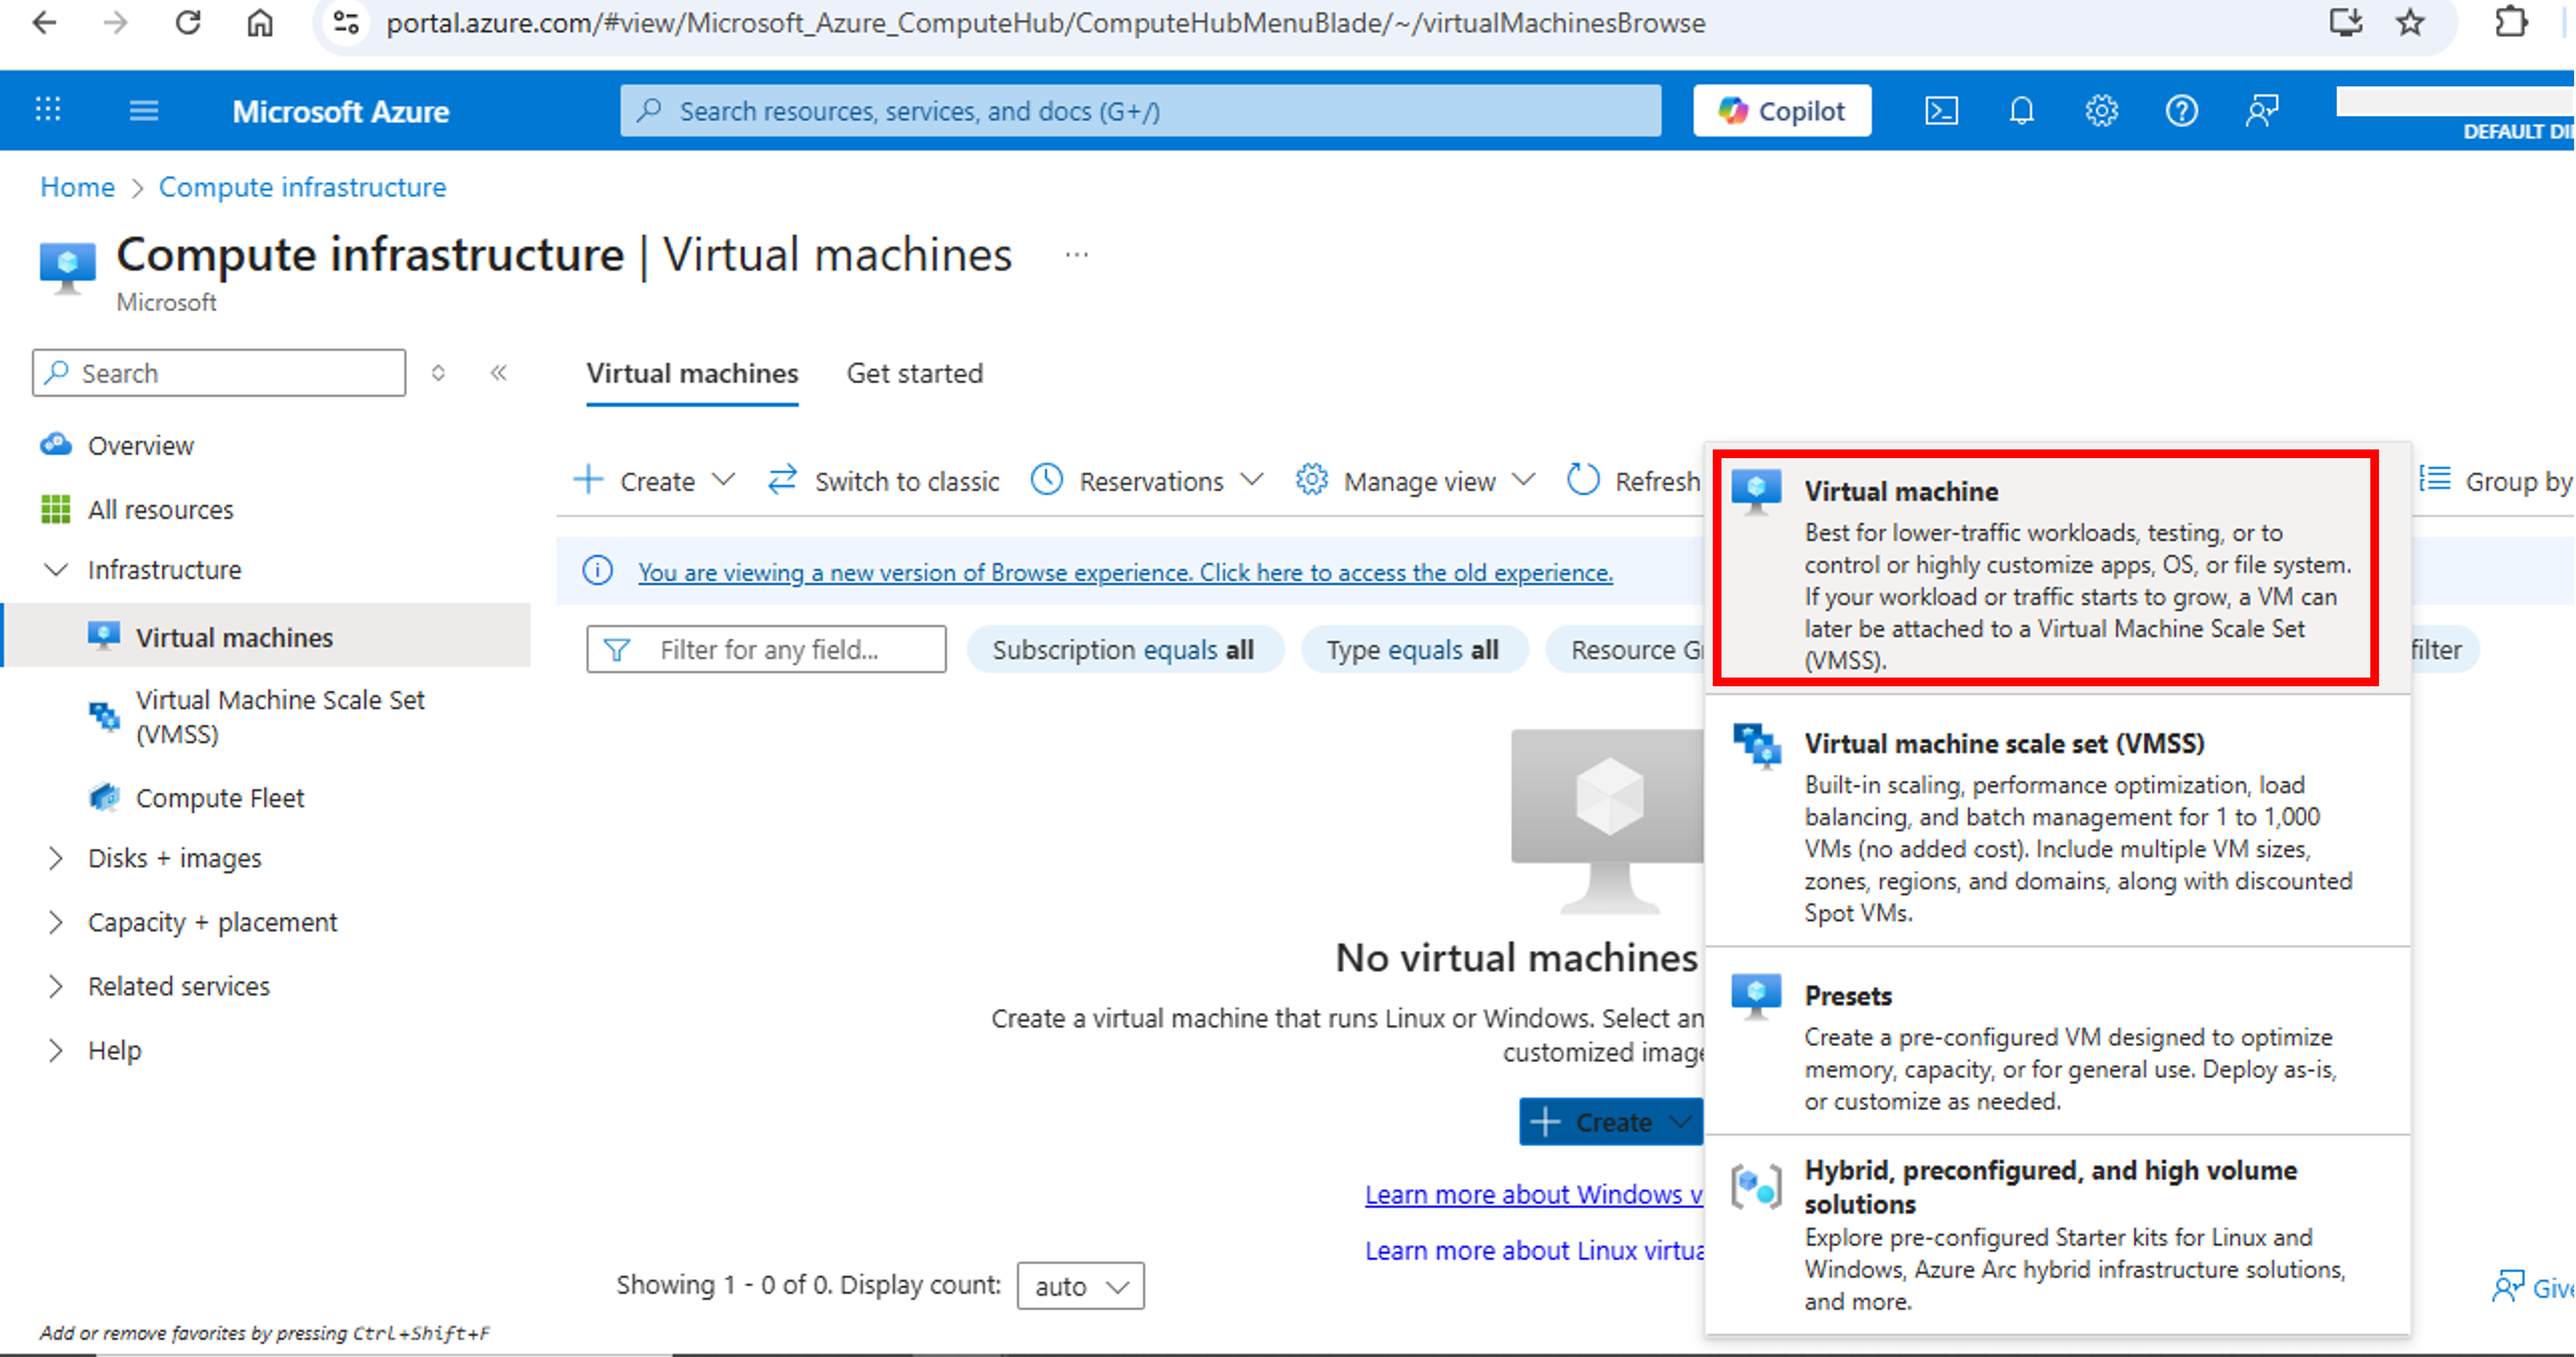
- Click Virtual Machine. This will open Create a Virtual Machine page.
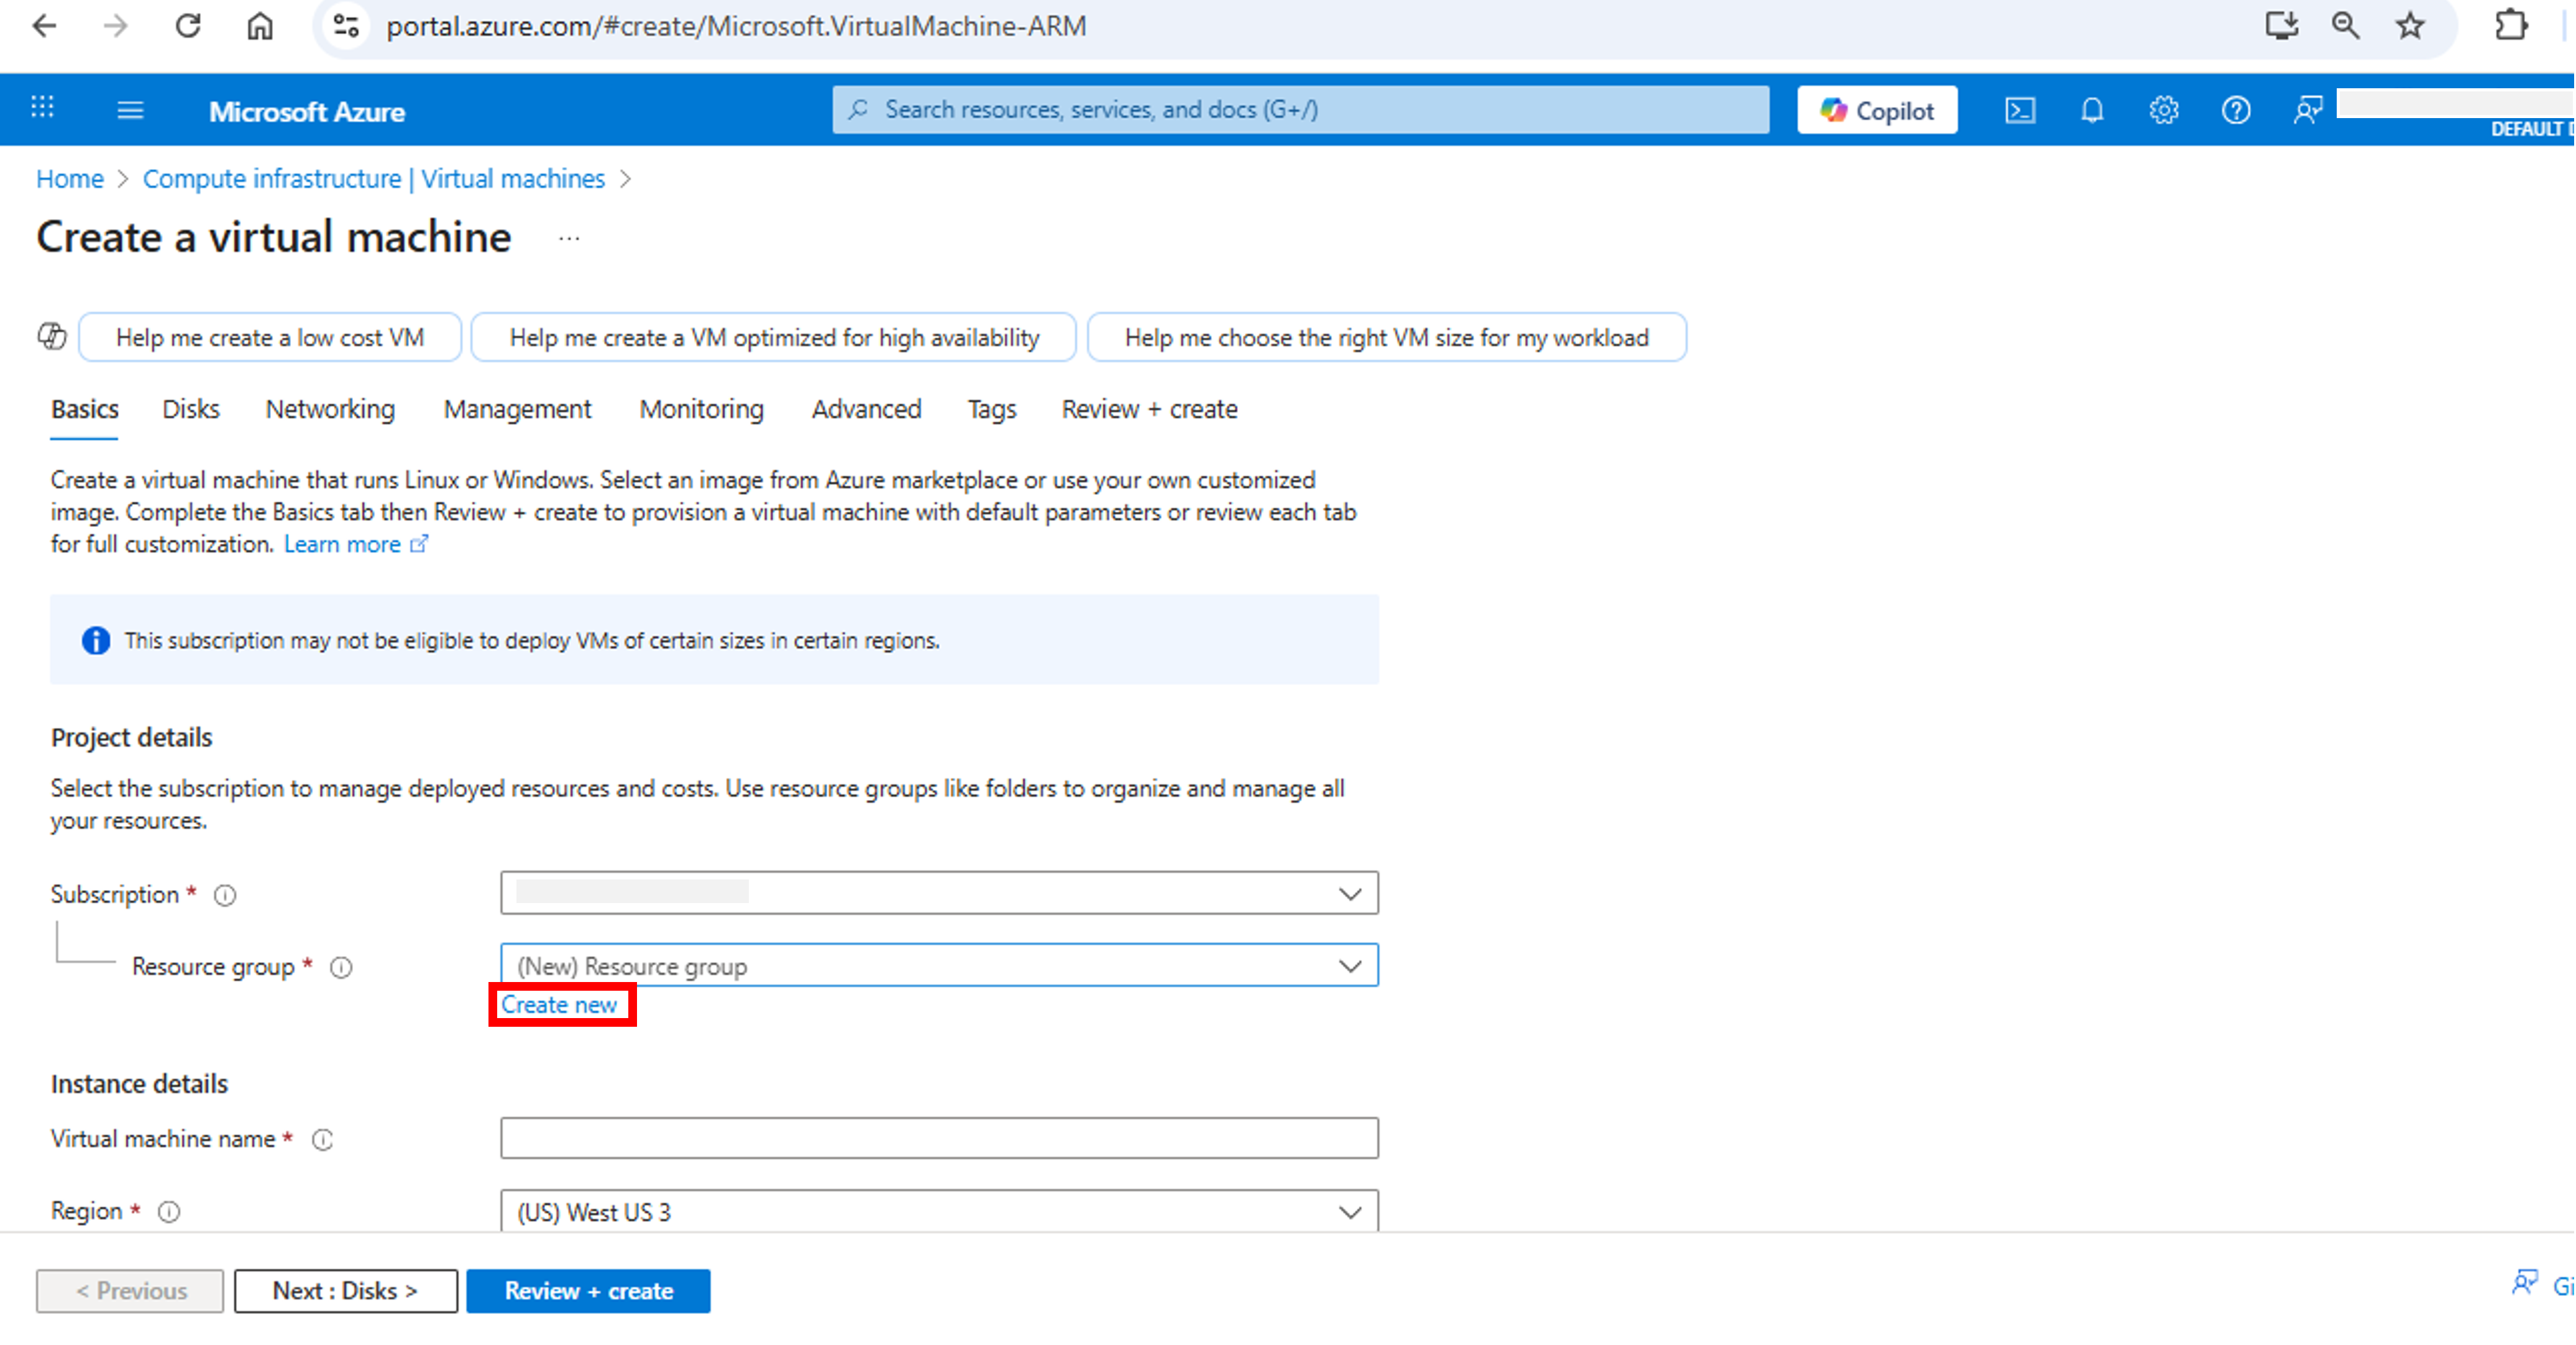
- Under Project details, make sure that correct Subscription is selected. For Resource group, click Create new to create a new resource group.

- Enter rg-VMTutorial for name of the resource group.

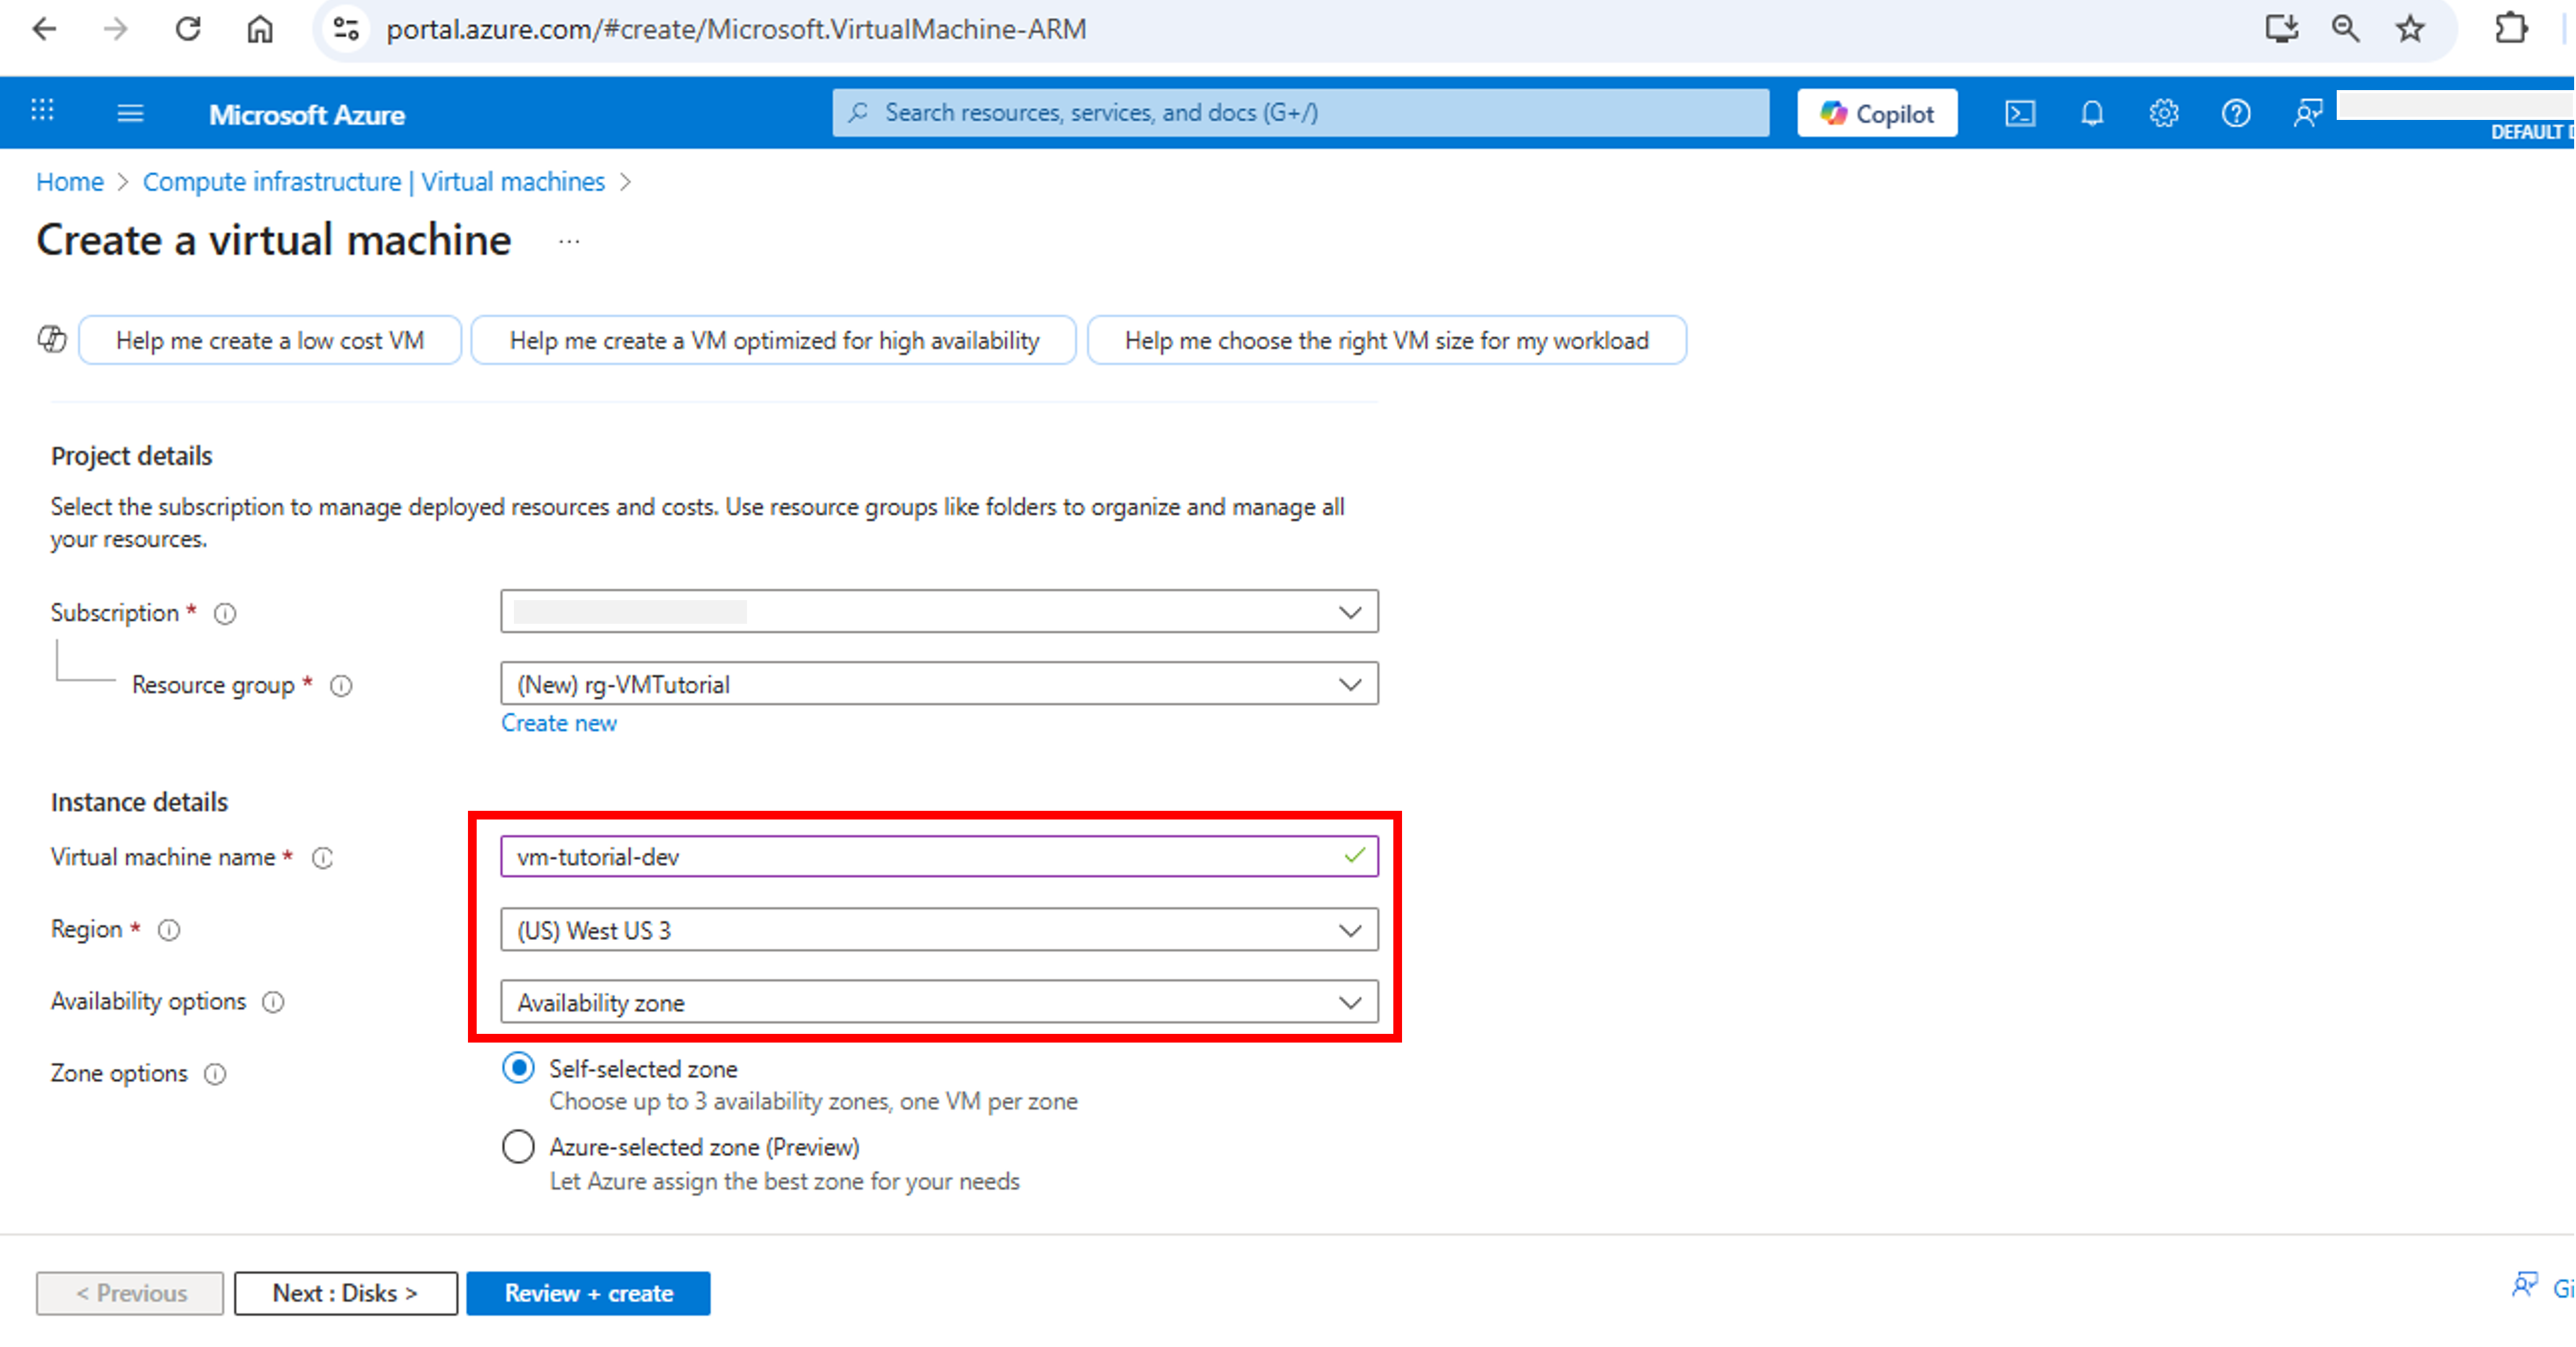
- Under Instance details, enter vm-tutorial-dev for name of the virtual machine. Select West US 3 for virtual machine deployment location. Leave Availability Zone as selected option against Availability options attribute. Also, leave Zone options as default Self-selected-zone. This enables you to select deployment zone(s) from Availability Zone drop-down list depicted in the next snippet, for high availability.

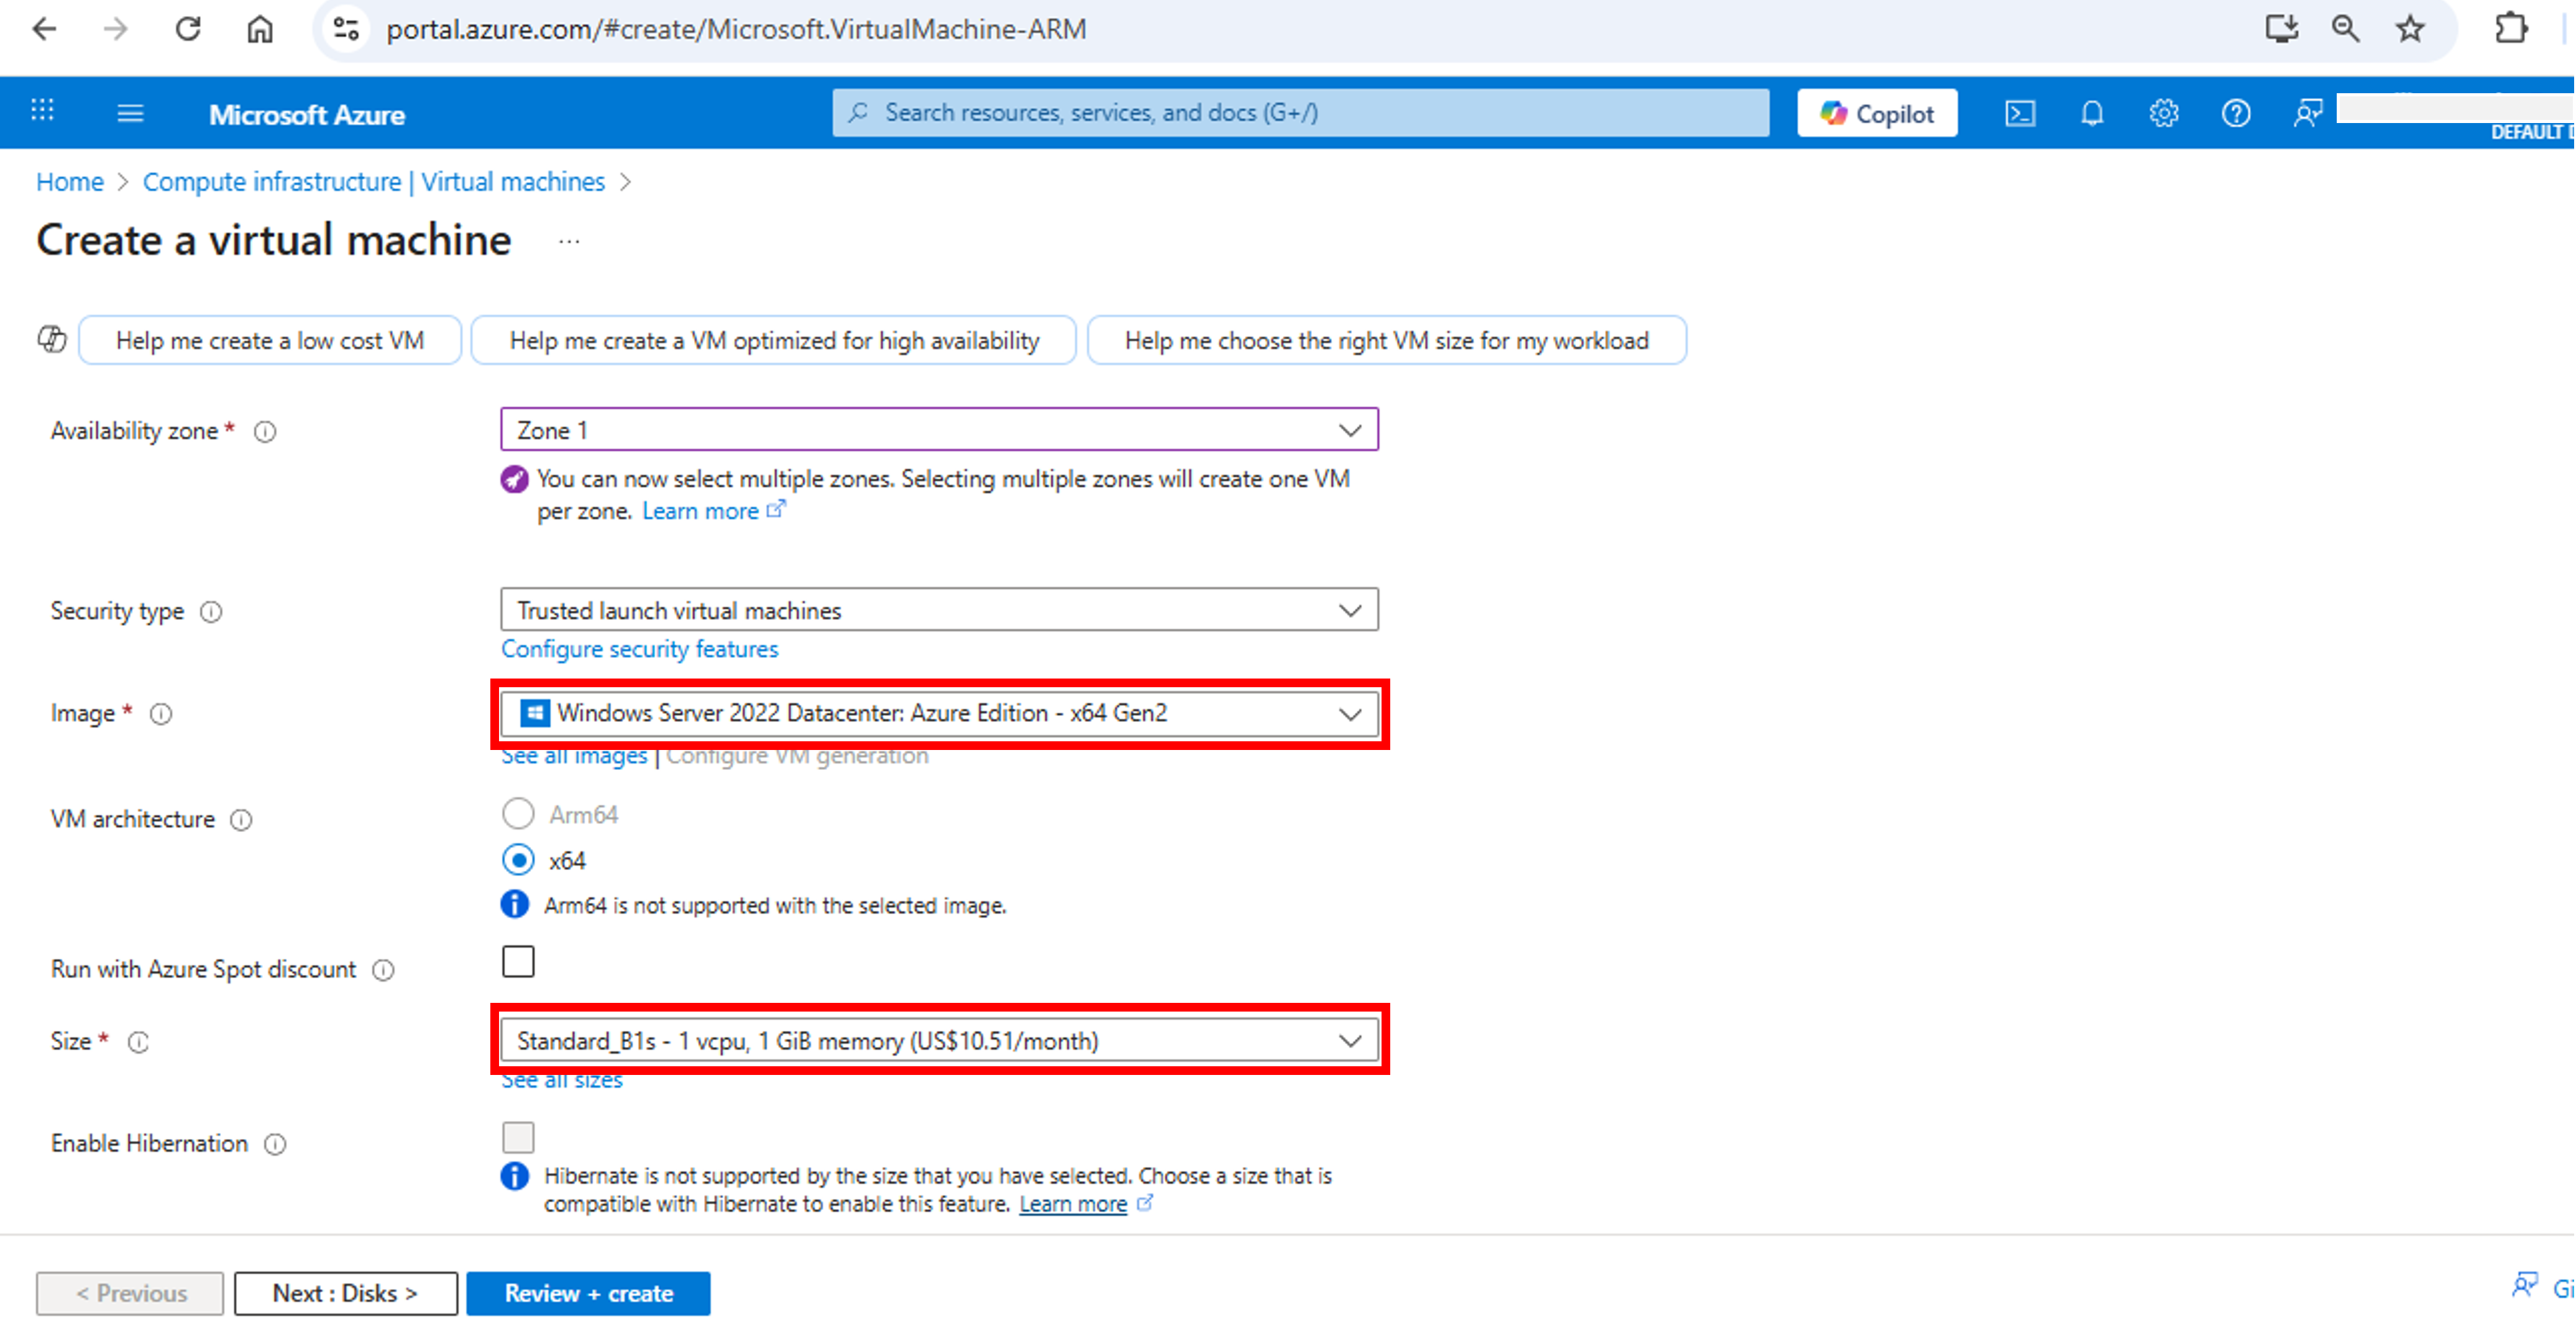
- Since we plan to deploy single VM in one zone, leave Zone 1 as the selected option for Availability zone. Select Windows Server 2022 Datacenter: Azure Edition-x64 Gen2 for Image. Select Standard_B1s – 1 vcpu, 1GiB memory (US$10.51/month) for Size of VM. Leave all other defaults.

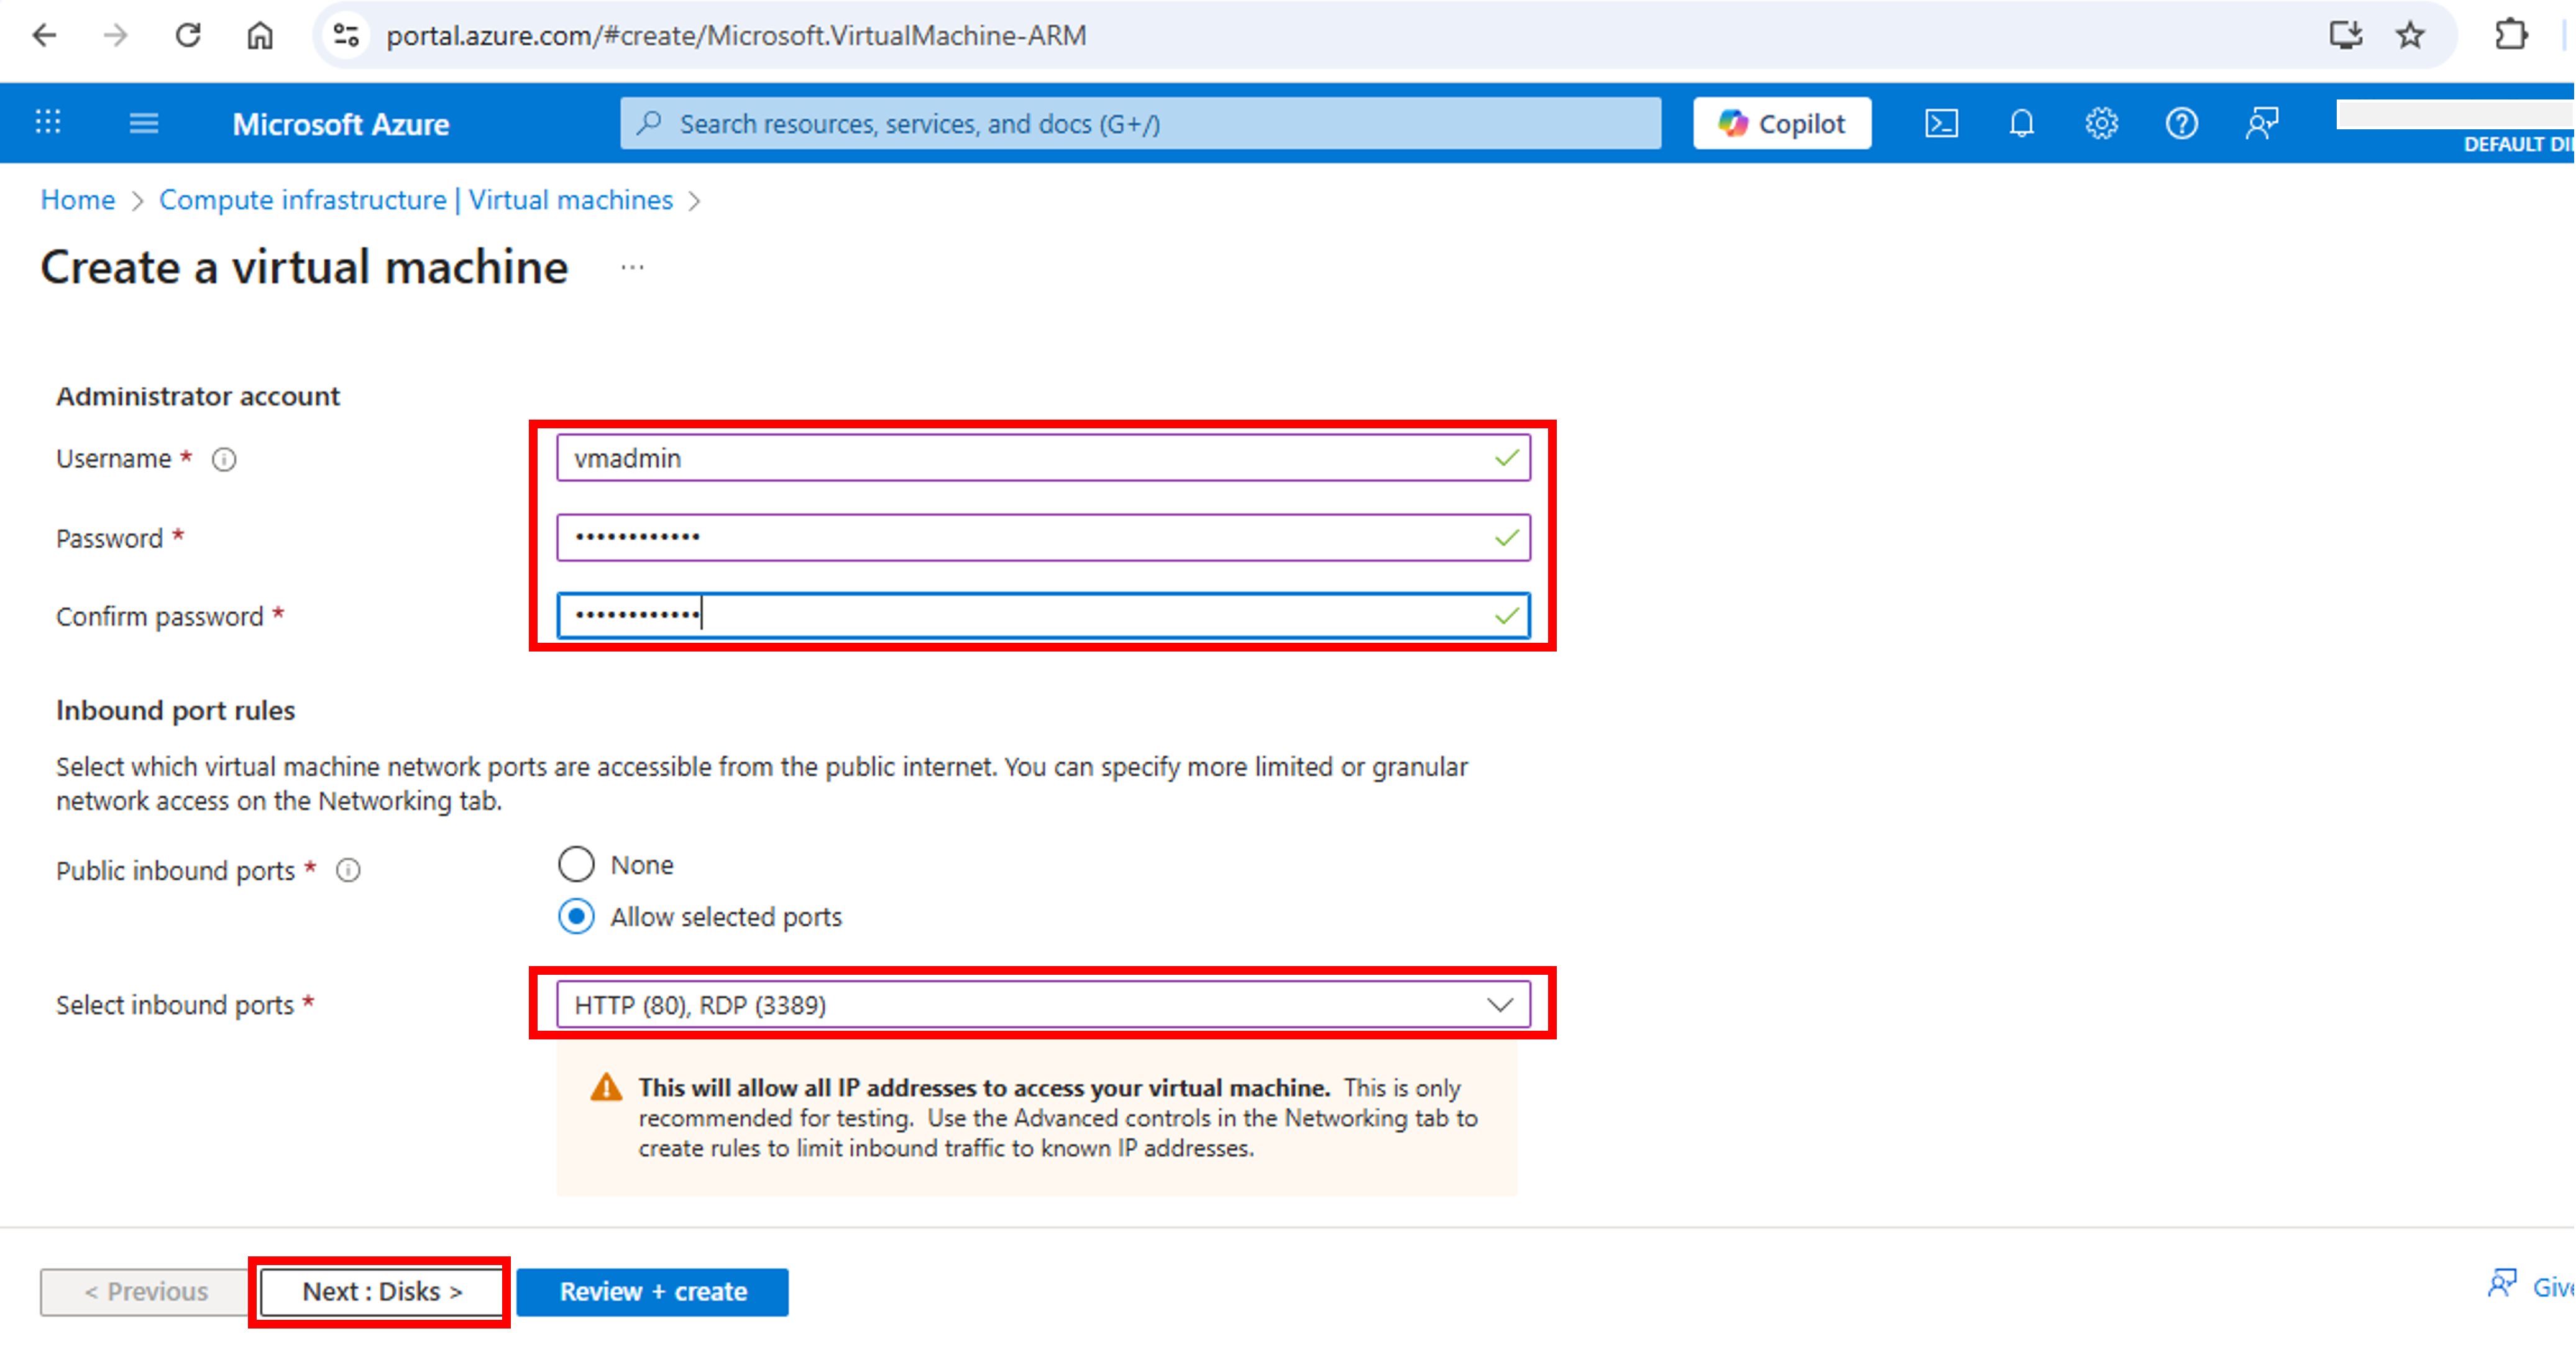
- Under Administrator account, give a Username and Password. These credentials will be used for logging into the VM. Under Inbound port rules, select RDP (3389) and HTTP (80) against Select inbound ports attribute. RDP shall be used to remote desktop your VM while HTTP shall be used to access the VM via internet to validate successful installation of web services on the VM. Click Next: Disks >. This will open Disks tab.

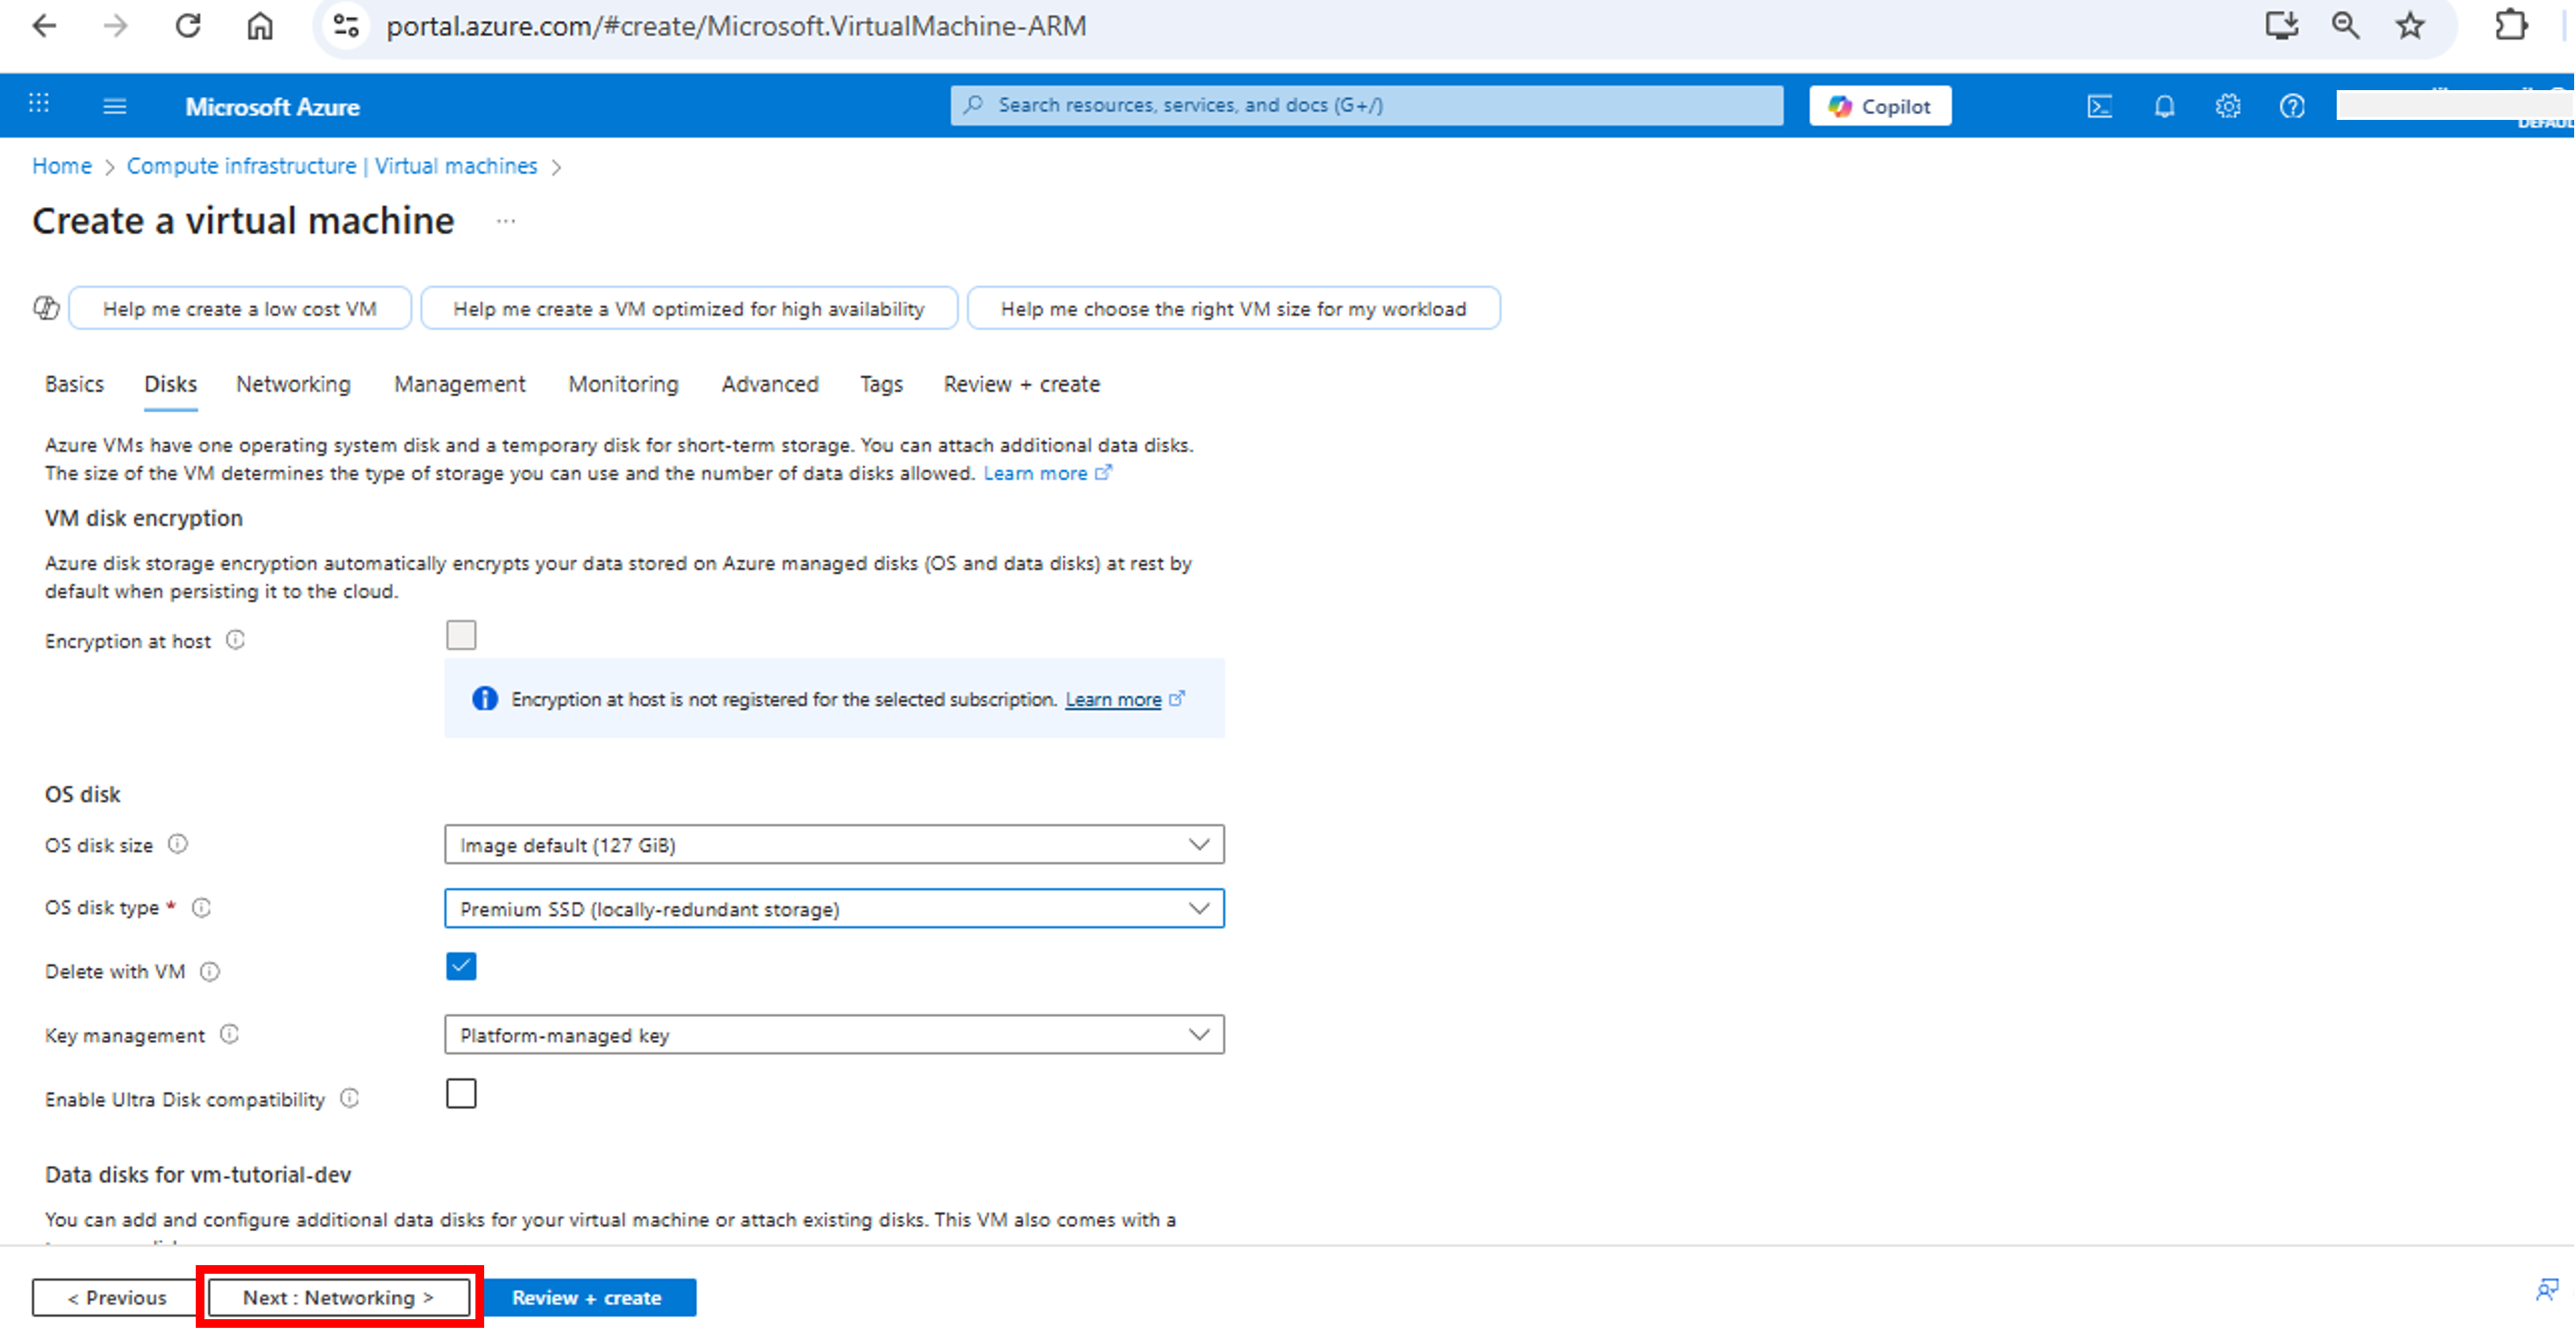
- OS disk size and type is already selected. Leave everything as default and click Next: Networking >. This will open Networking tab.
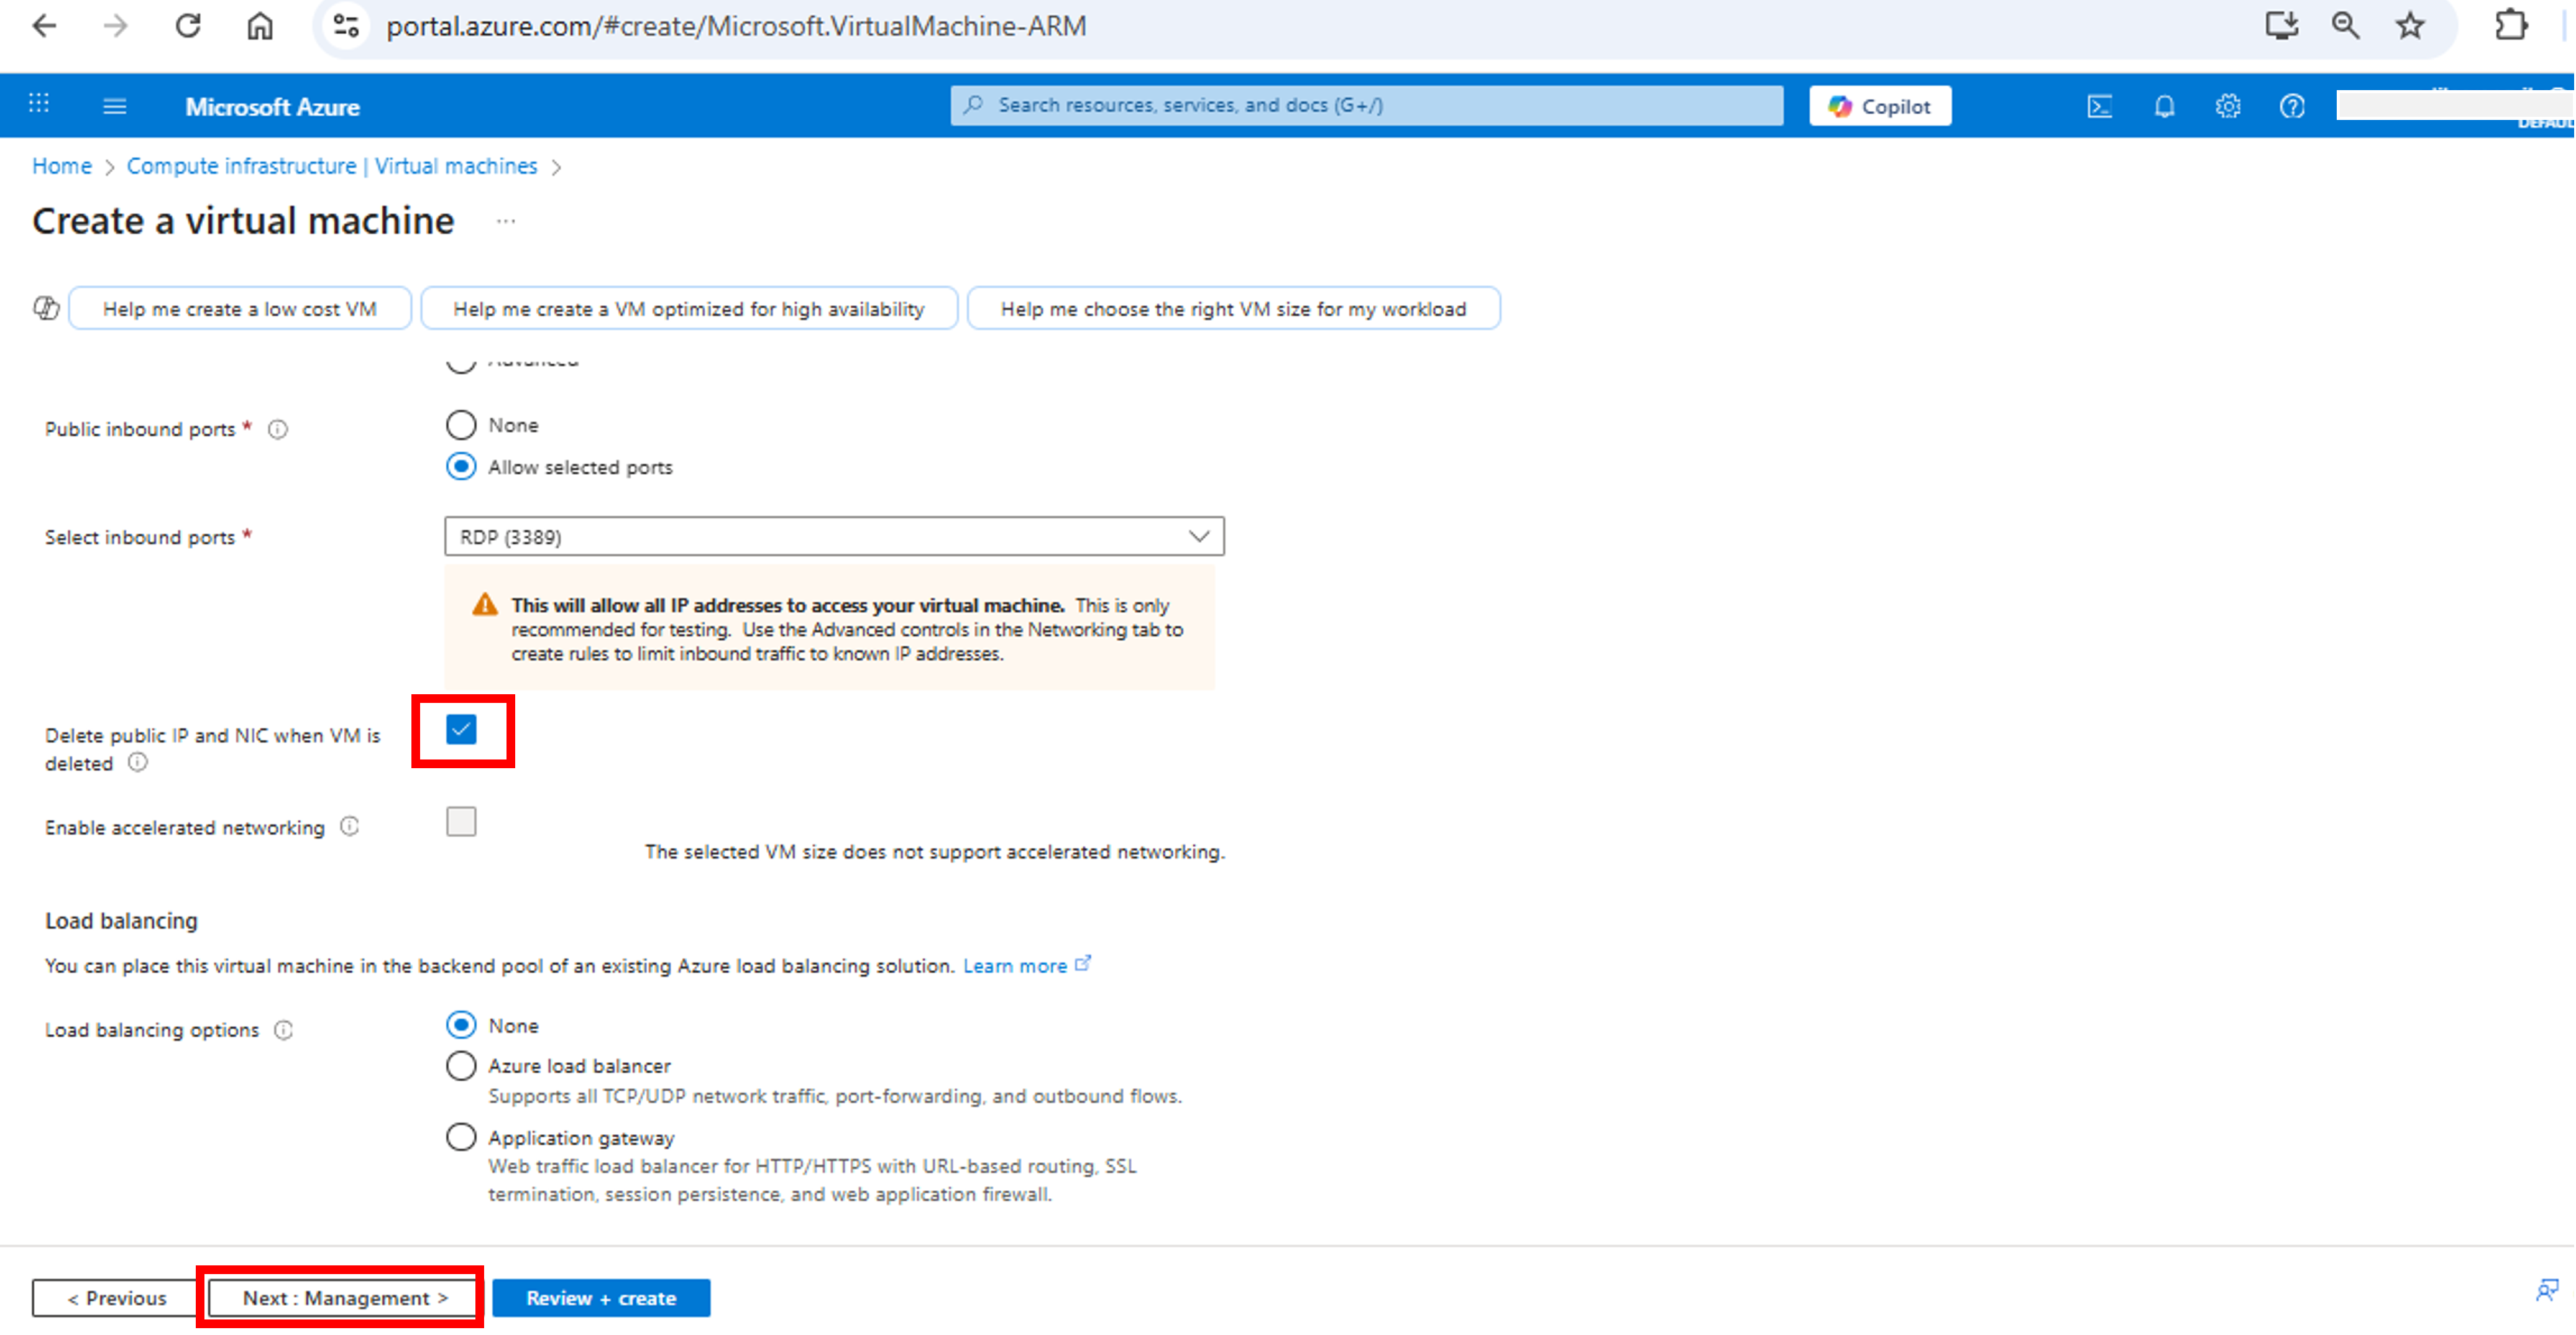
- A virtual network name, subnet and public IP name is already assigned. Leave everything as default and scroll down.

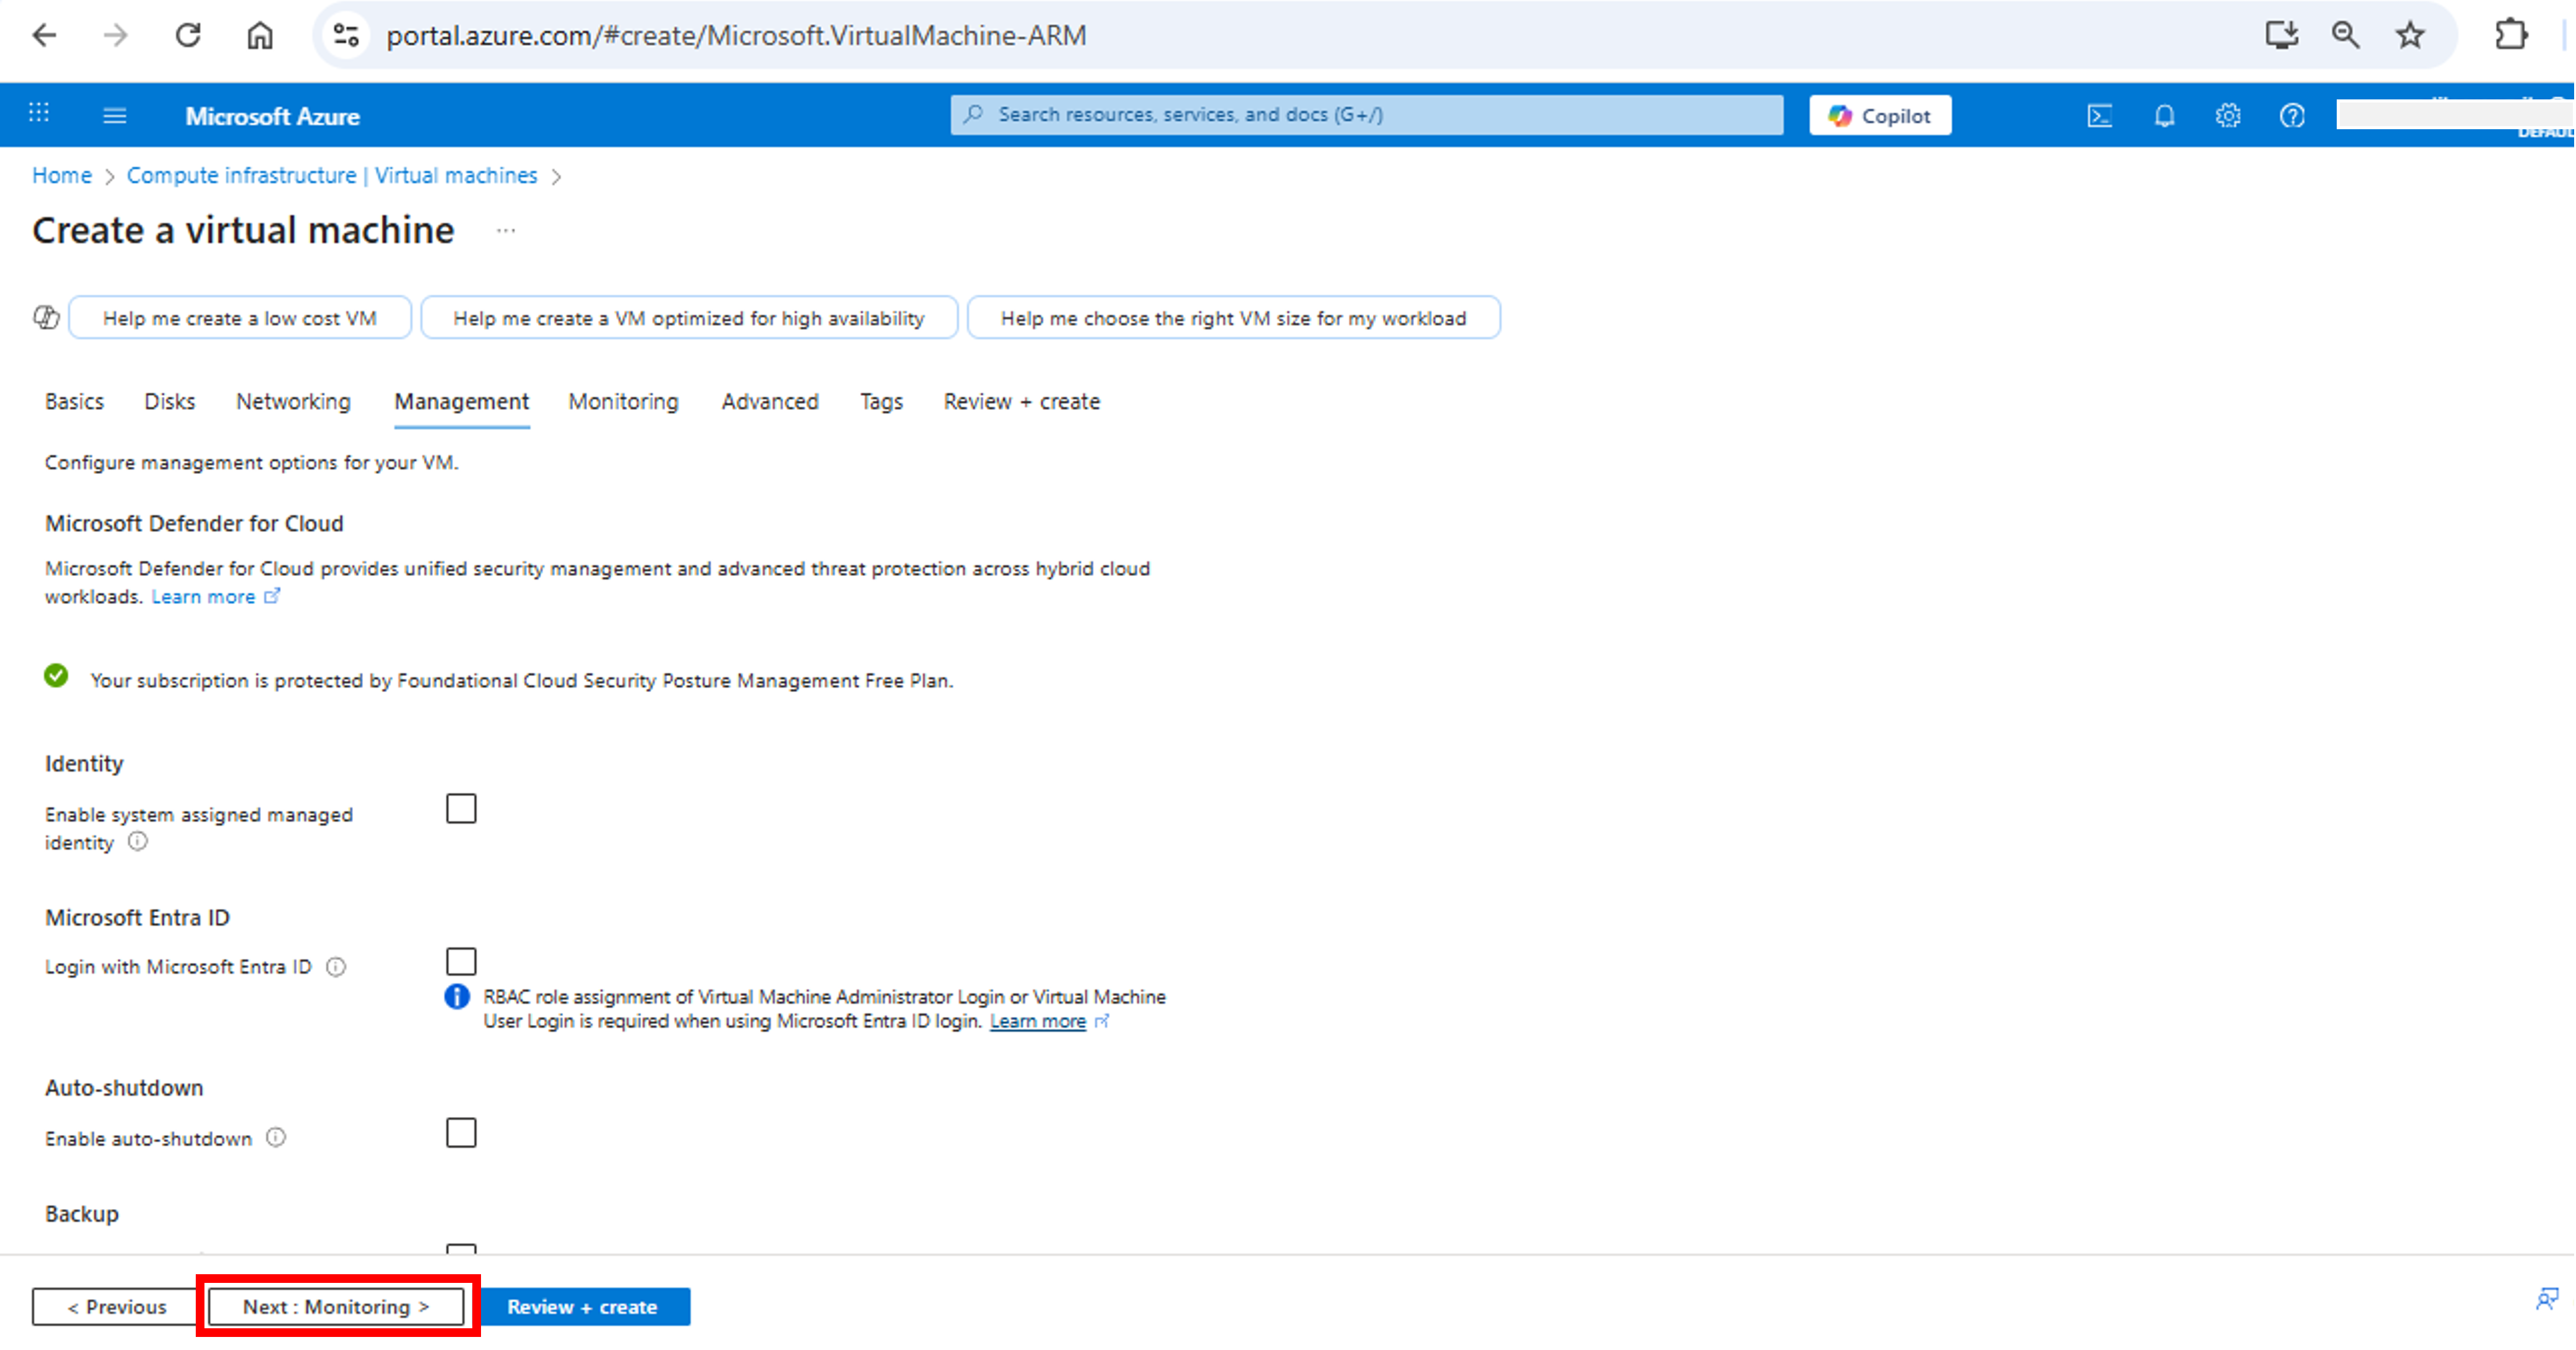
- Select Delete public IP and NIC when VM is deleted and click Next: Management >. This will open Management tab.

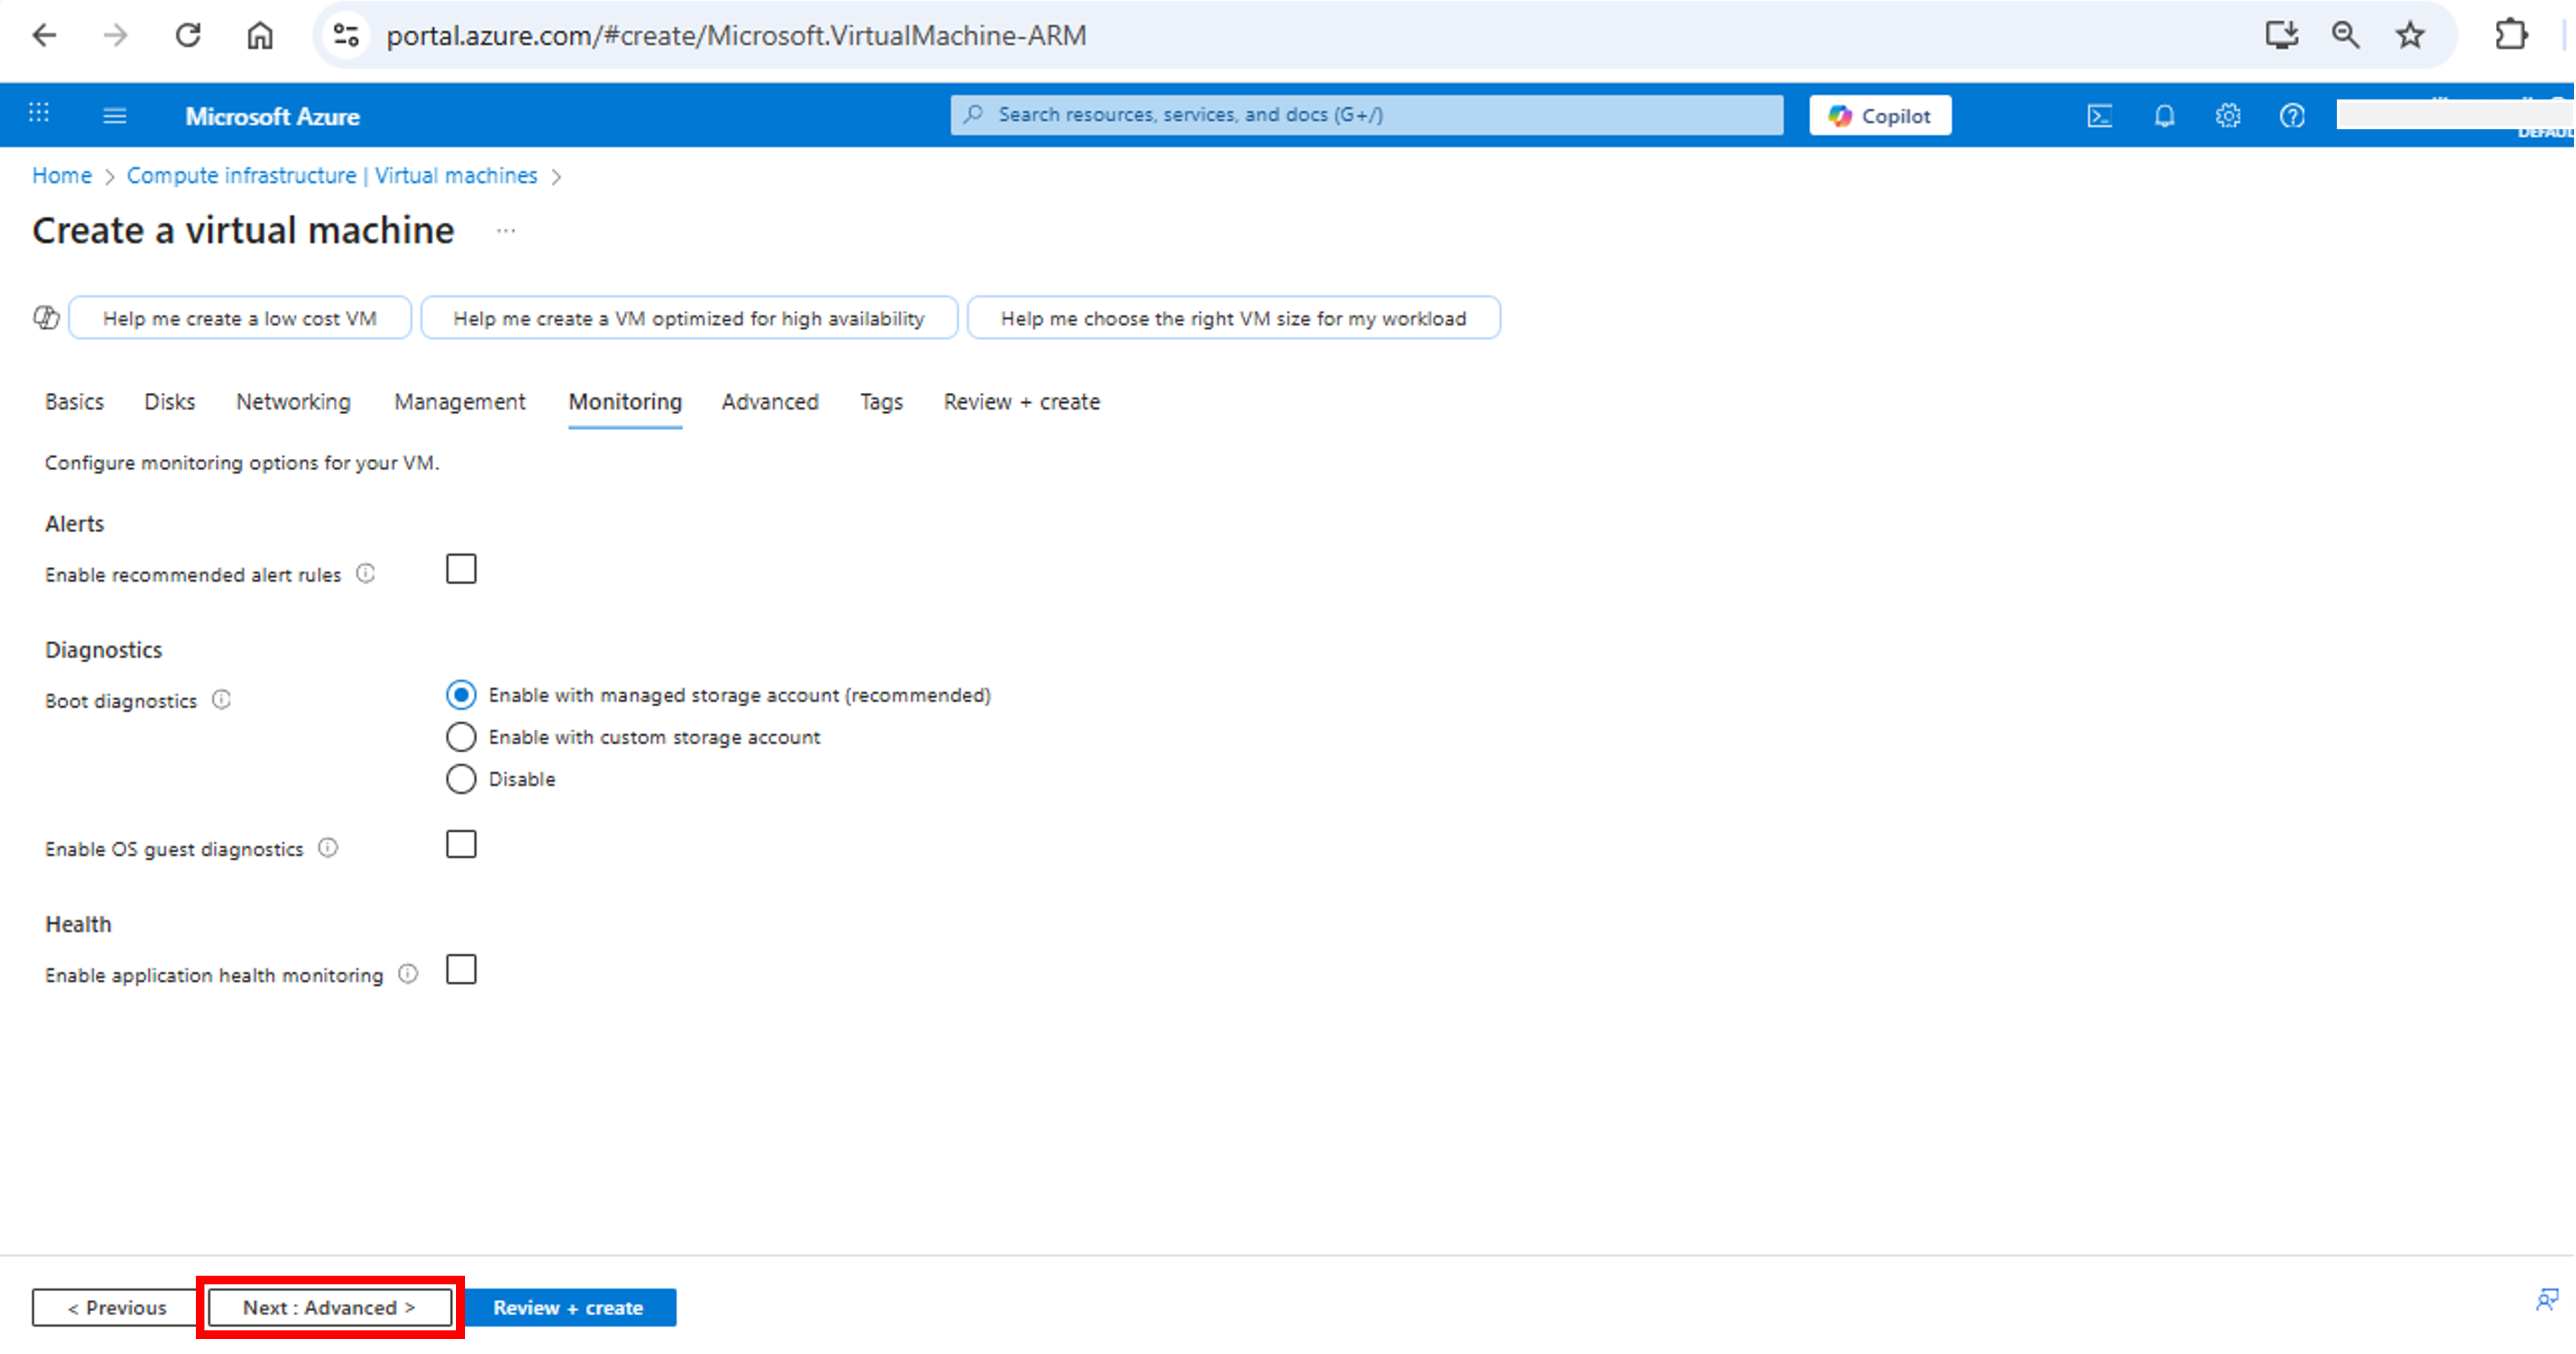
- Leave everything as default and click Next: Monitoring >. This will open Monitoring tab.

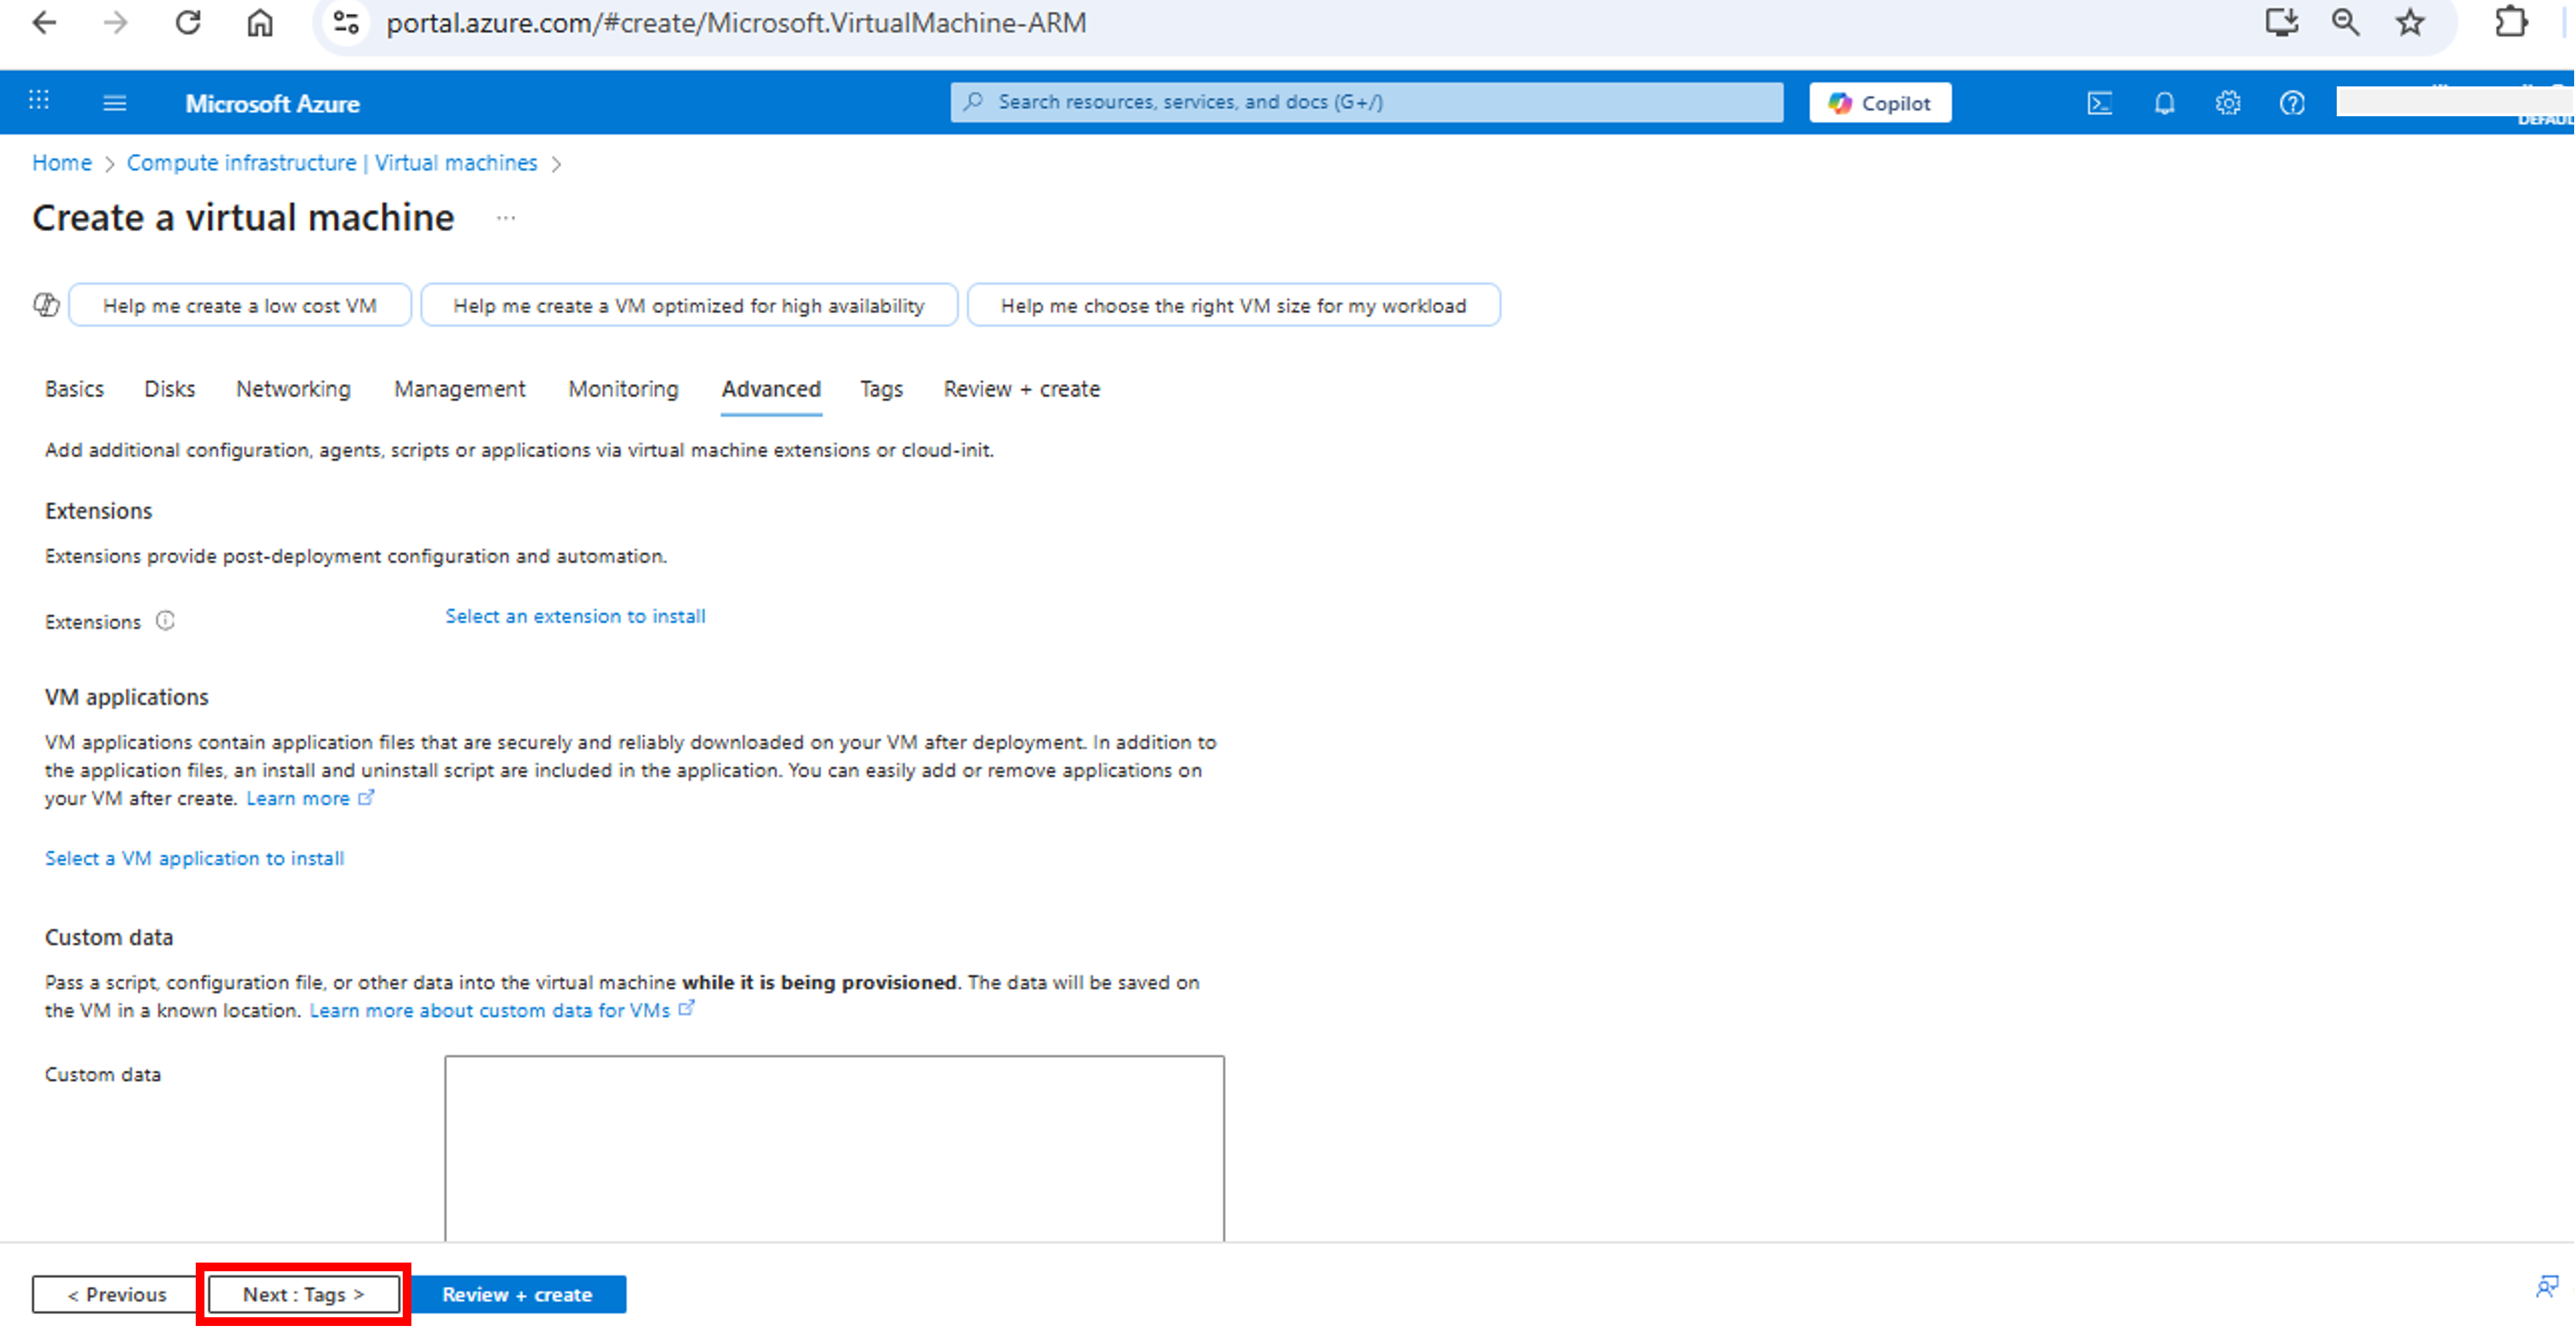
- Again, leave everything as default and click Next: Advanced >. This will open Advanced tab.
- Leave default and click Next: Tags >. This will open Tags tab.

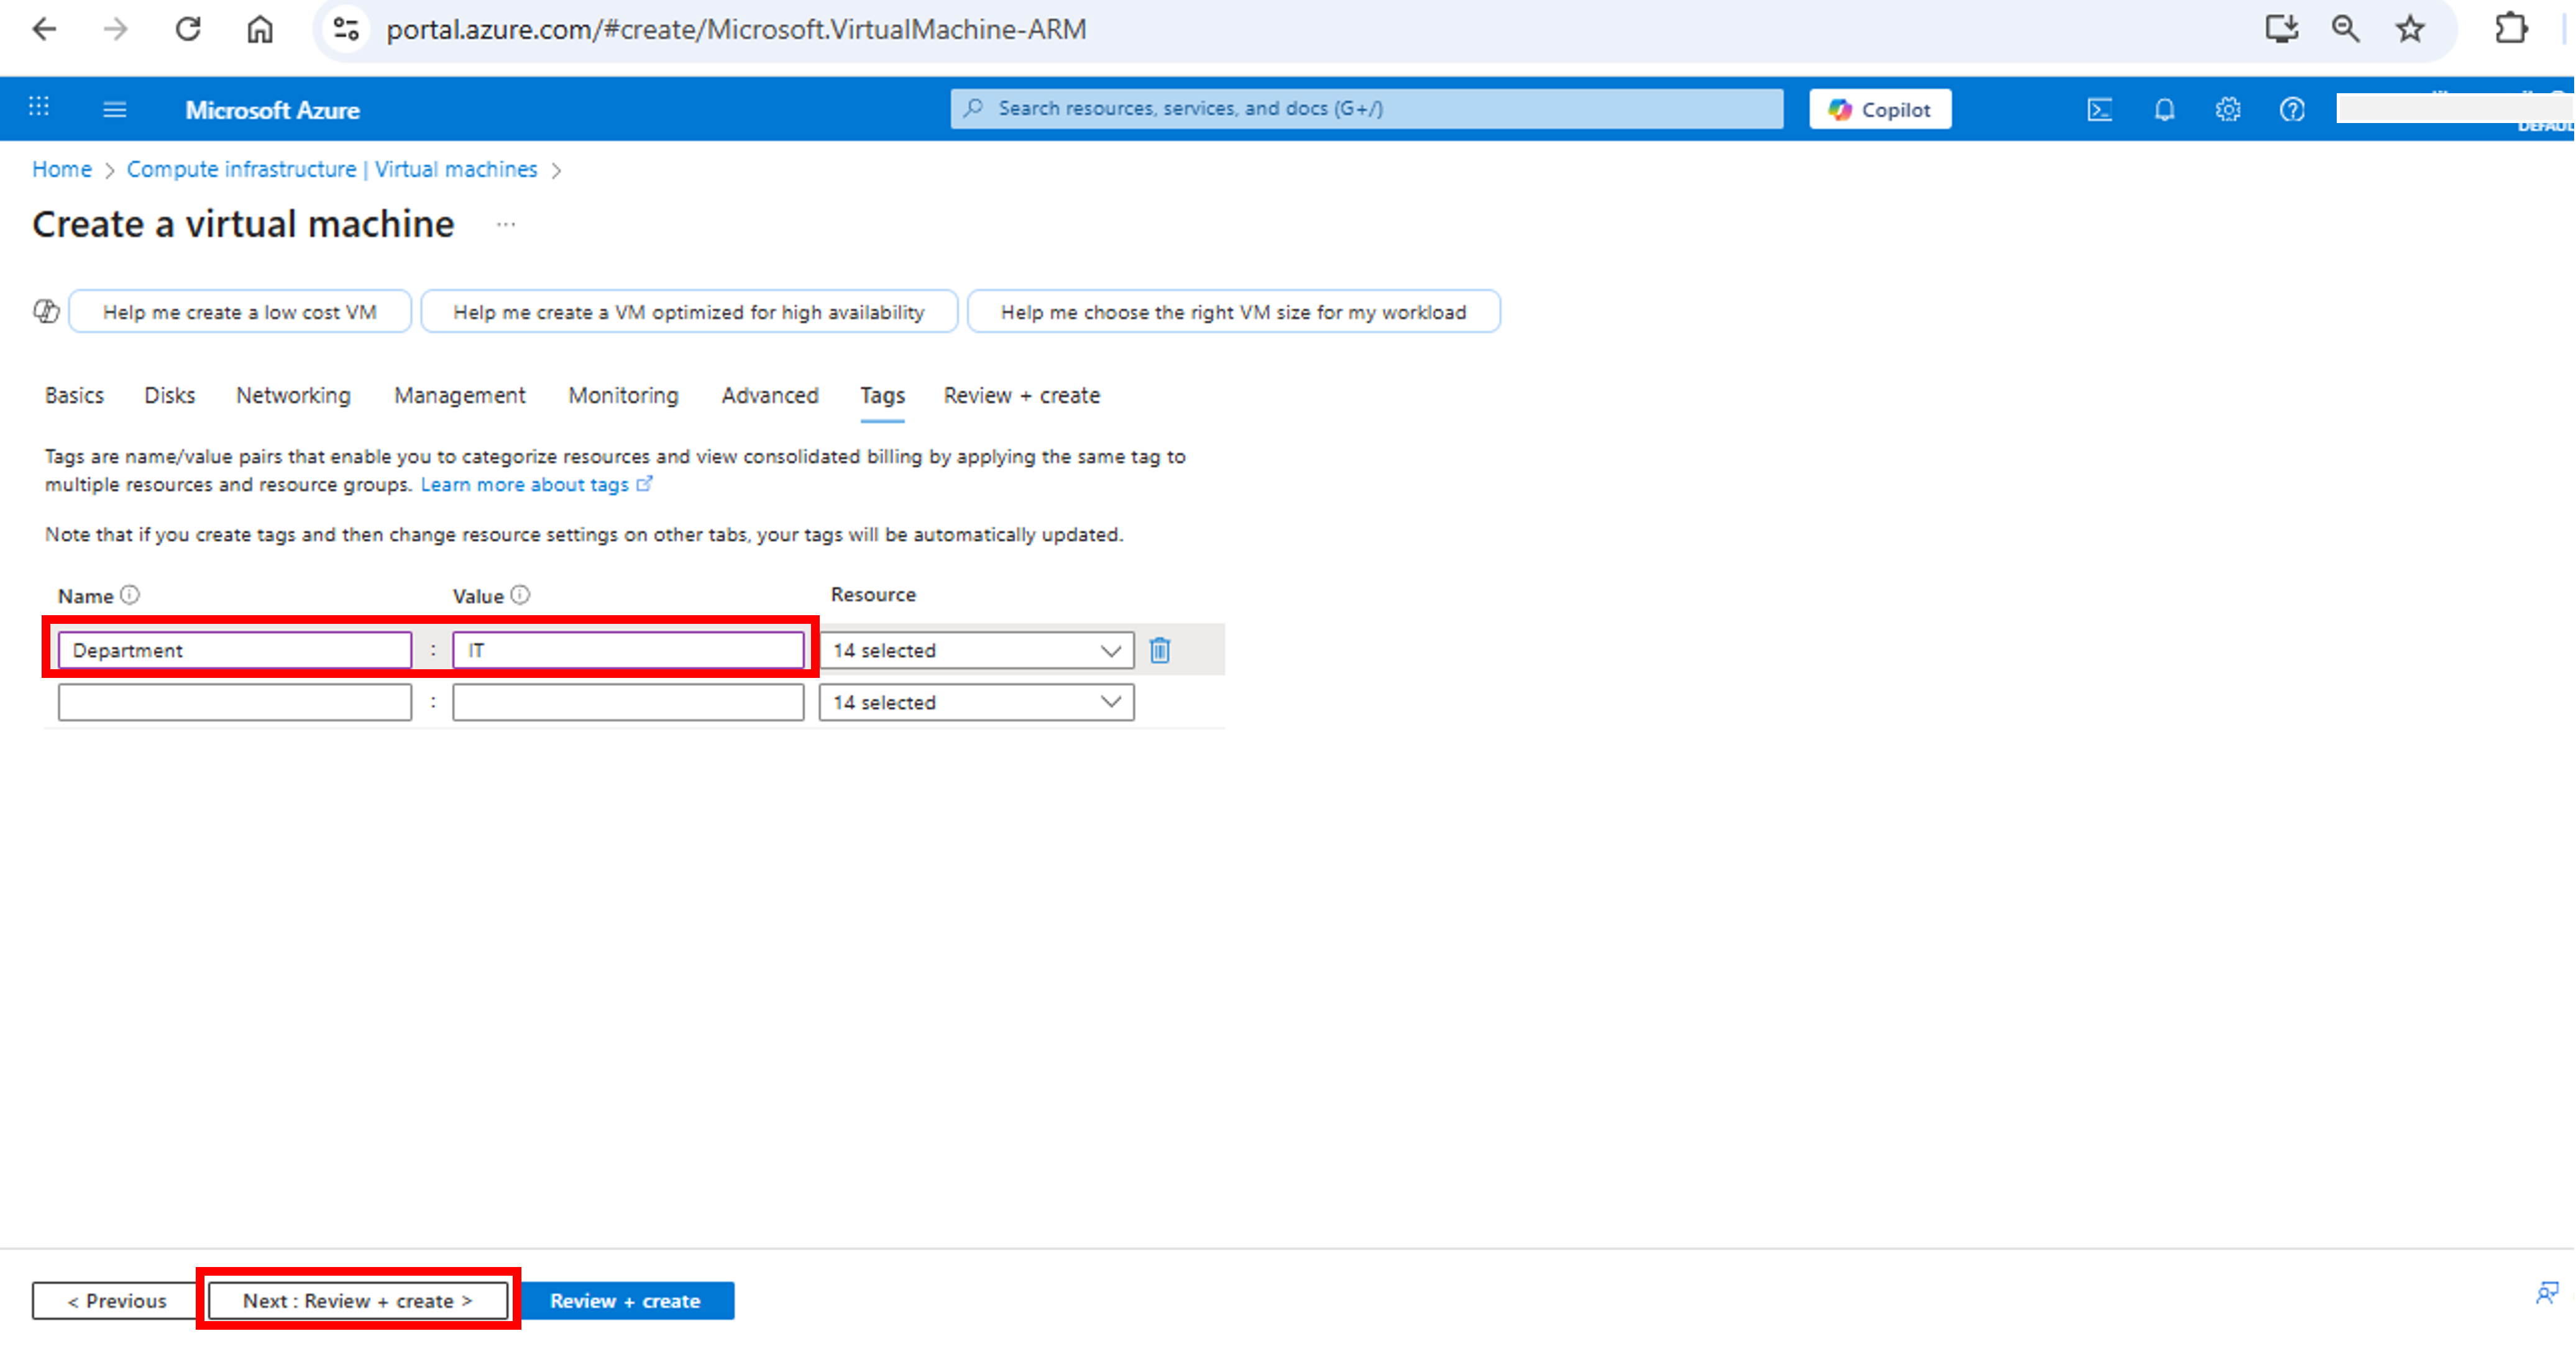
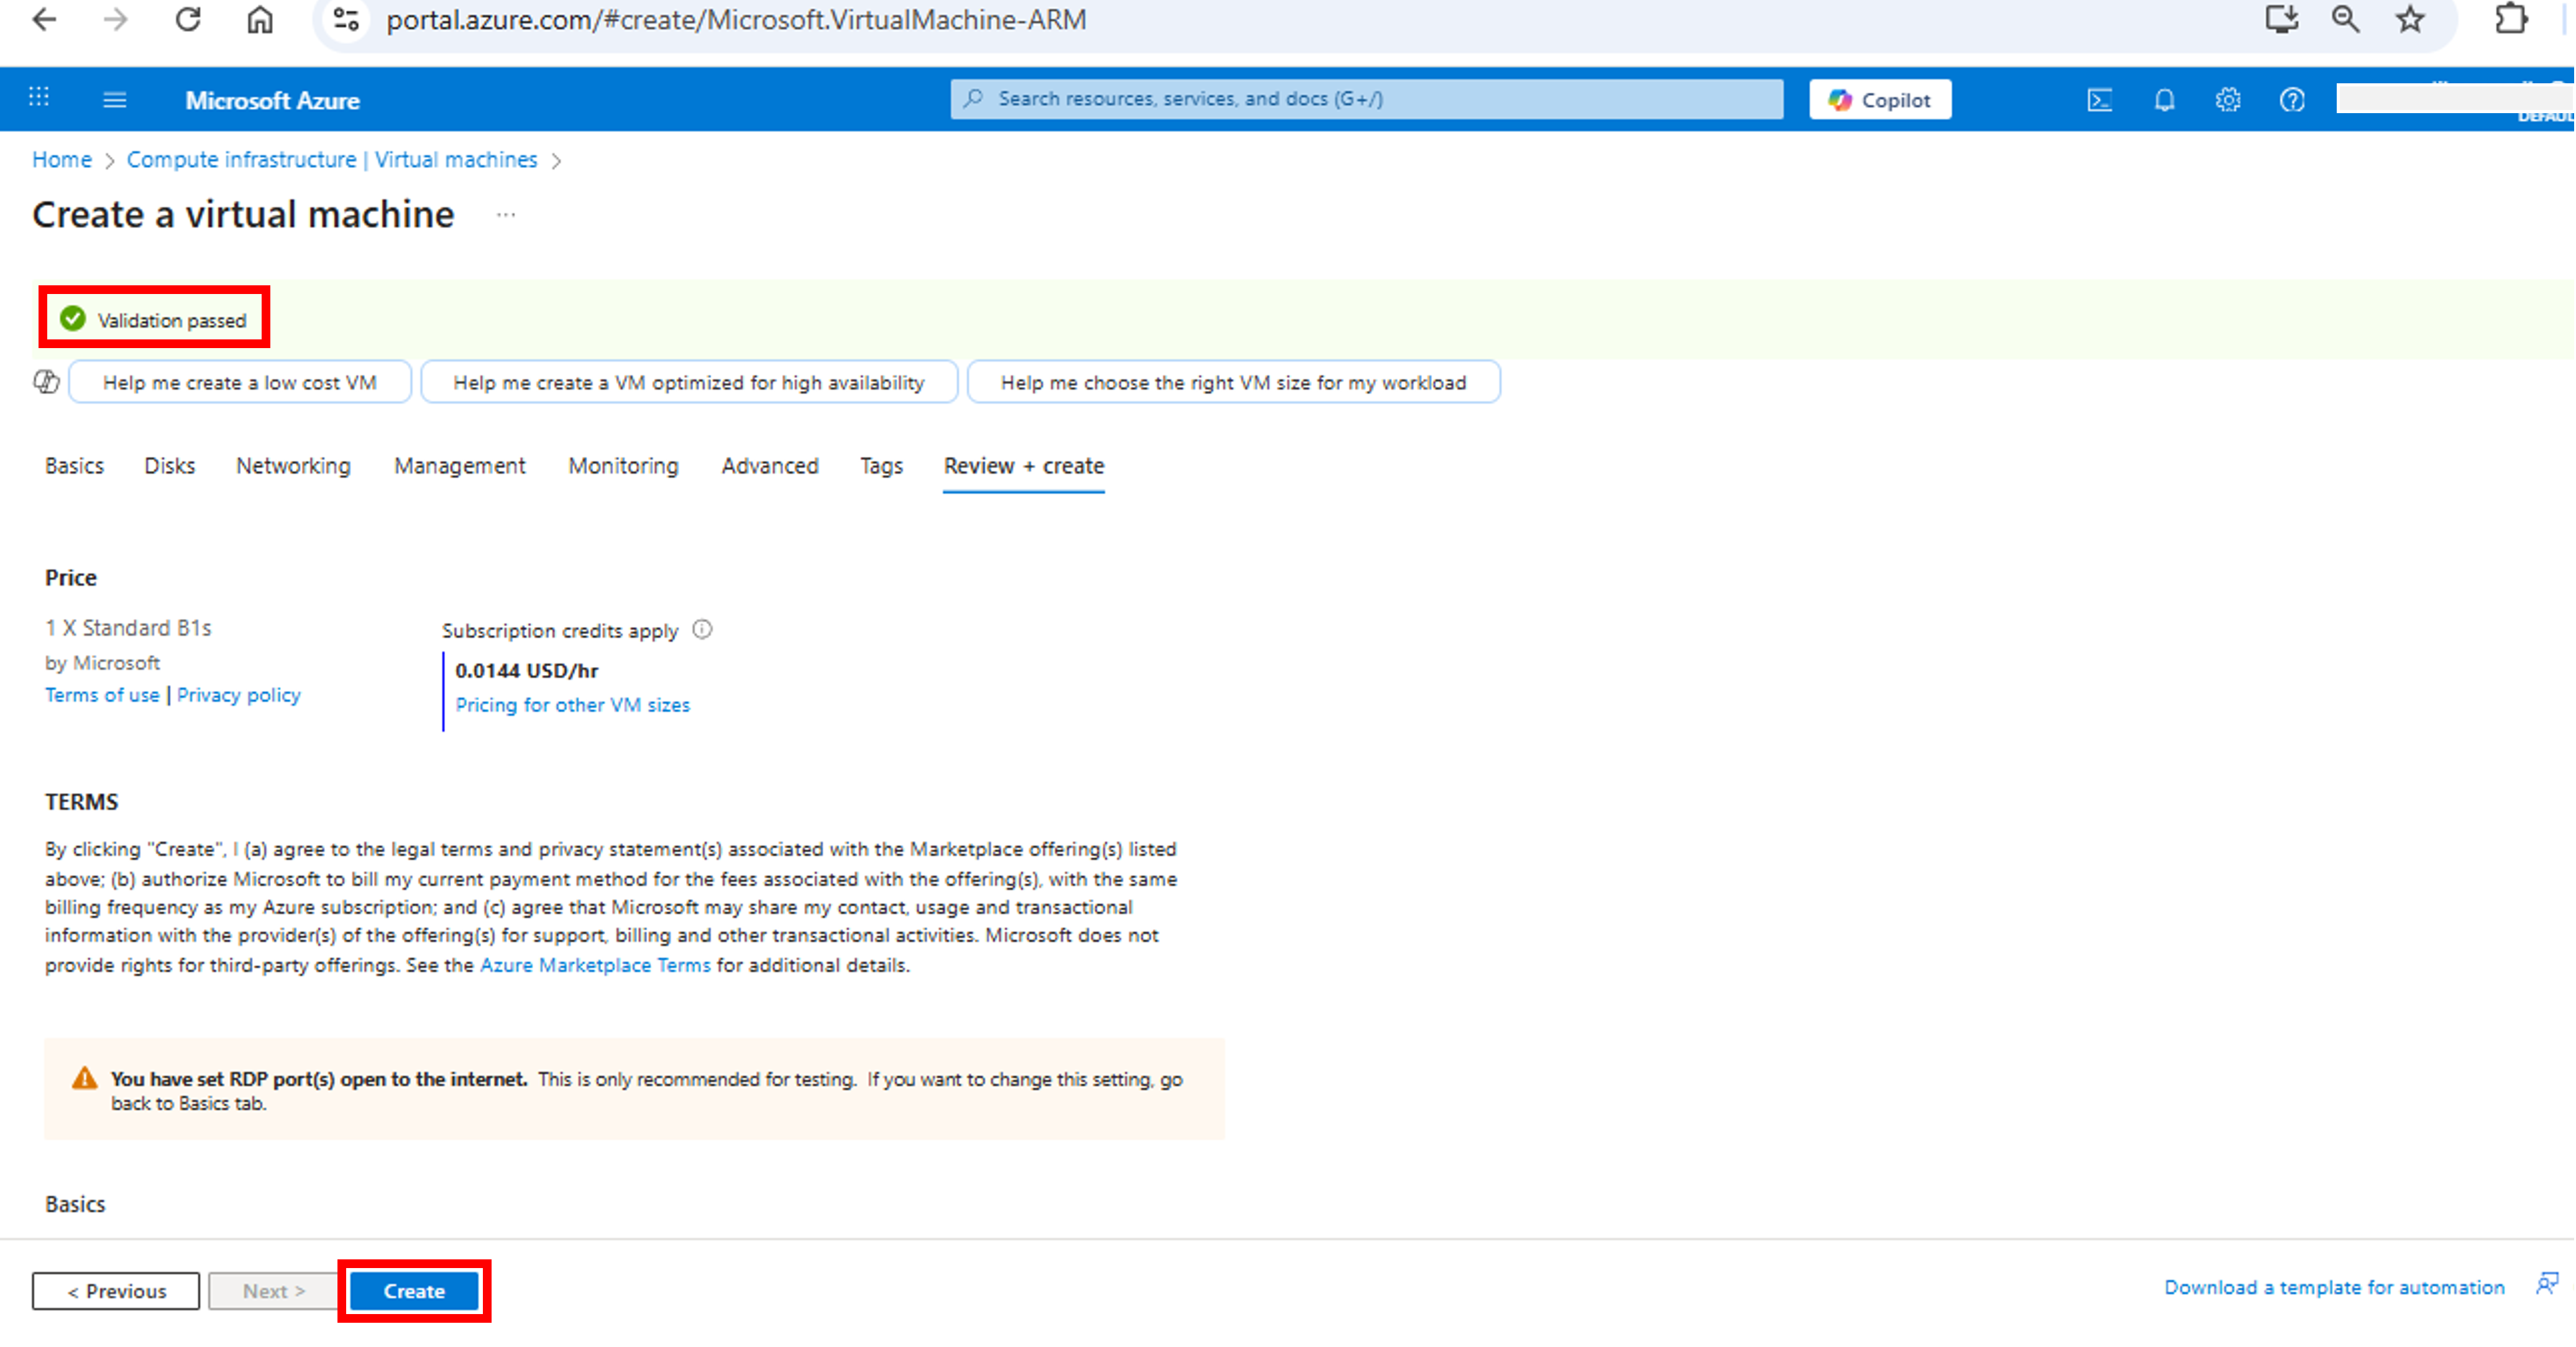
- Tags are name / value pair used to categorize resources based on organization, department, environment etc. or for billing purposes. Enter Department: IT as tag for the VM. Click Next: Review + Create >. This will validate the deployment configuration.

- Once validation is passed, you can create resource. Click Create to create VM.

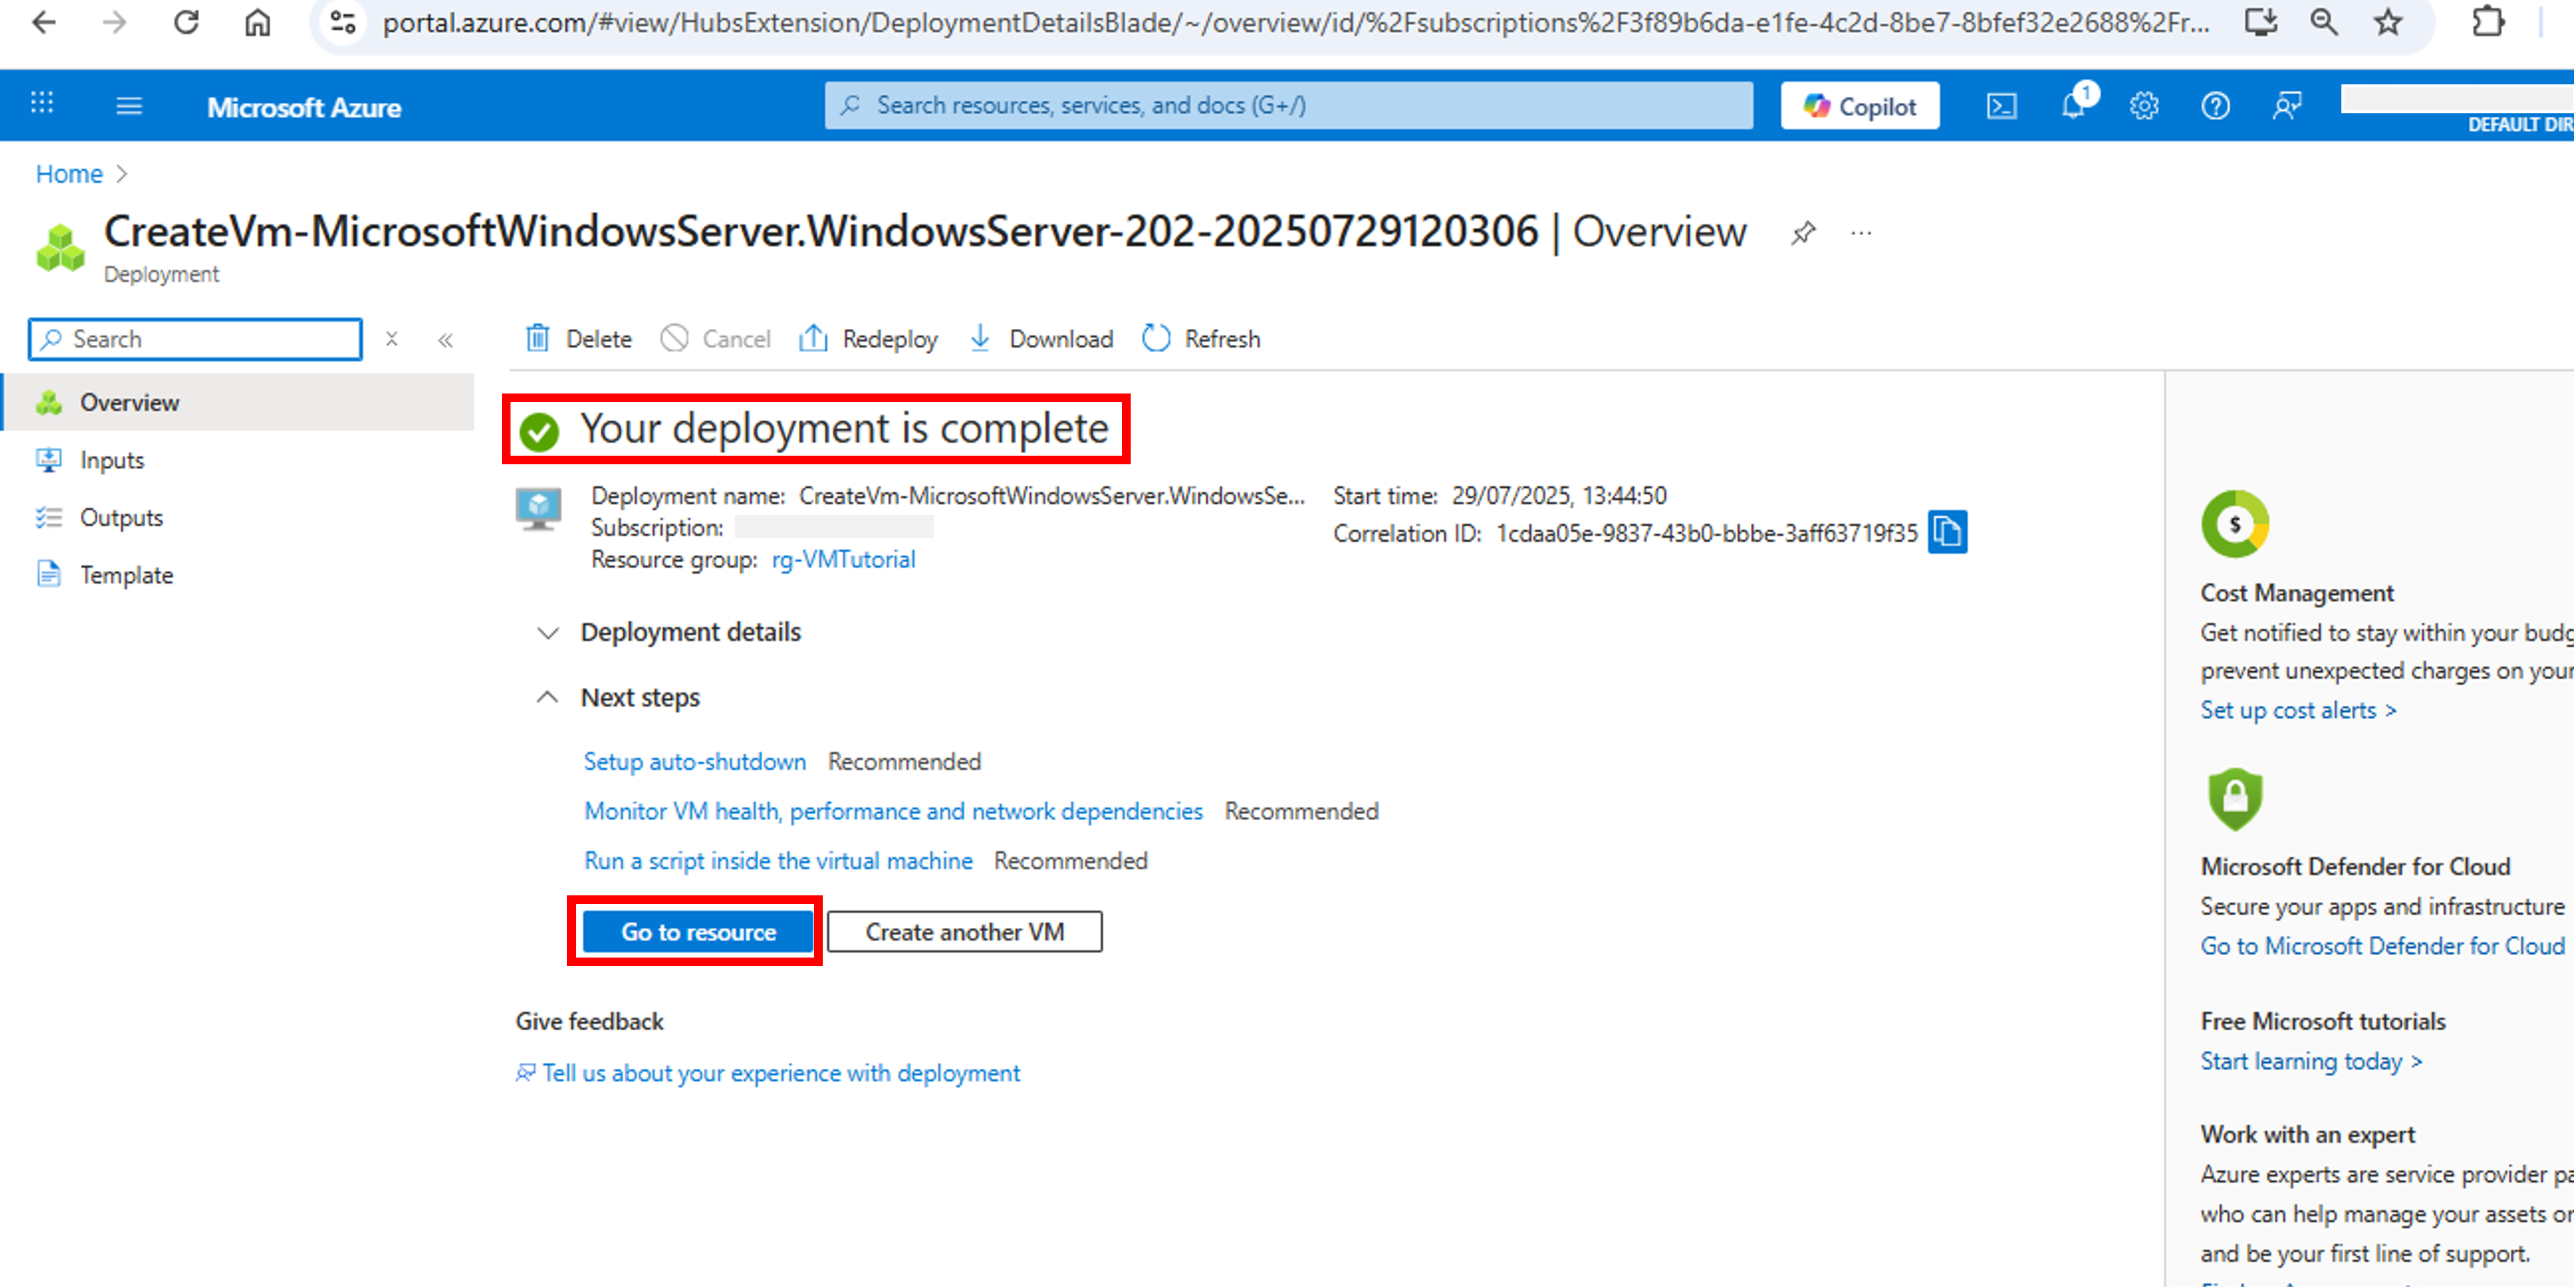
- After deployment is complete, click Go to resource to see newly created VM.


Validate Virtual Machine and Resources Deployment
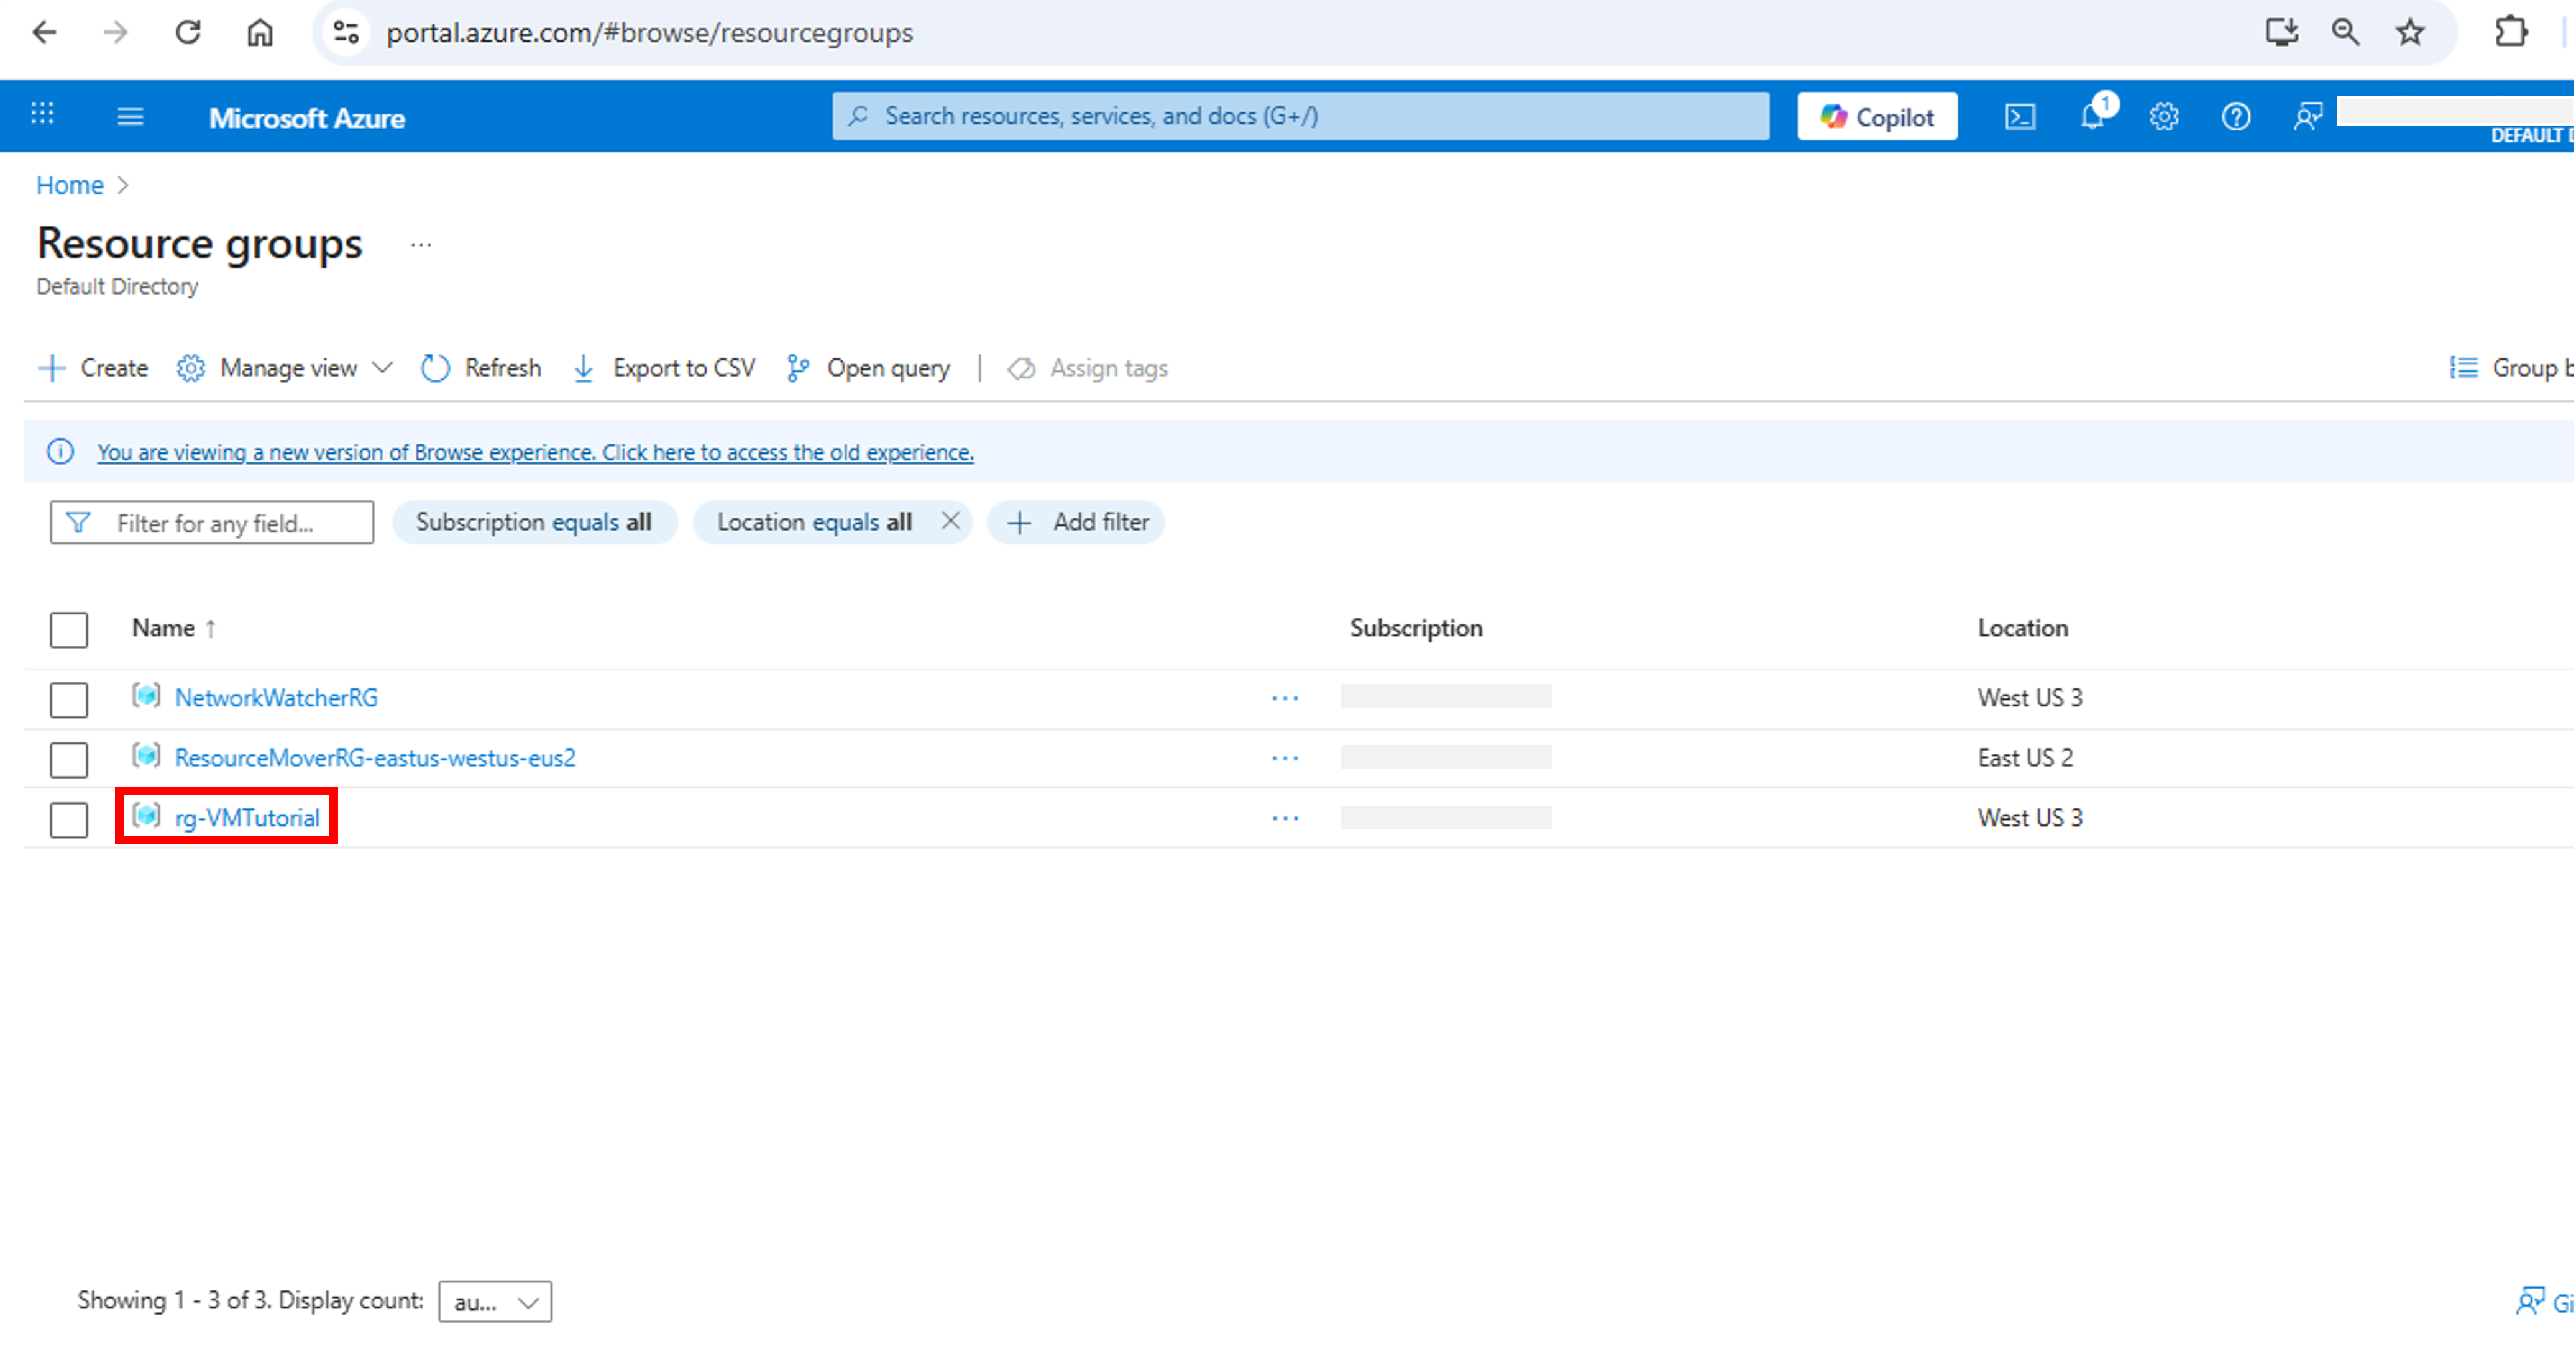
- Go to Home. Click on Resource groups. This will open Resource groups page. Check that new resource group rg-VMTutorial is created. Click resource group name to view resources deployed in the resource group.
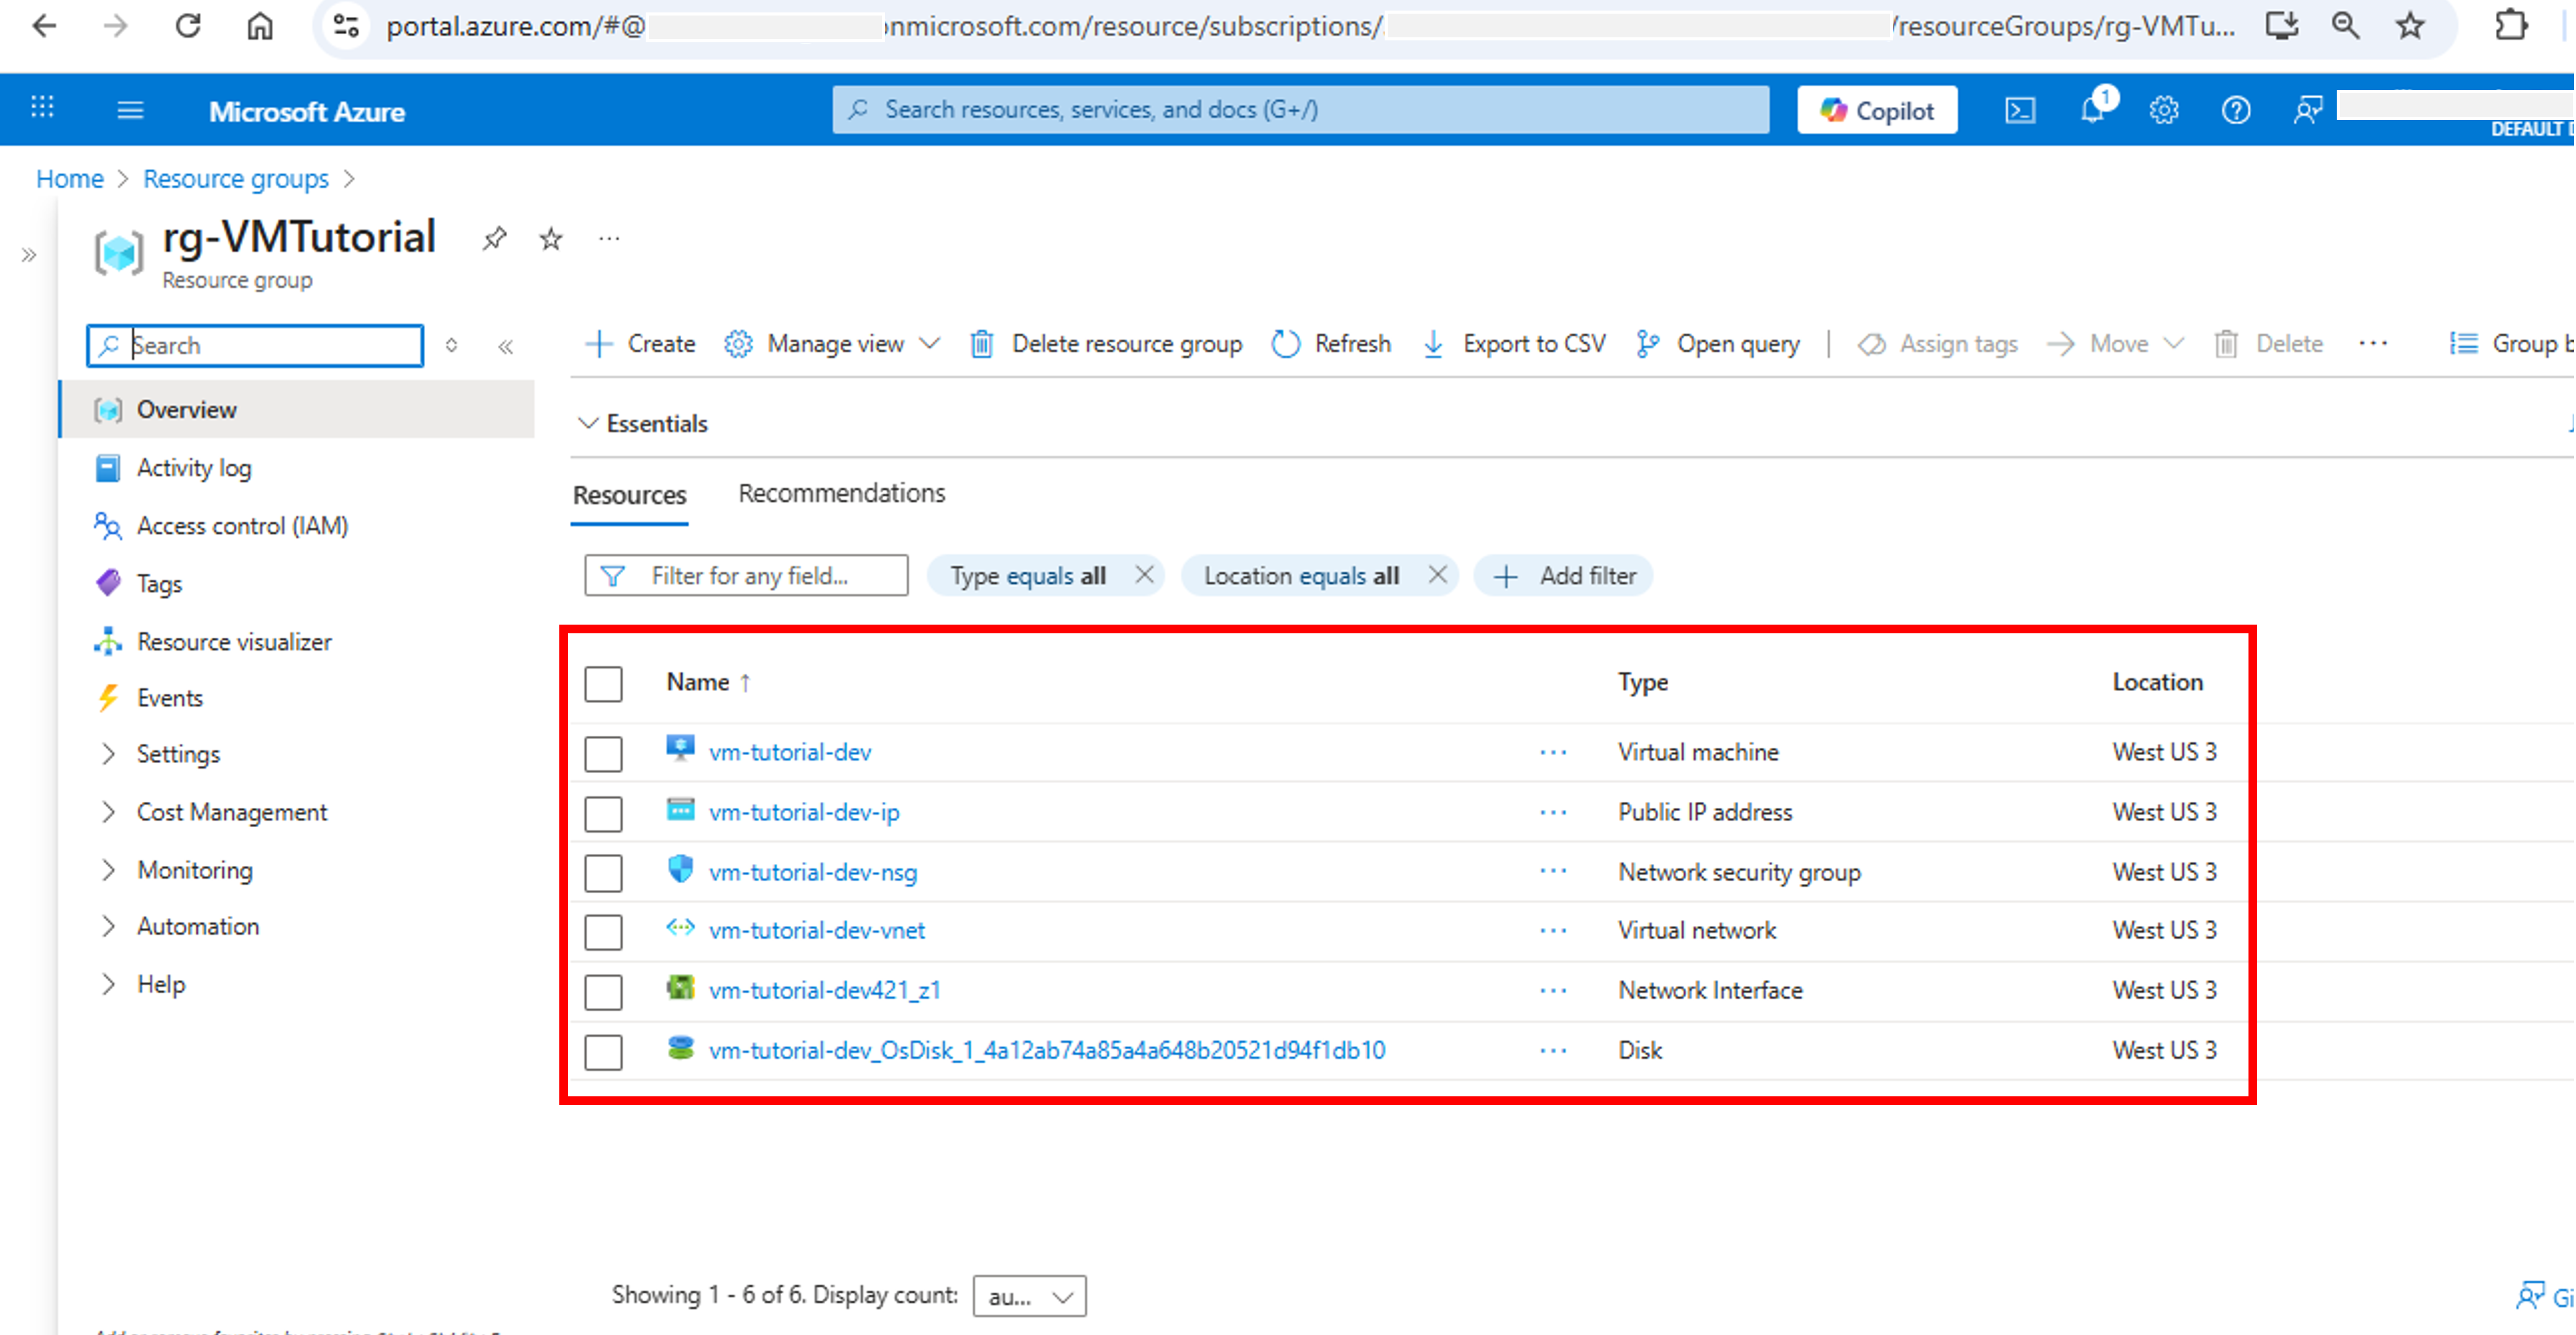
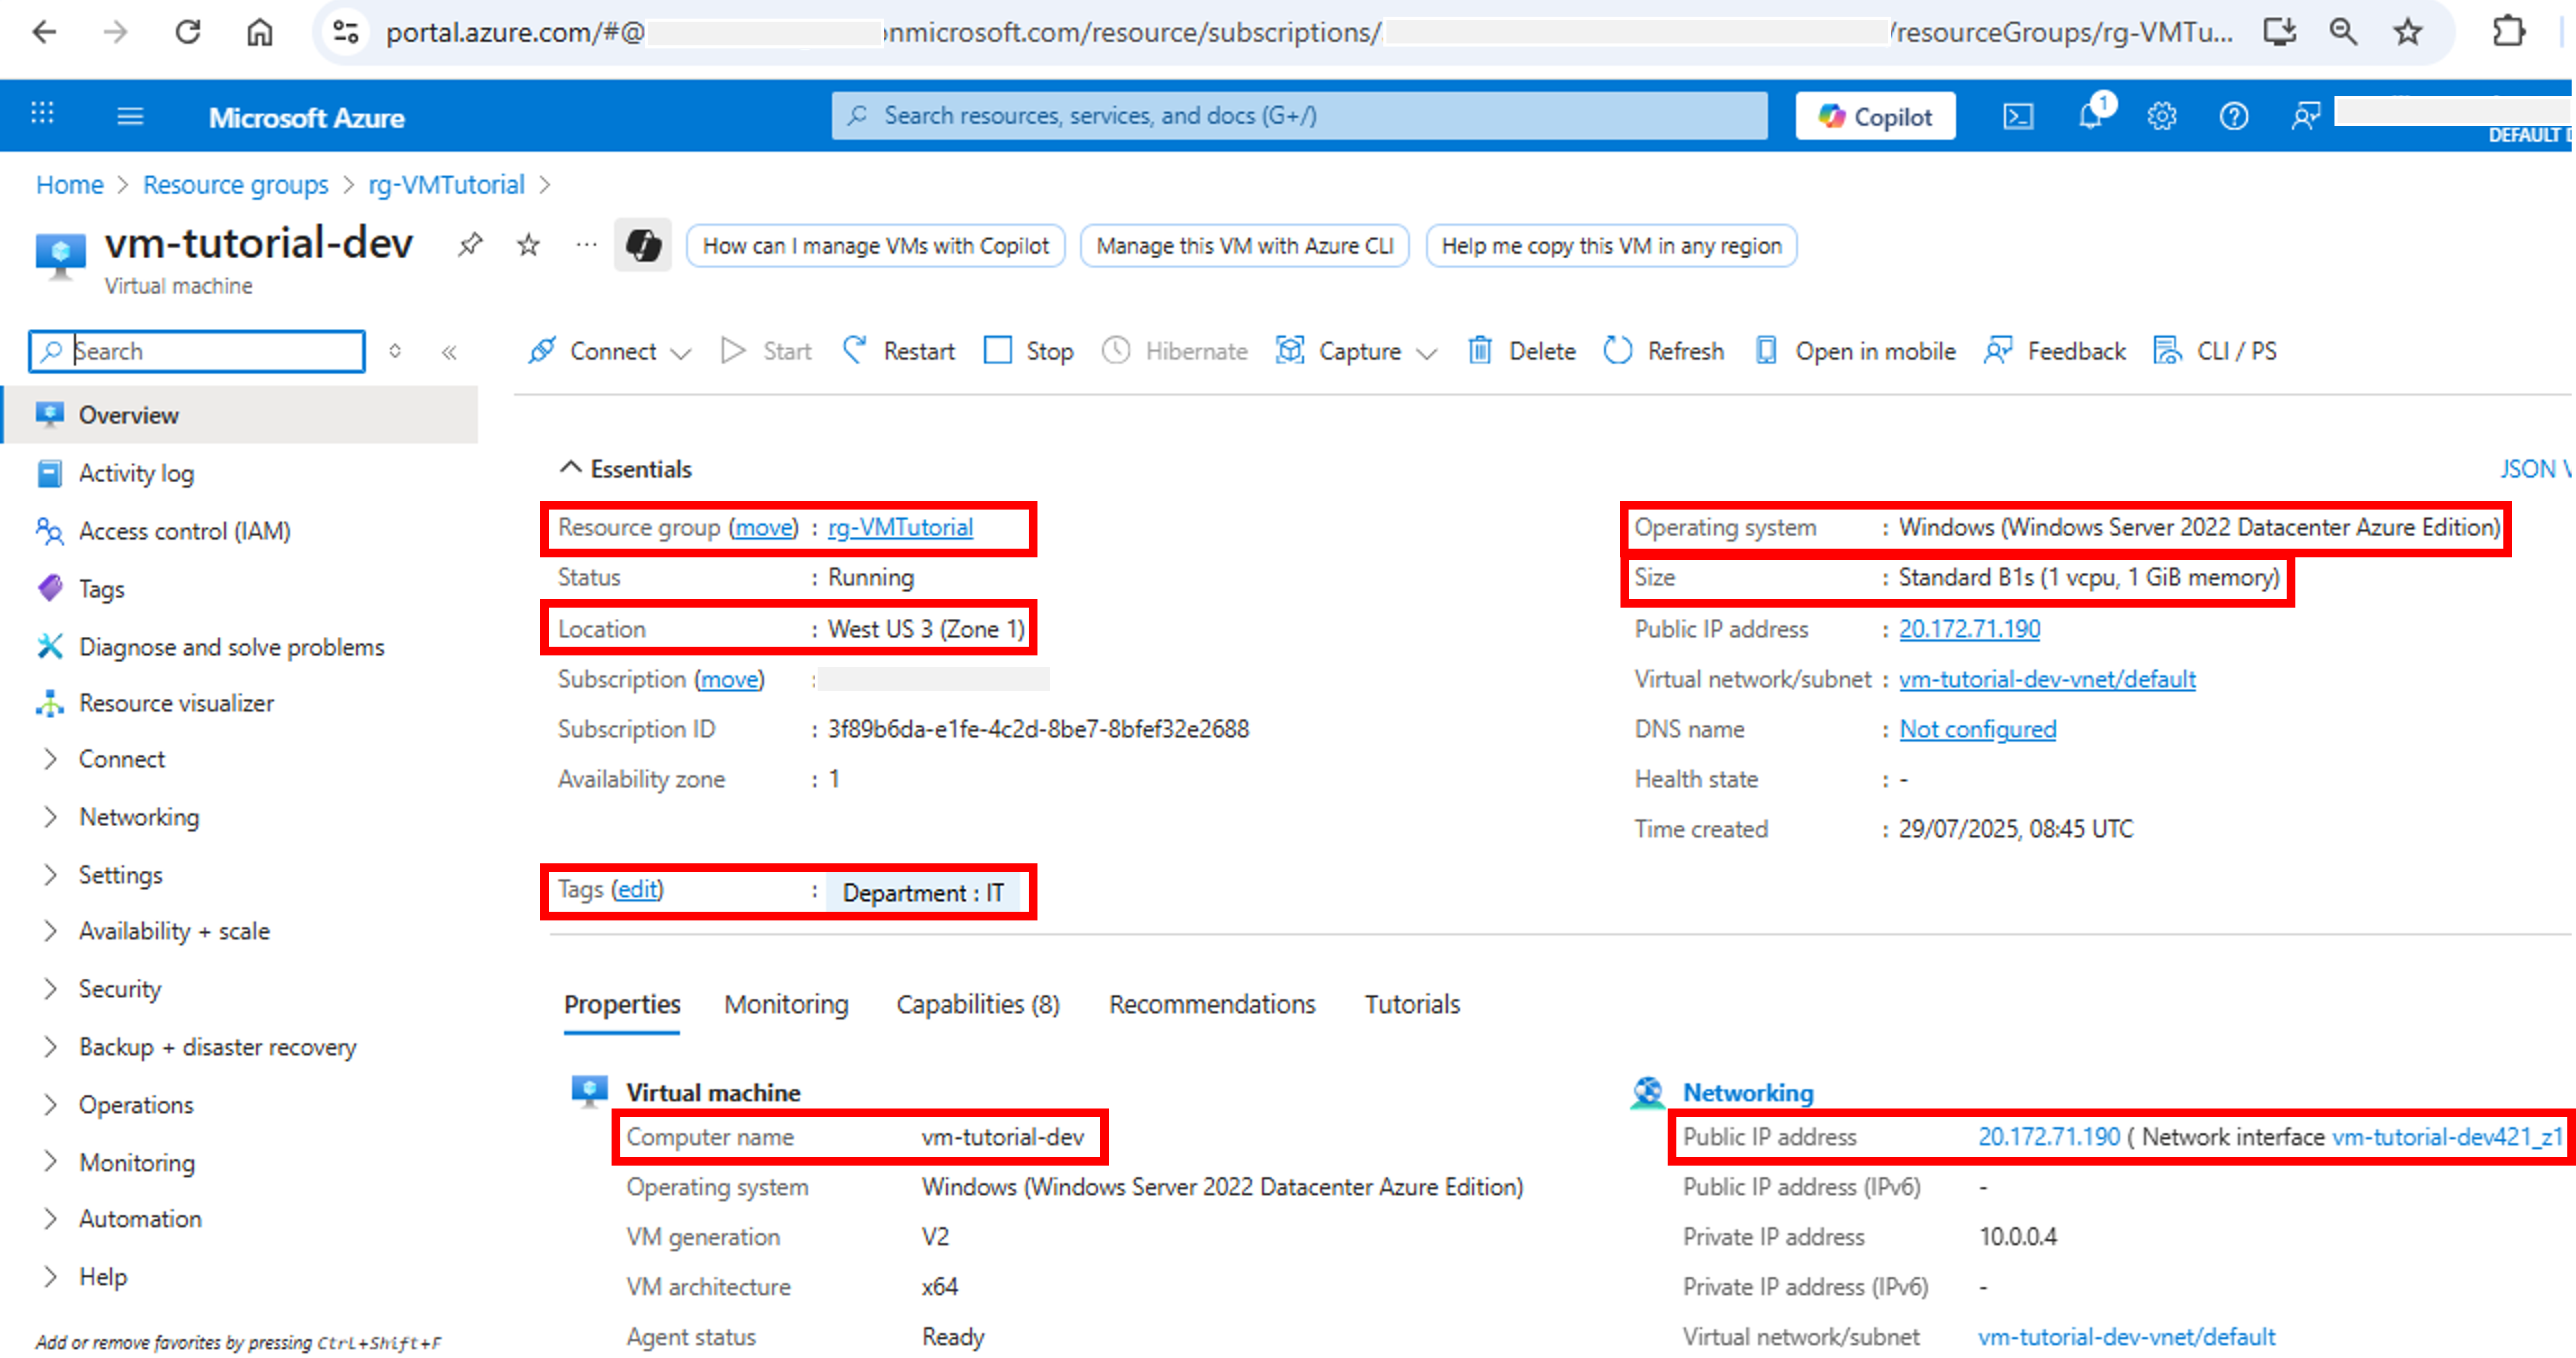
- You can see that a new VM, Public IP address, Network Security Group, Virtual Network, Network Interface Card and OS Disk is deployed. Click on the name of virtual machine to open virtual machine page.
- Verify all properties of the VM including resource group, location, VM size and family, computer name, public IP and tag.

Connect to Virtual Machine
In this section, I will explain how to access virtual machine using remote desktop connection. Following steps explain how to connect to your VM from a Windows computer. For Mac machine, you can download Remote Desktop Client from the Mac App Store.
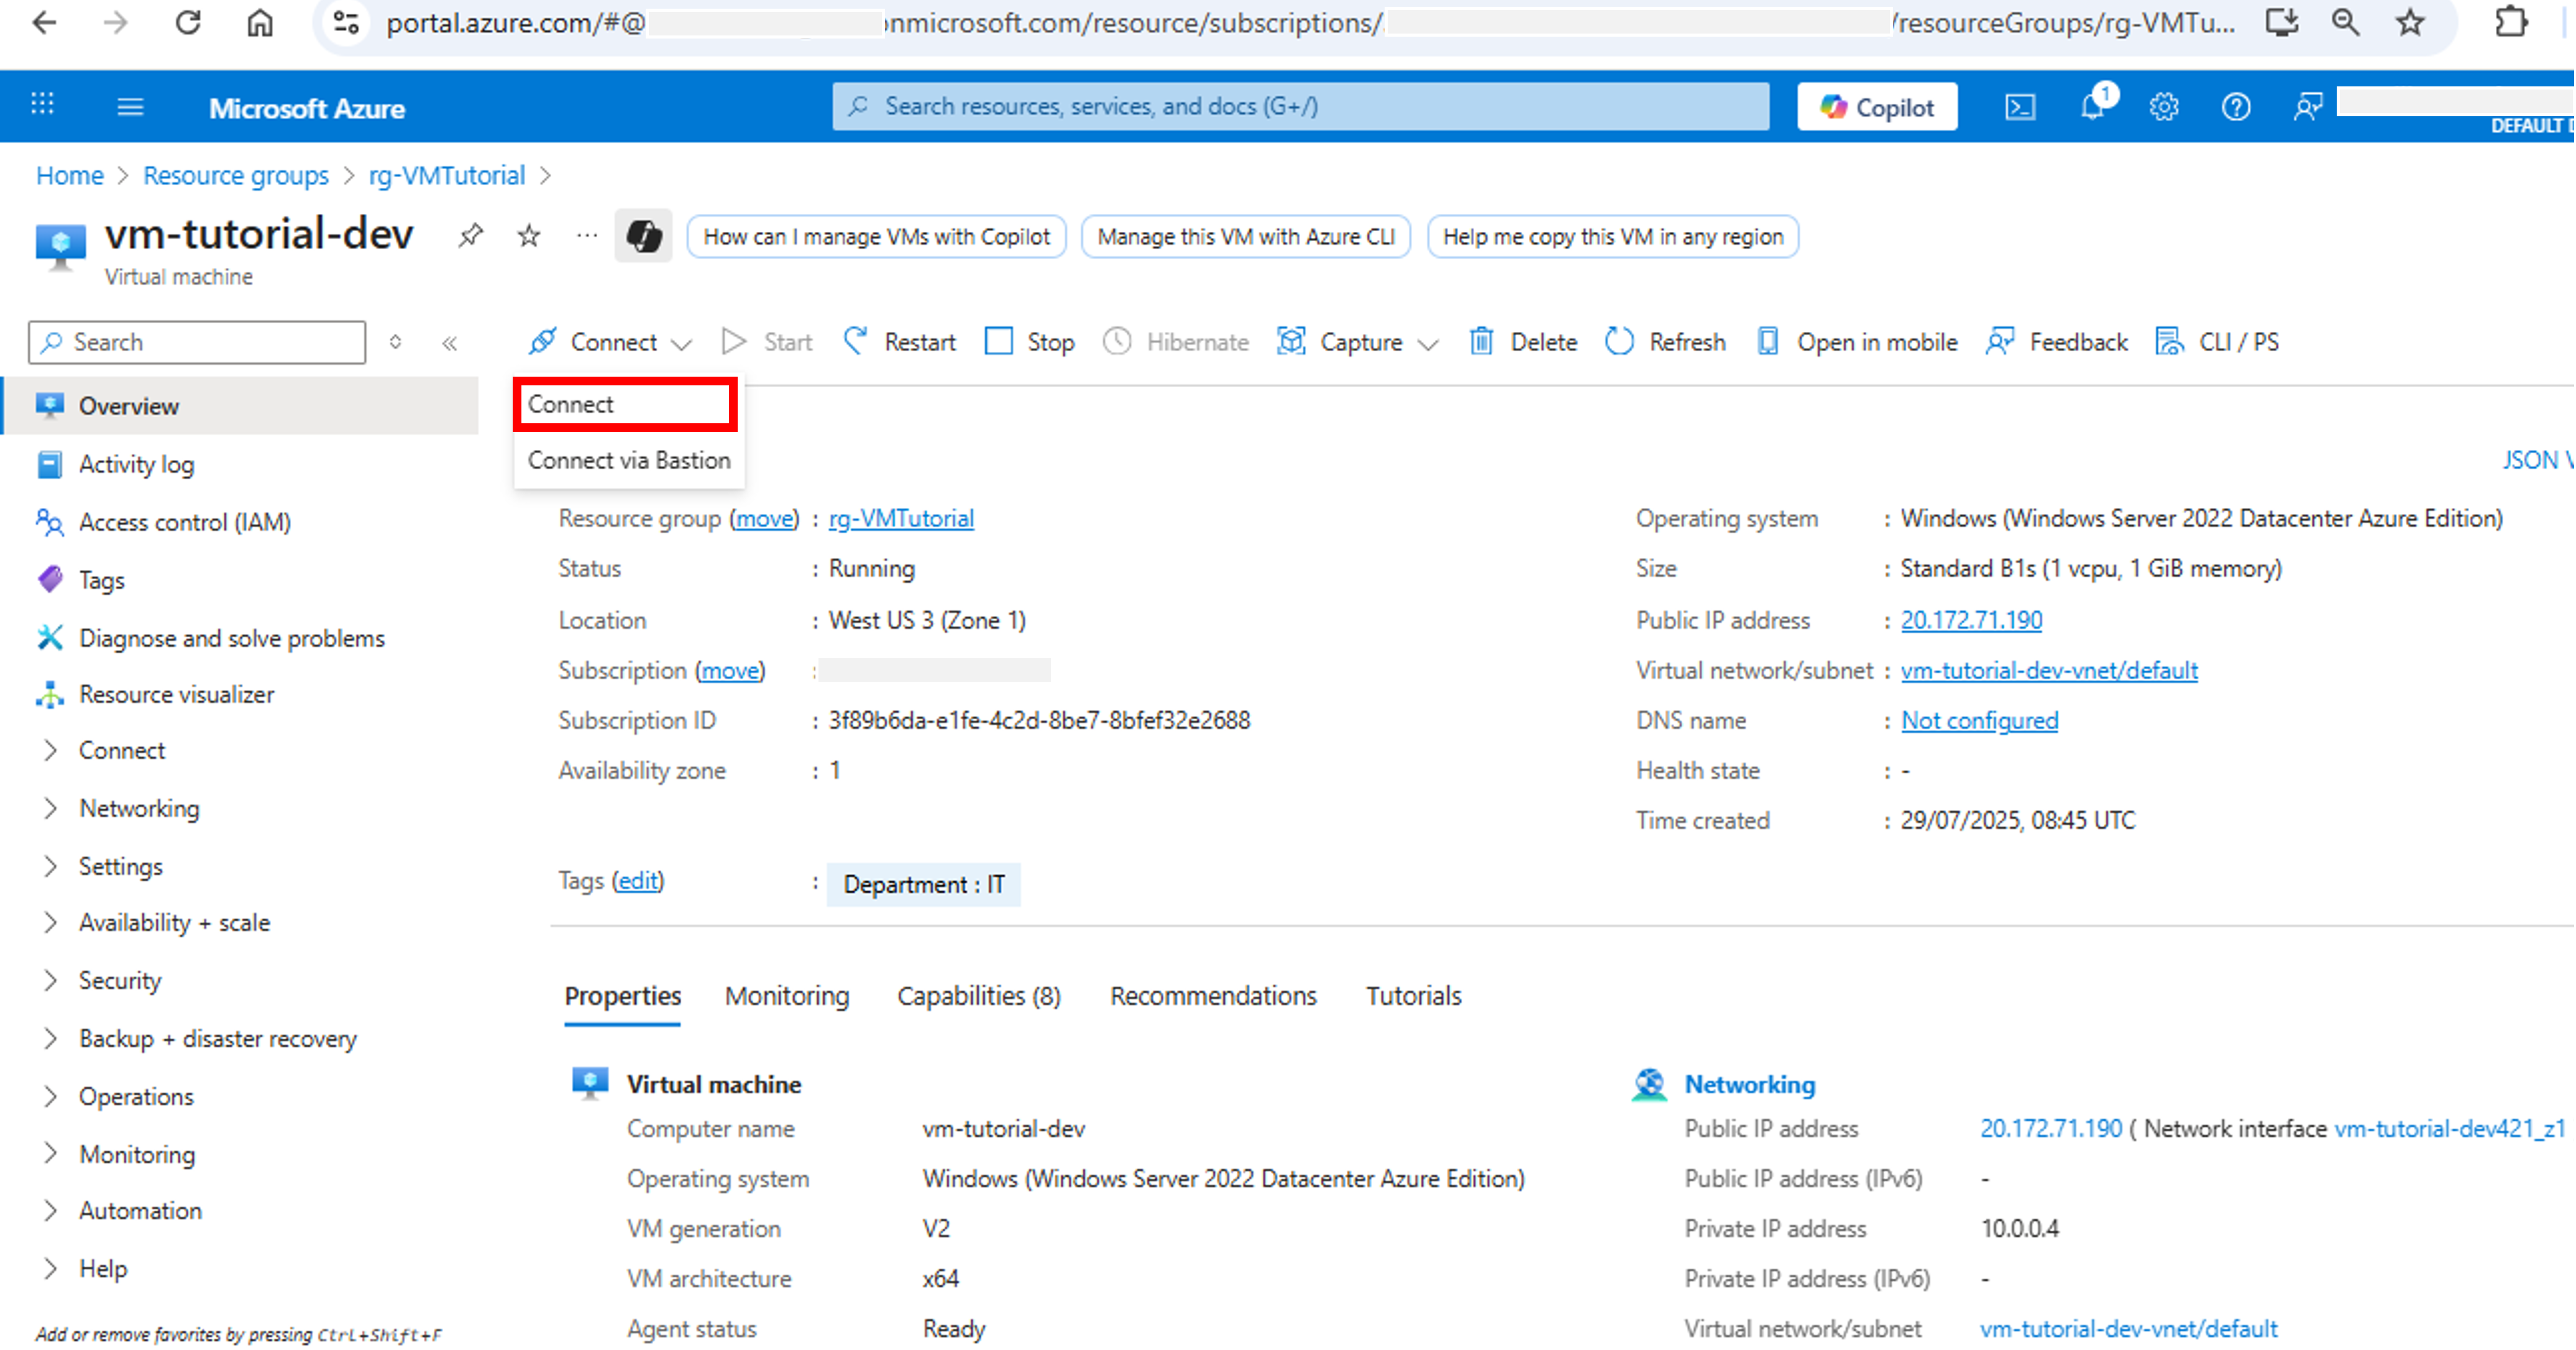
- On the Overview page of the virtual machine, select Connect > Connect.

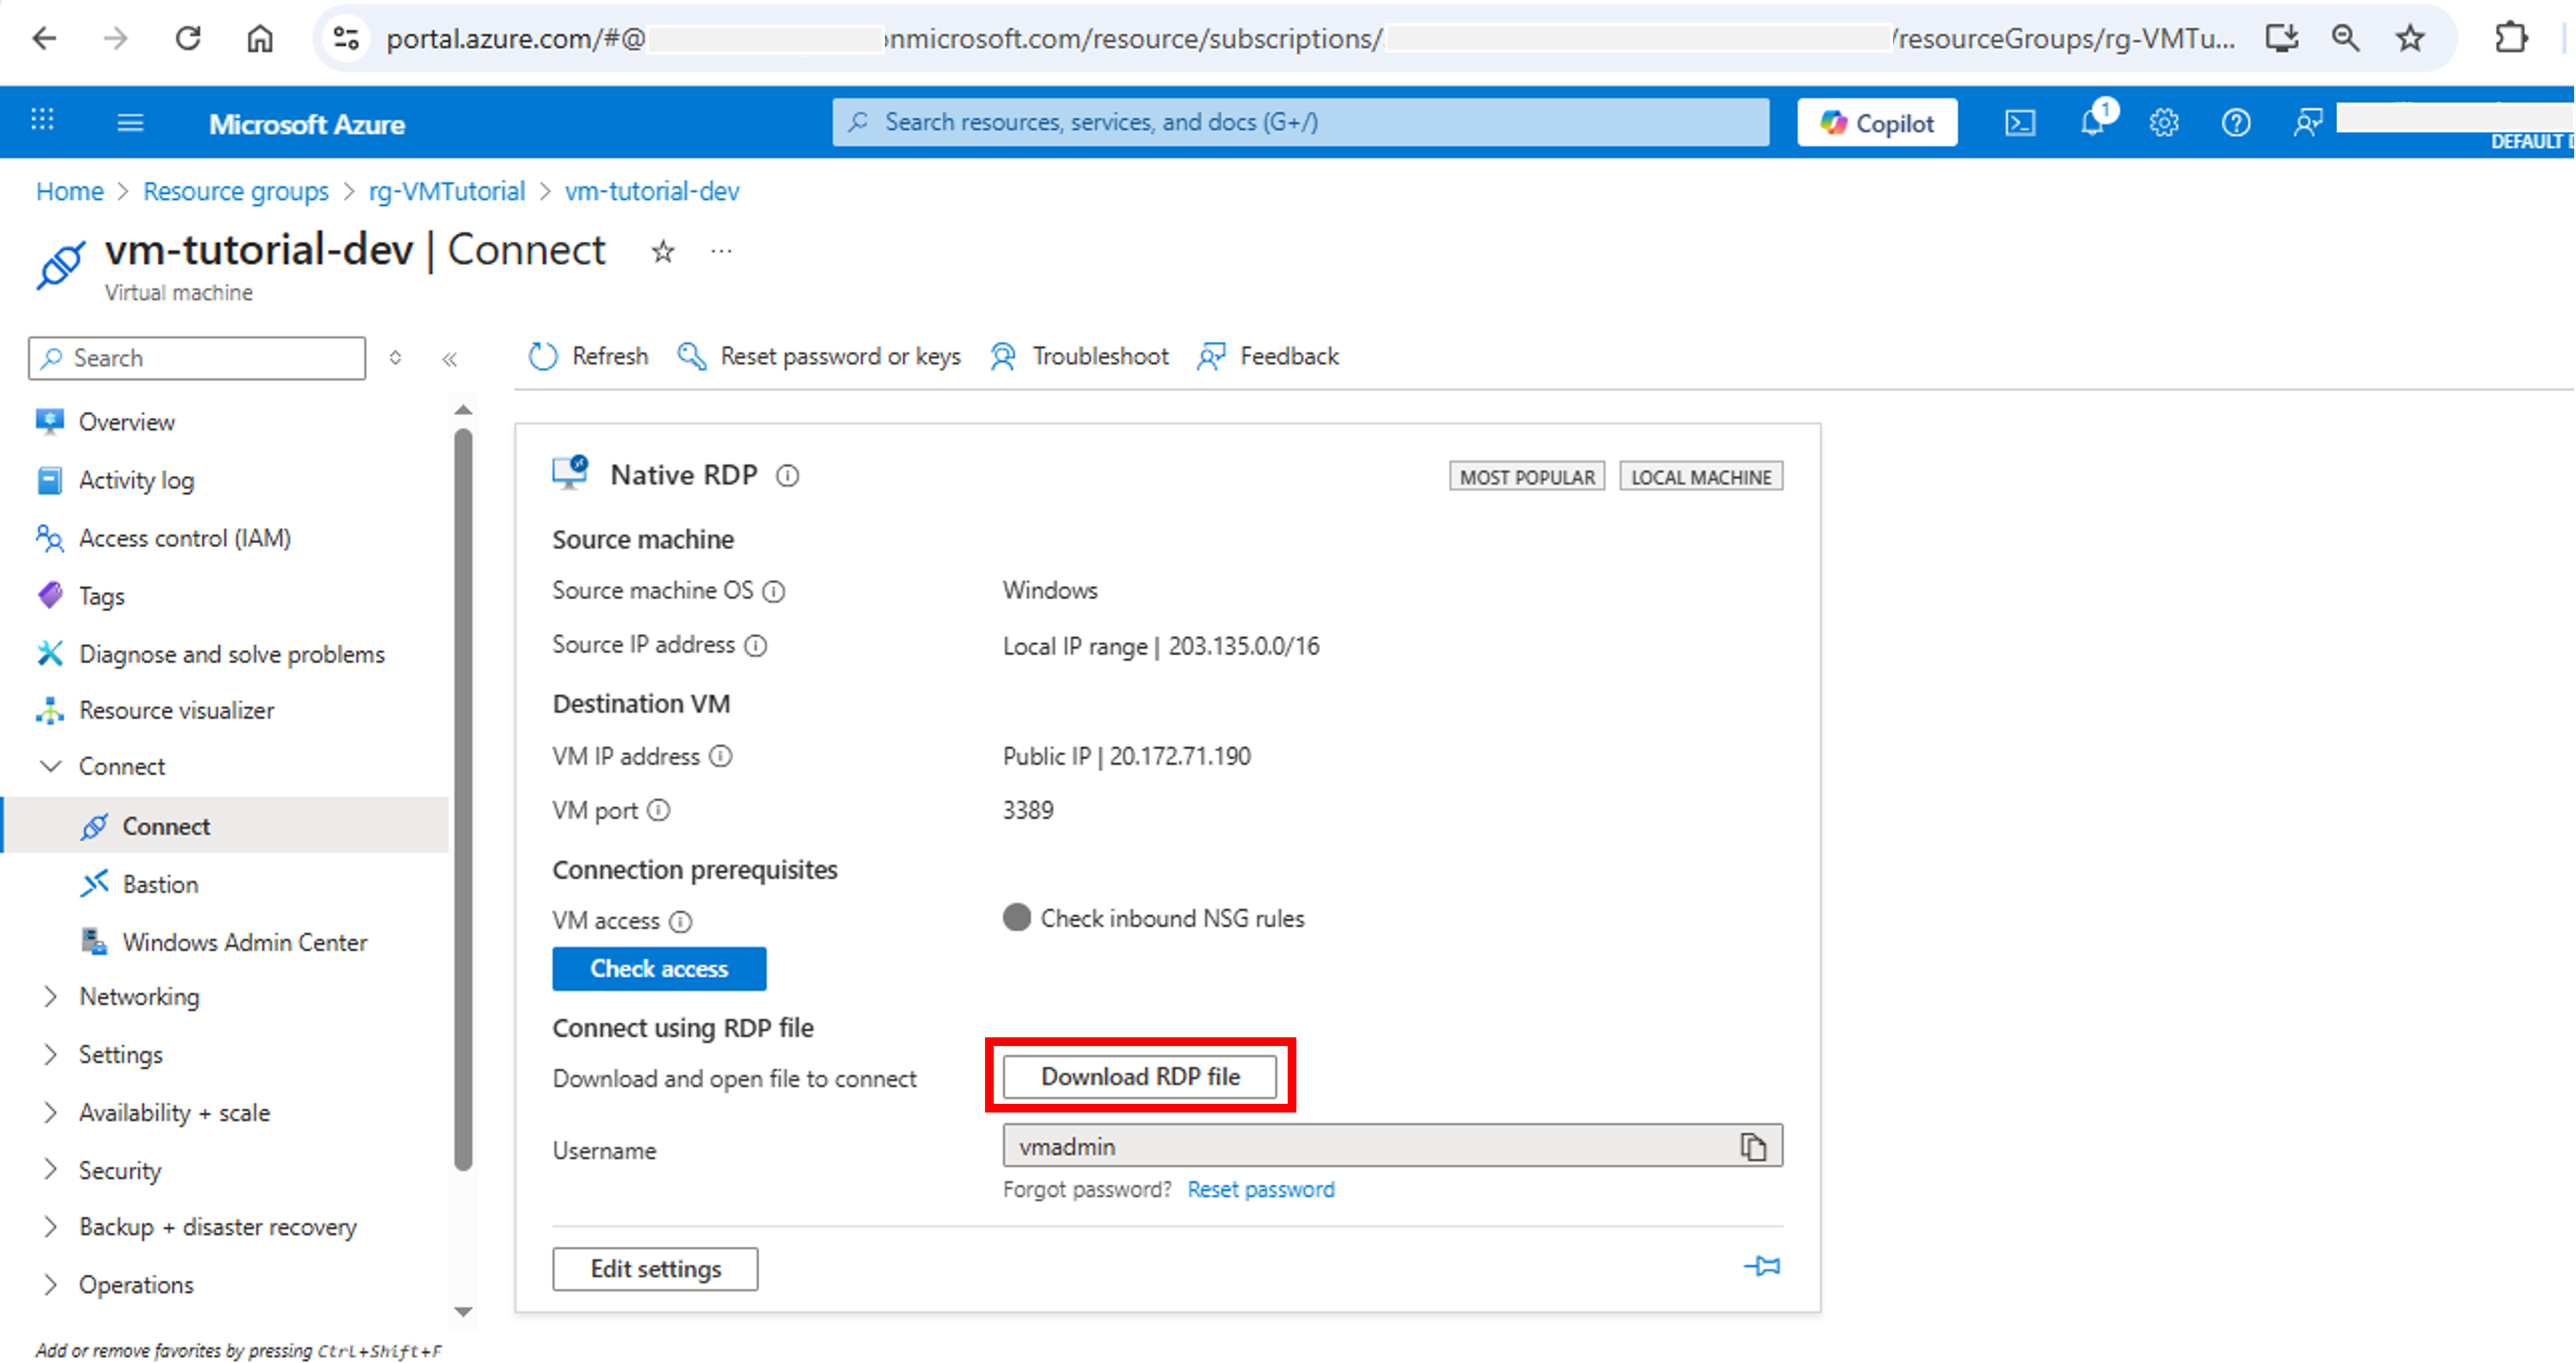
- Click Download RDP file to download RDP file to your local machine.

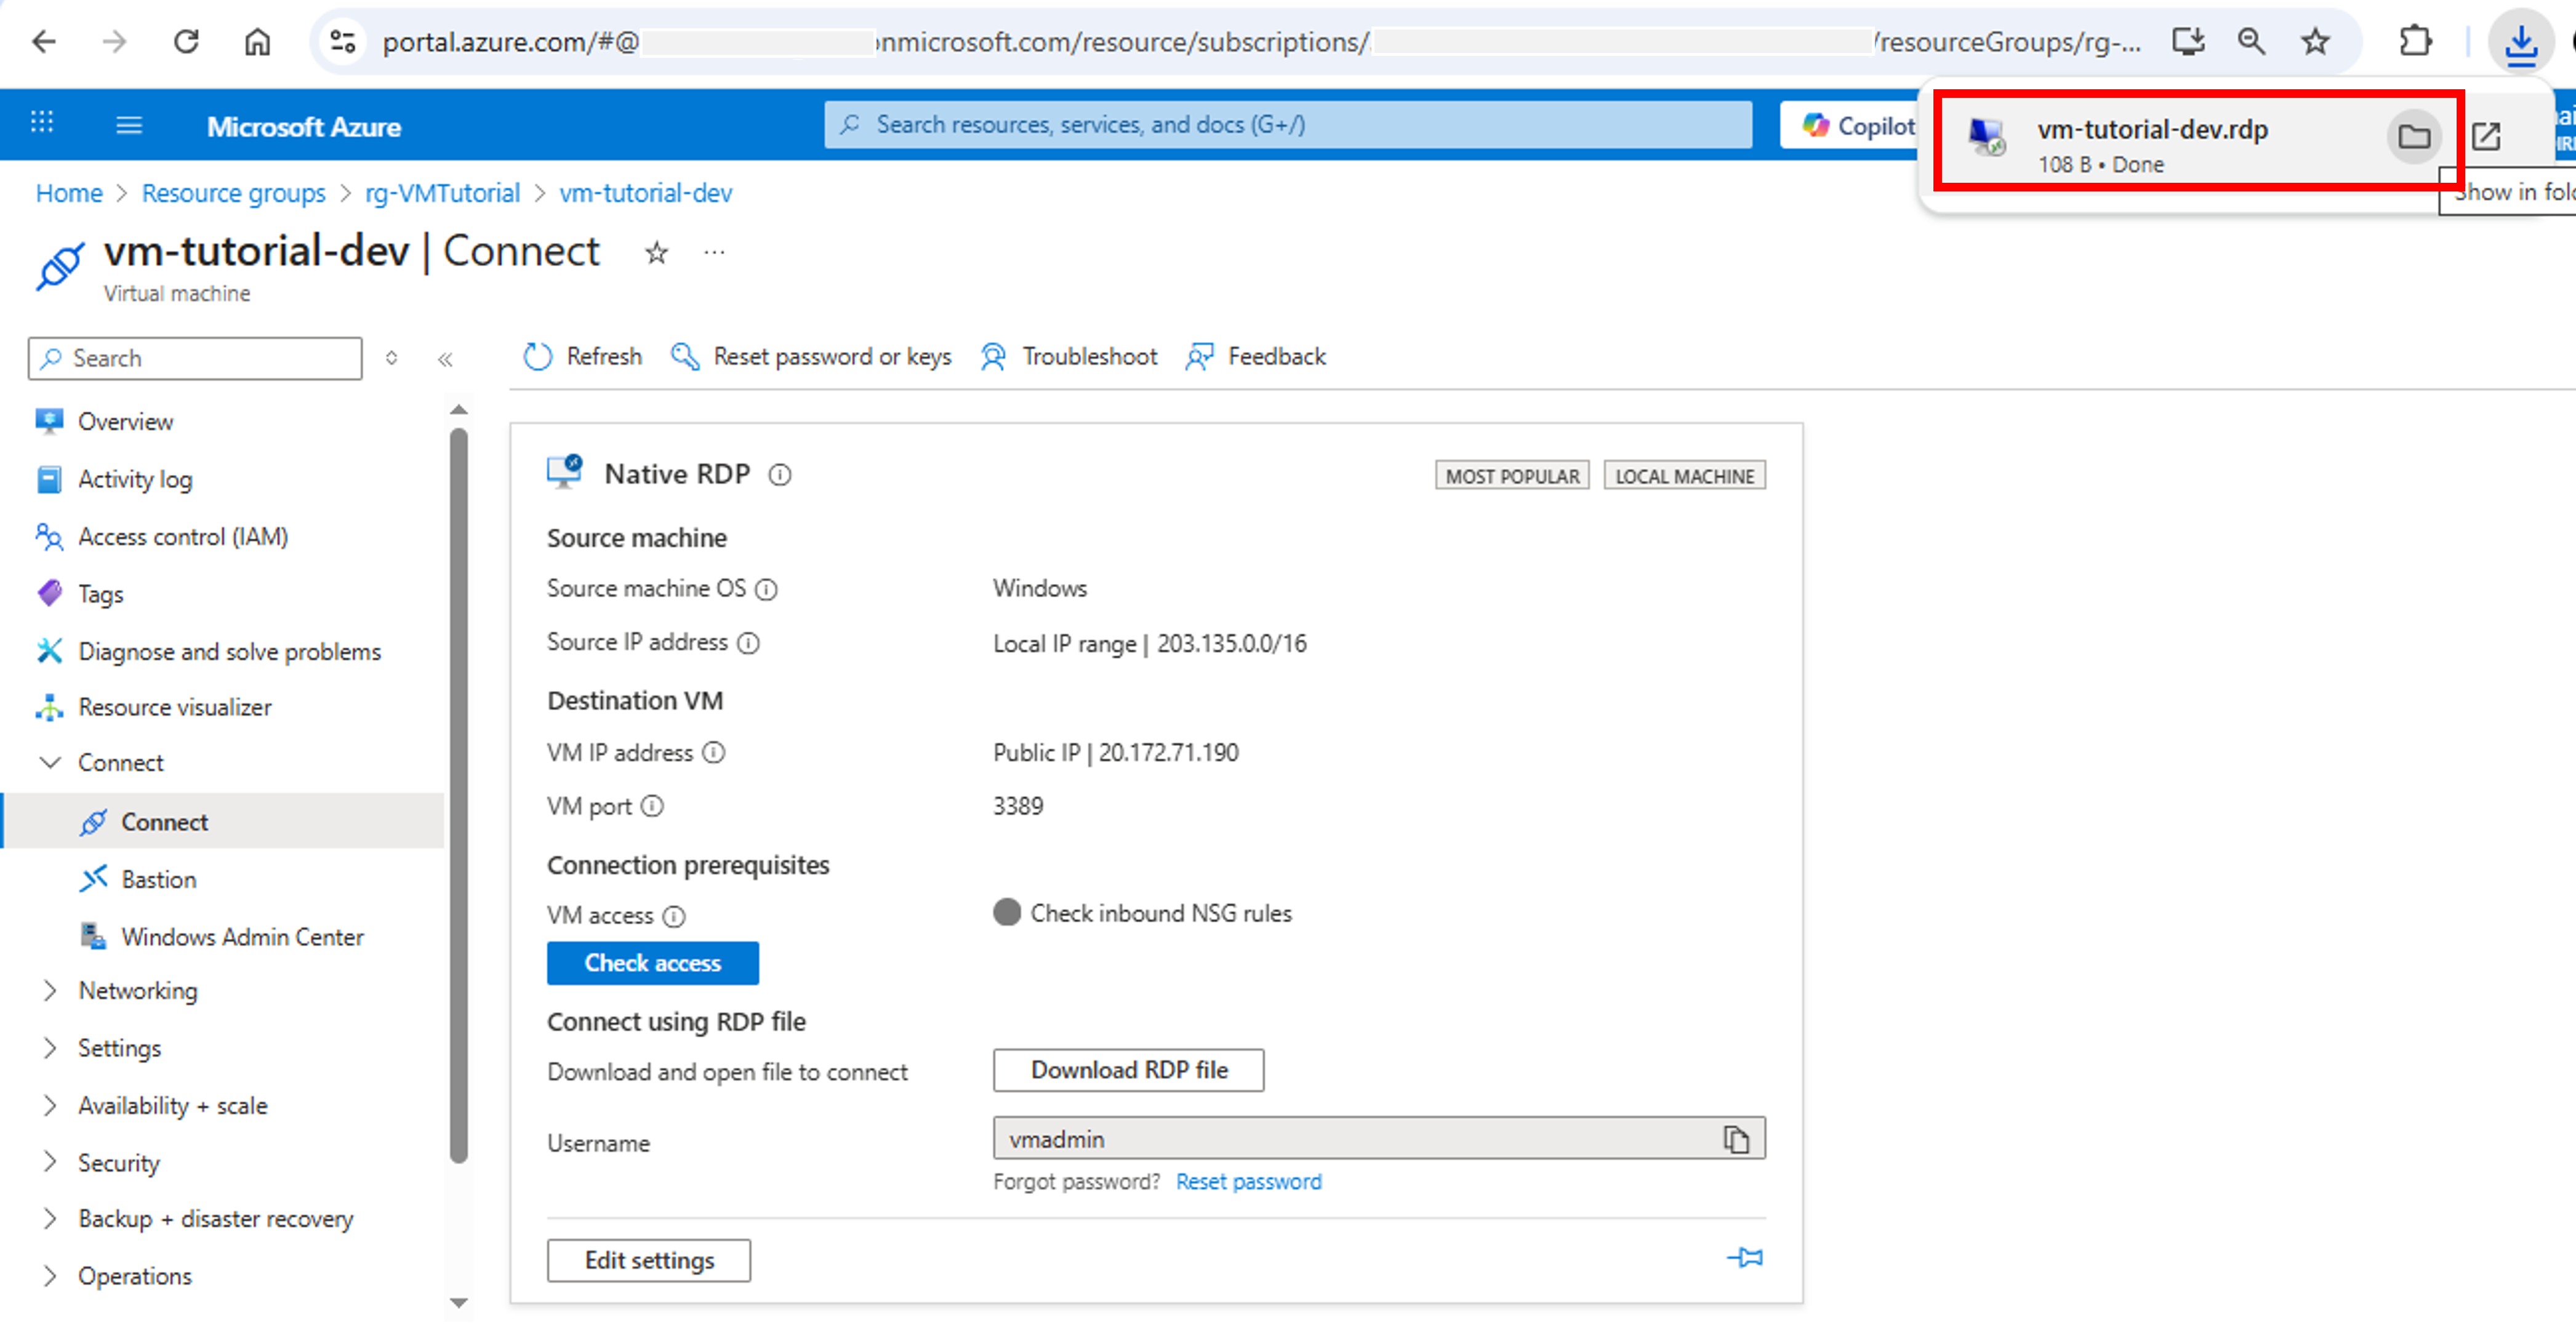
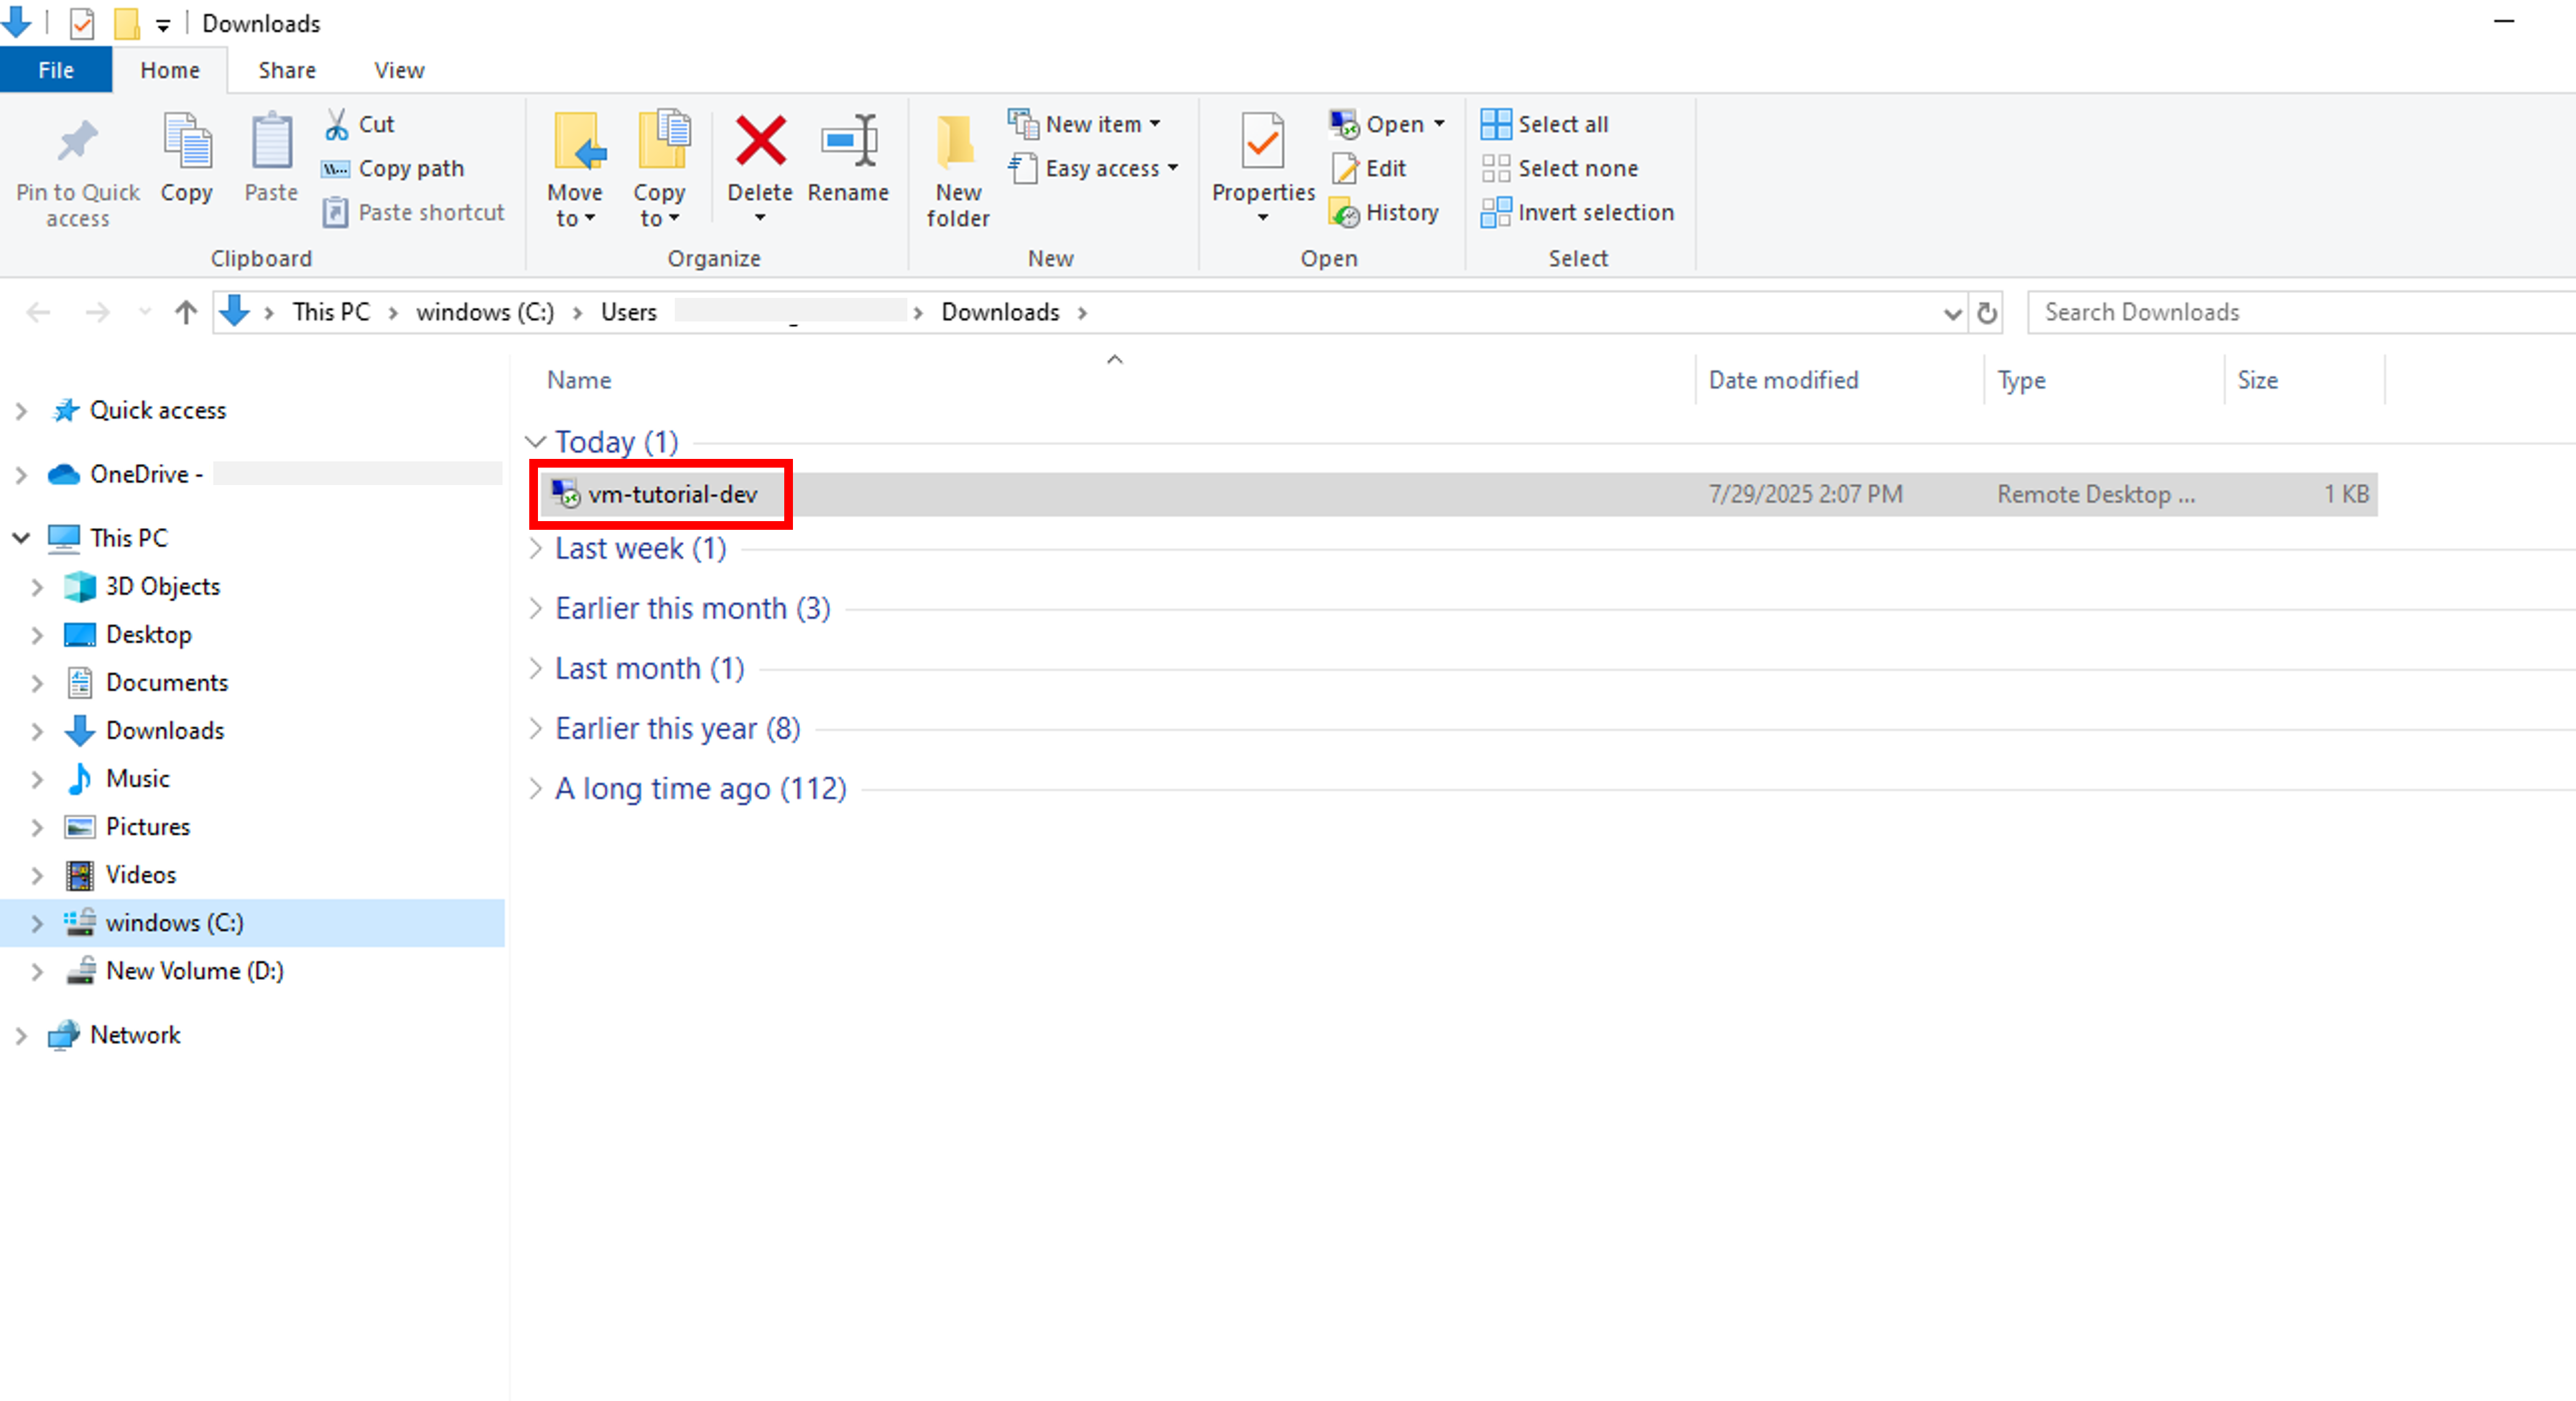
- Open folder containing the downloaded RDP file.

- Double click the downloaded file to open. This will run remote desktop connection to the VM.

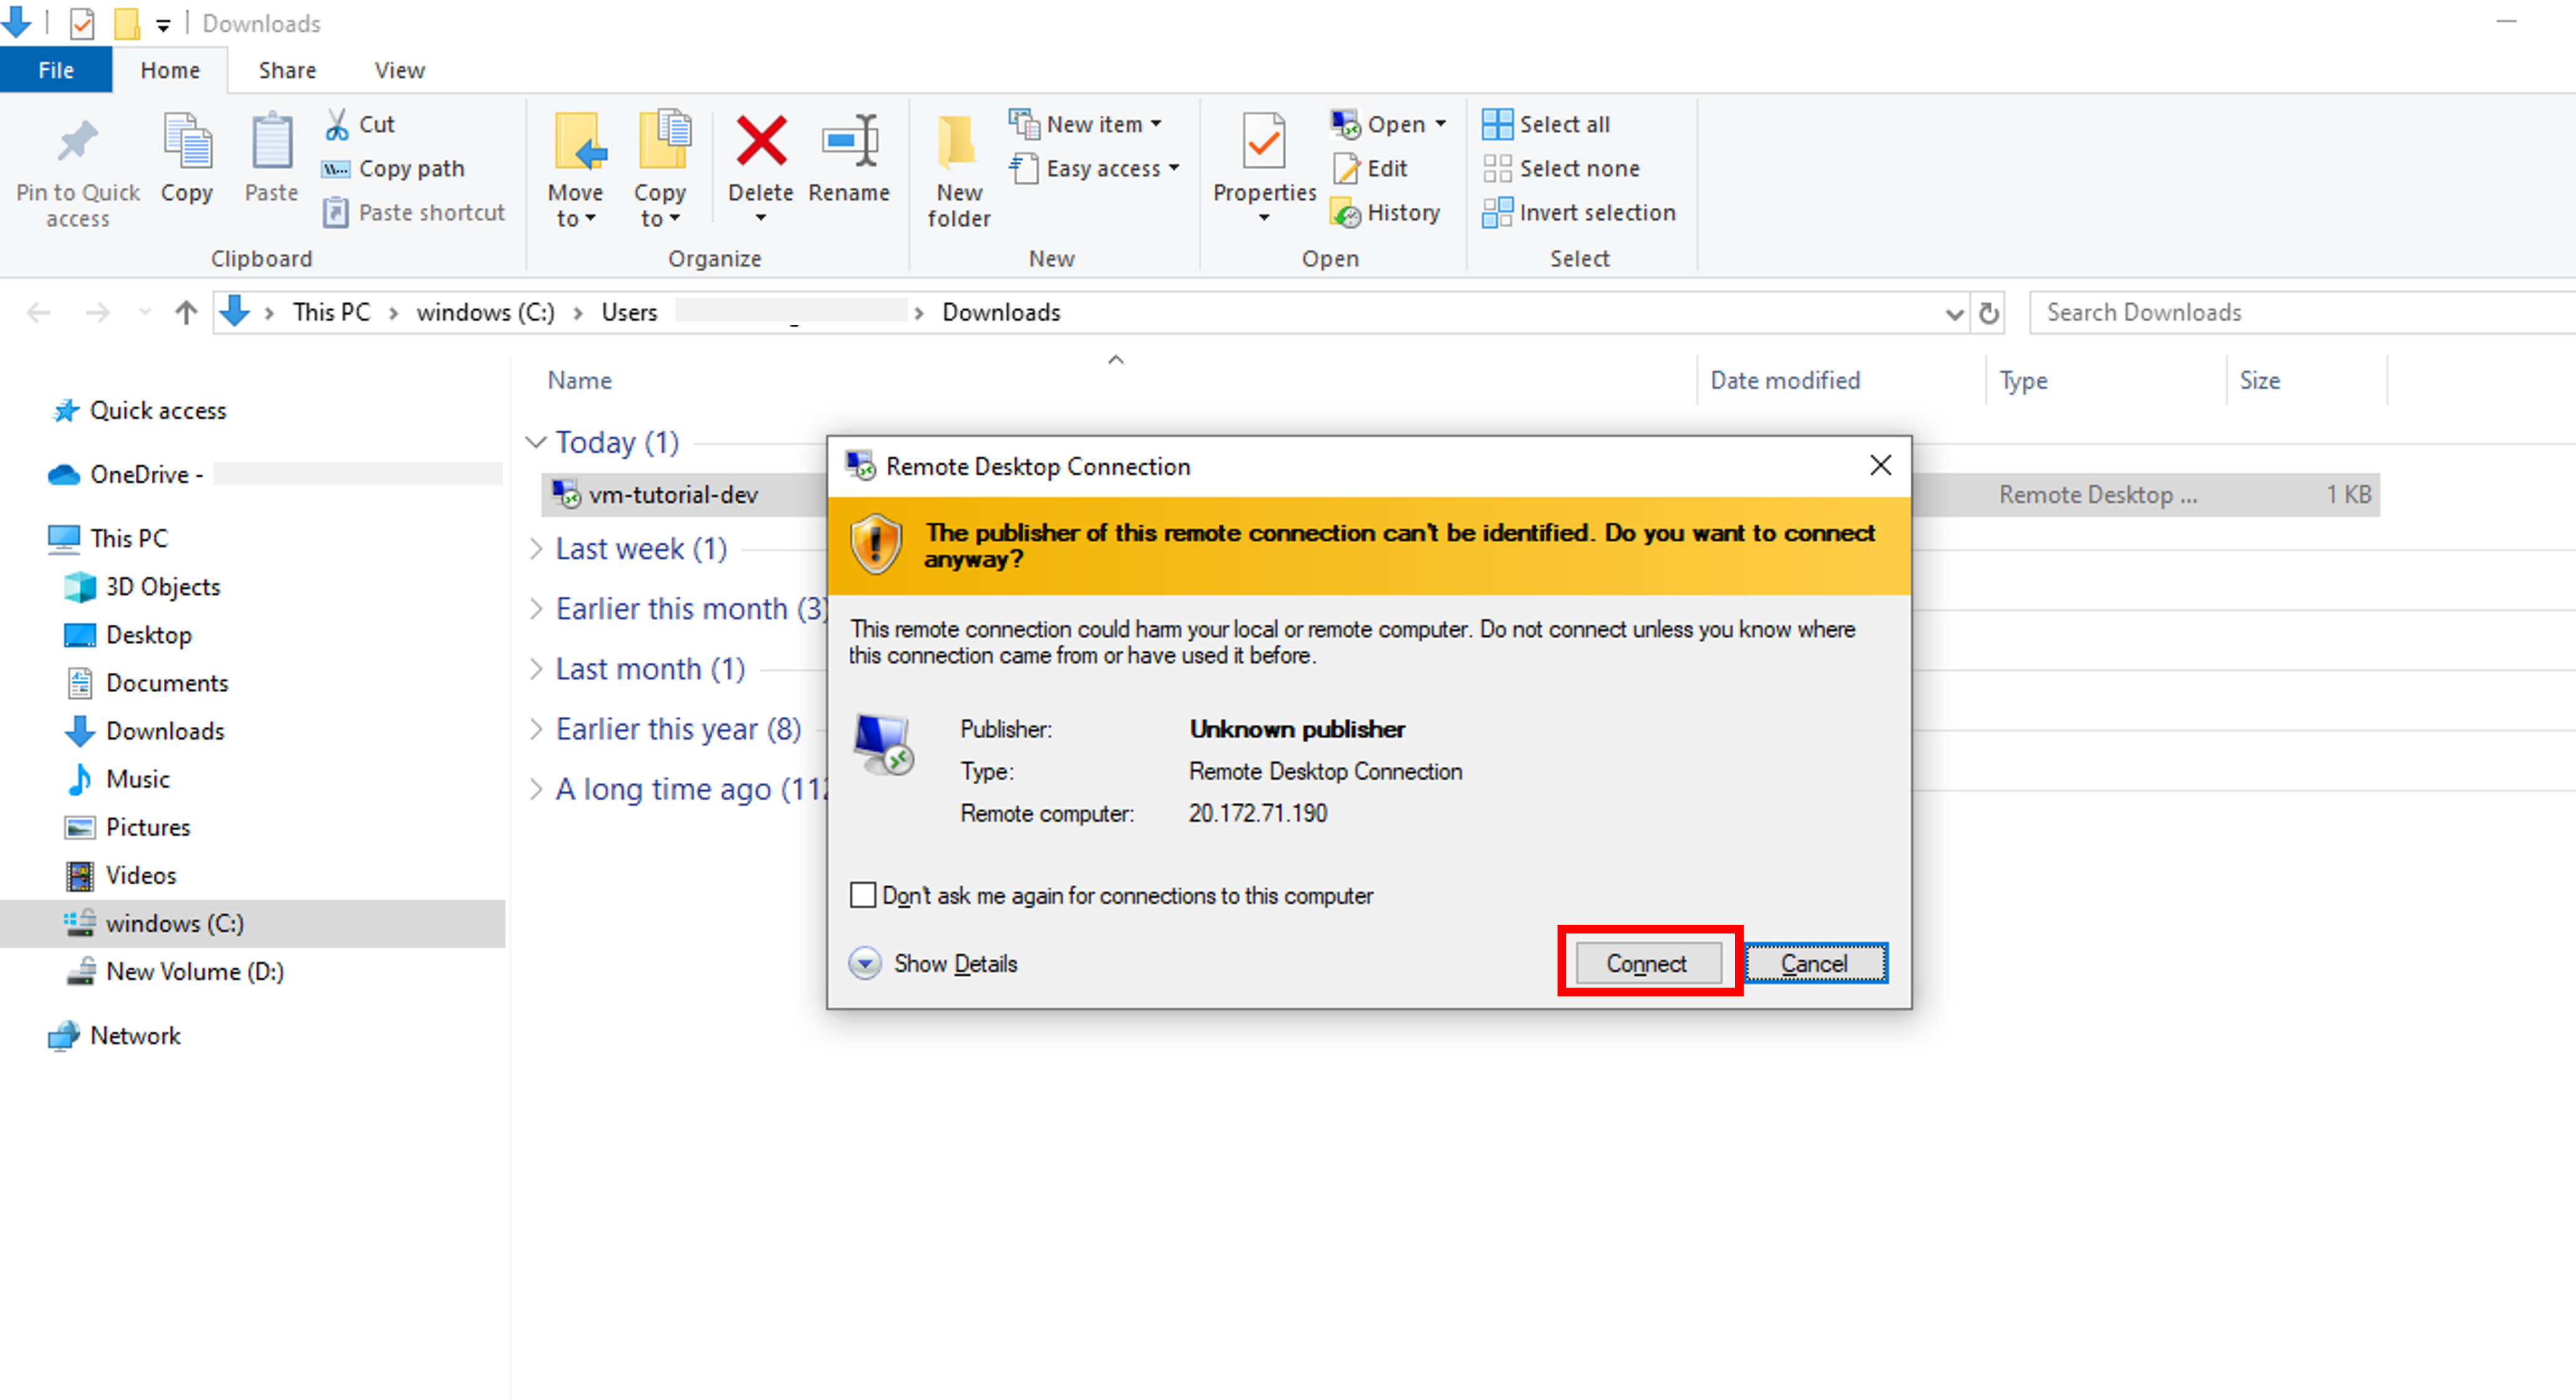
- In the Remote Desktop Connection popup, click Connect.

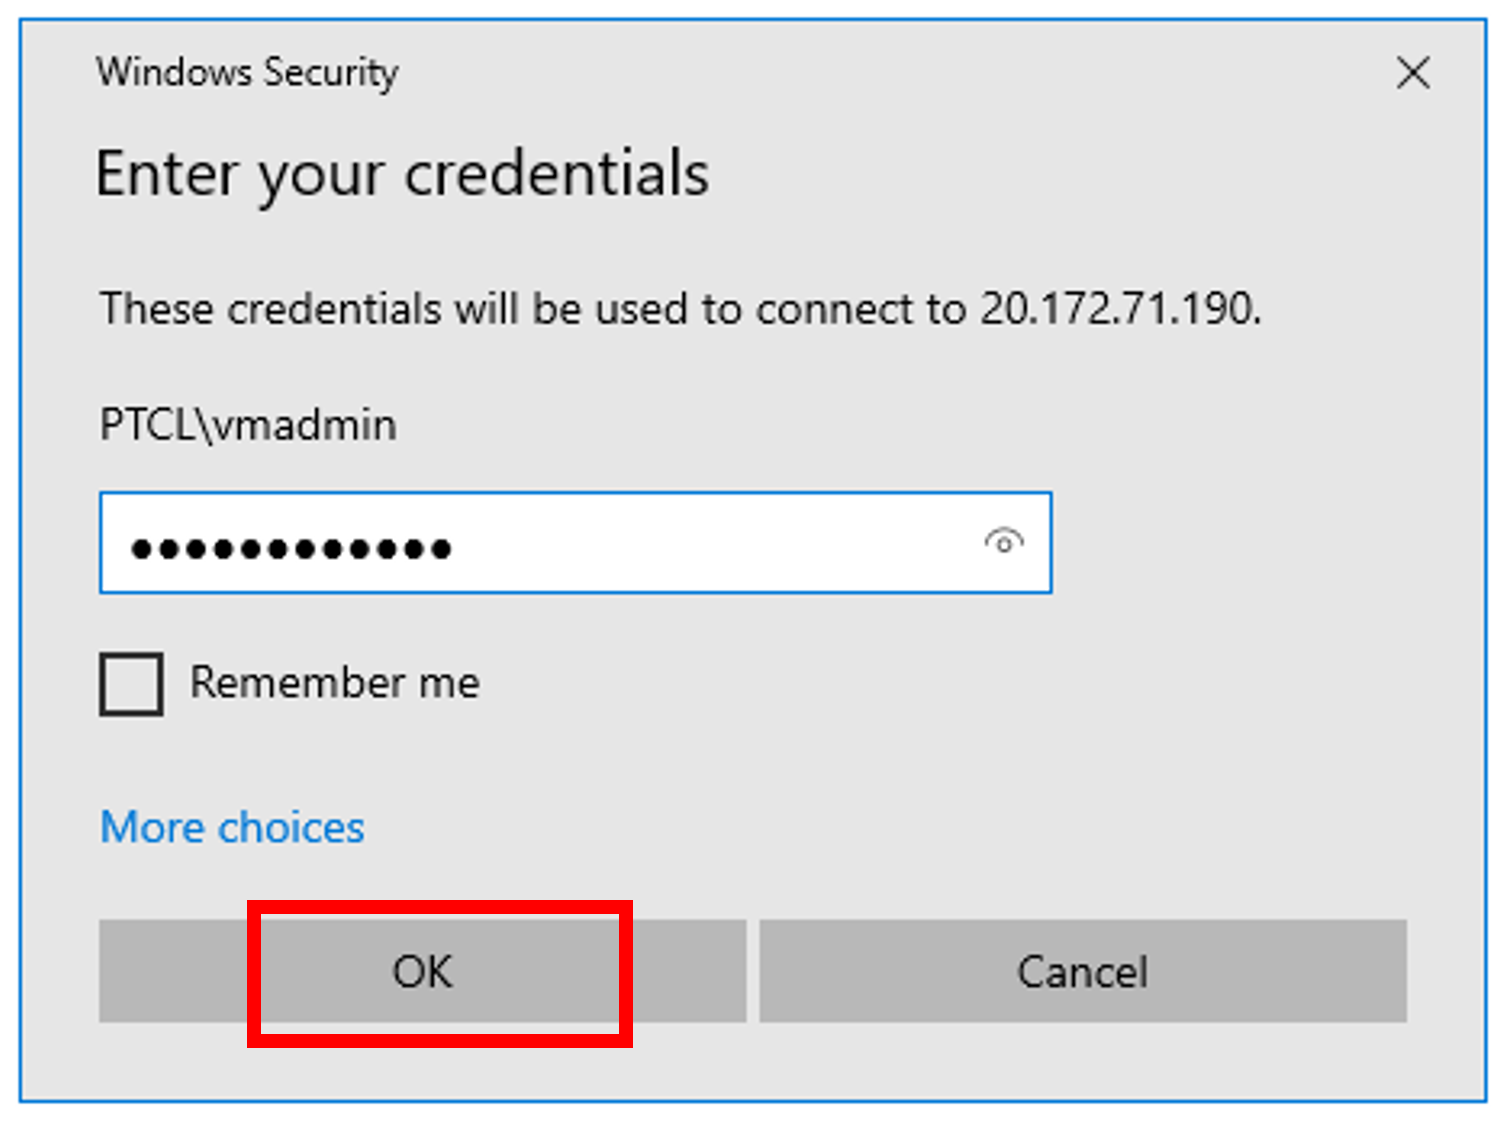
- Enter your password and click OK.

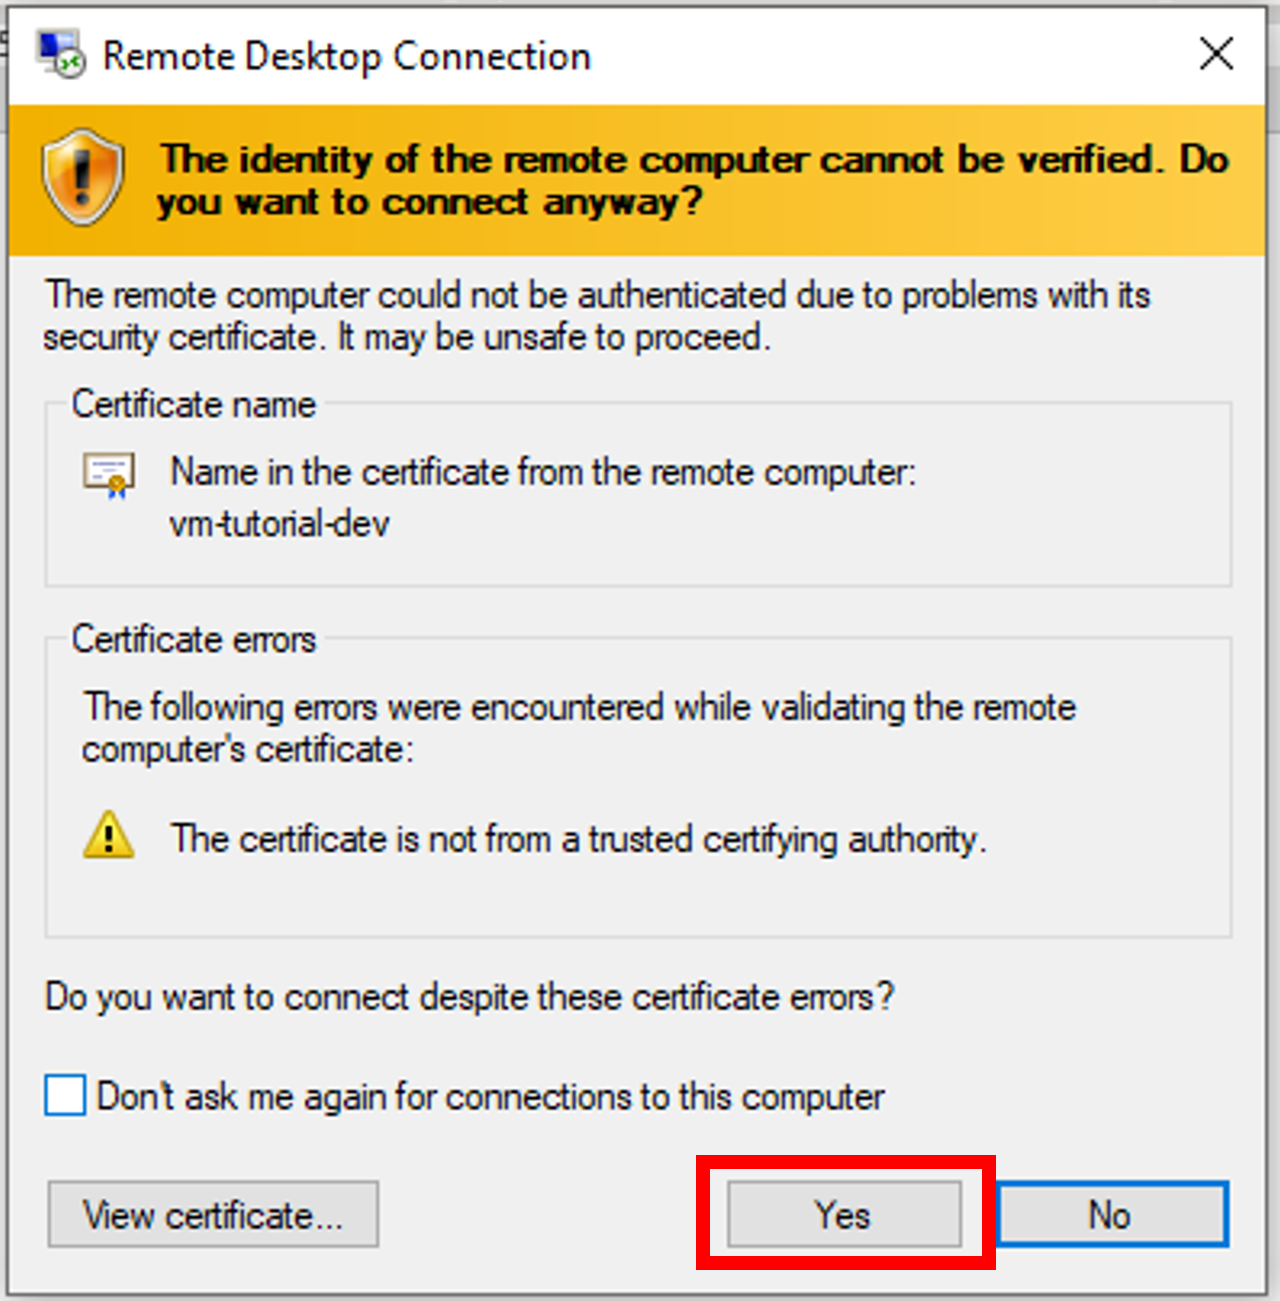
- You may receive a certificate warning during sign-in. Click Yes to proceed.

- RDP connection will be established to the VM using public IP address.

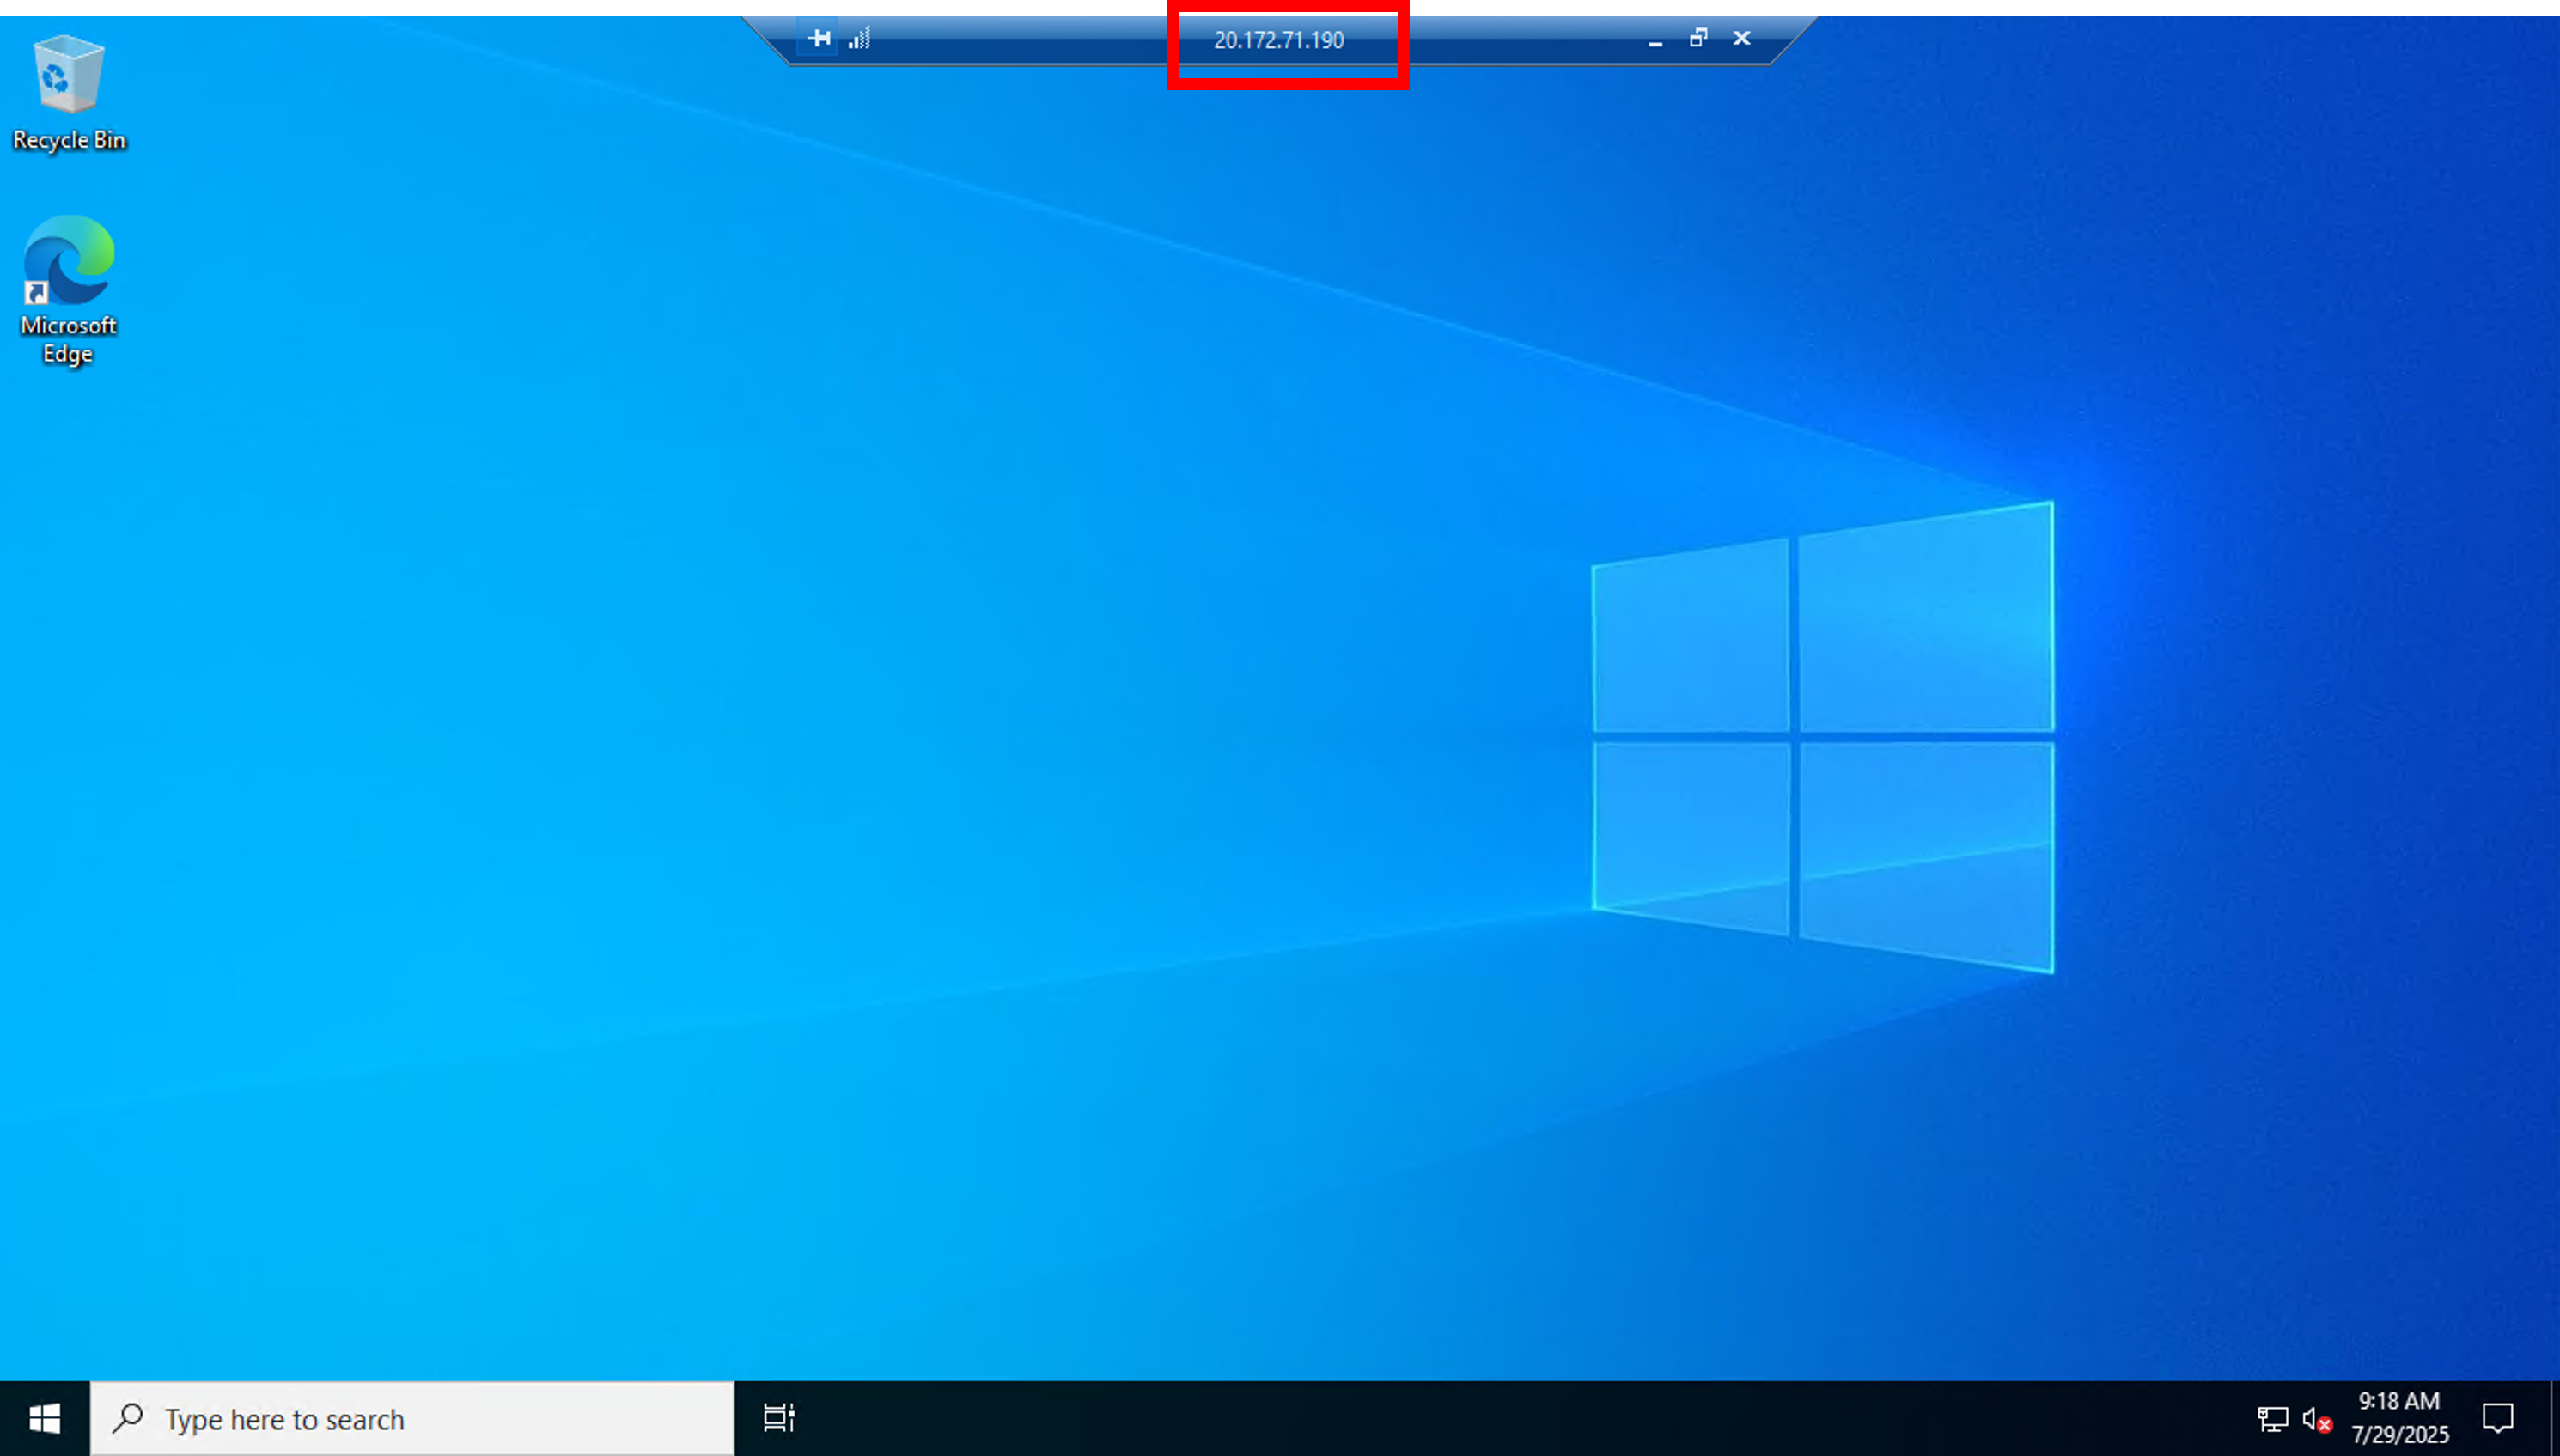
Install & Validate Web Services
We shall install IIS web server on the VM and view web server Welcome page to validate that web services are running on the virtual machine.
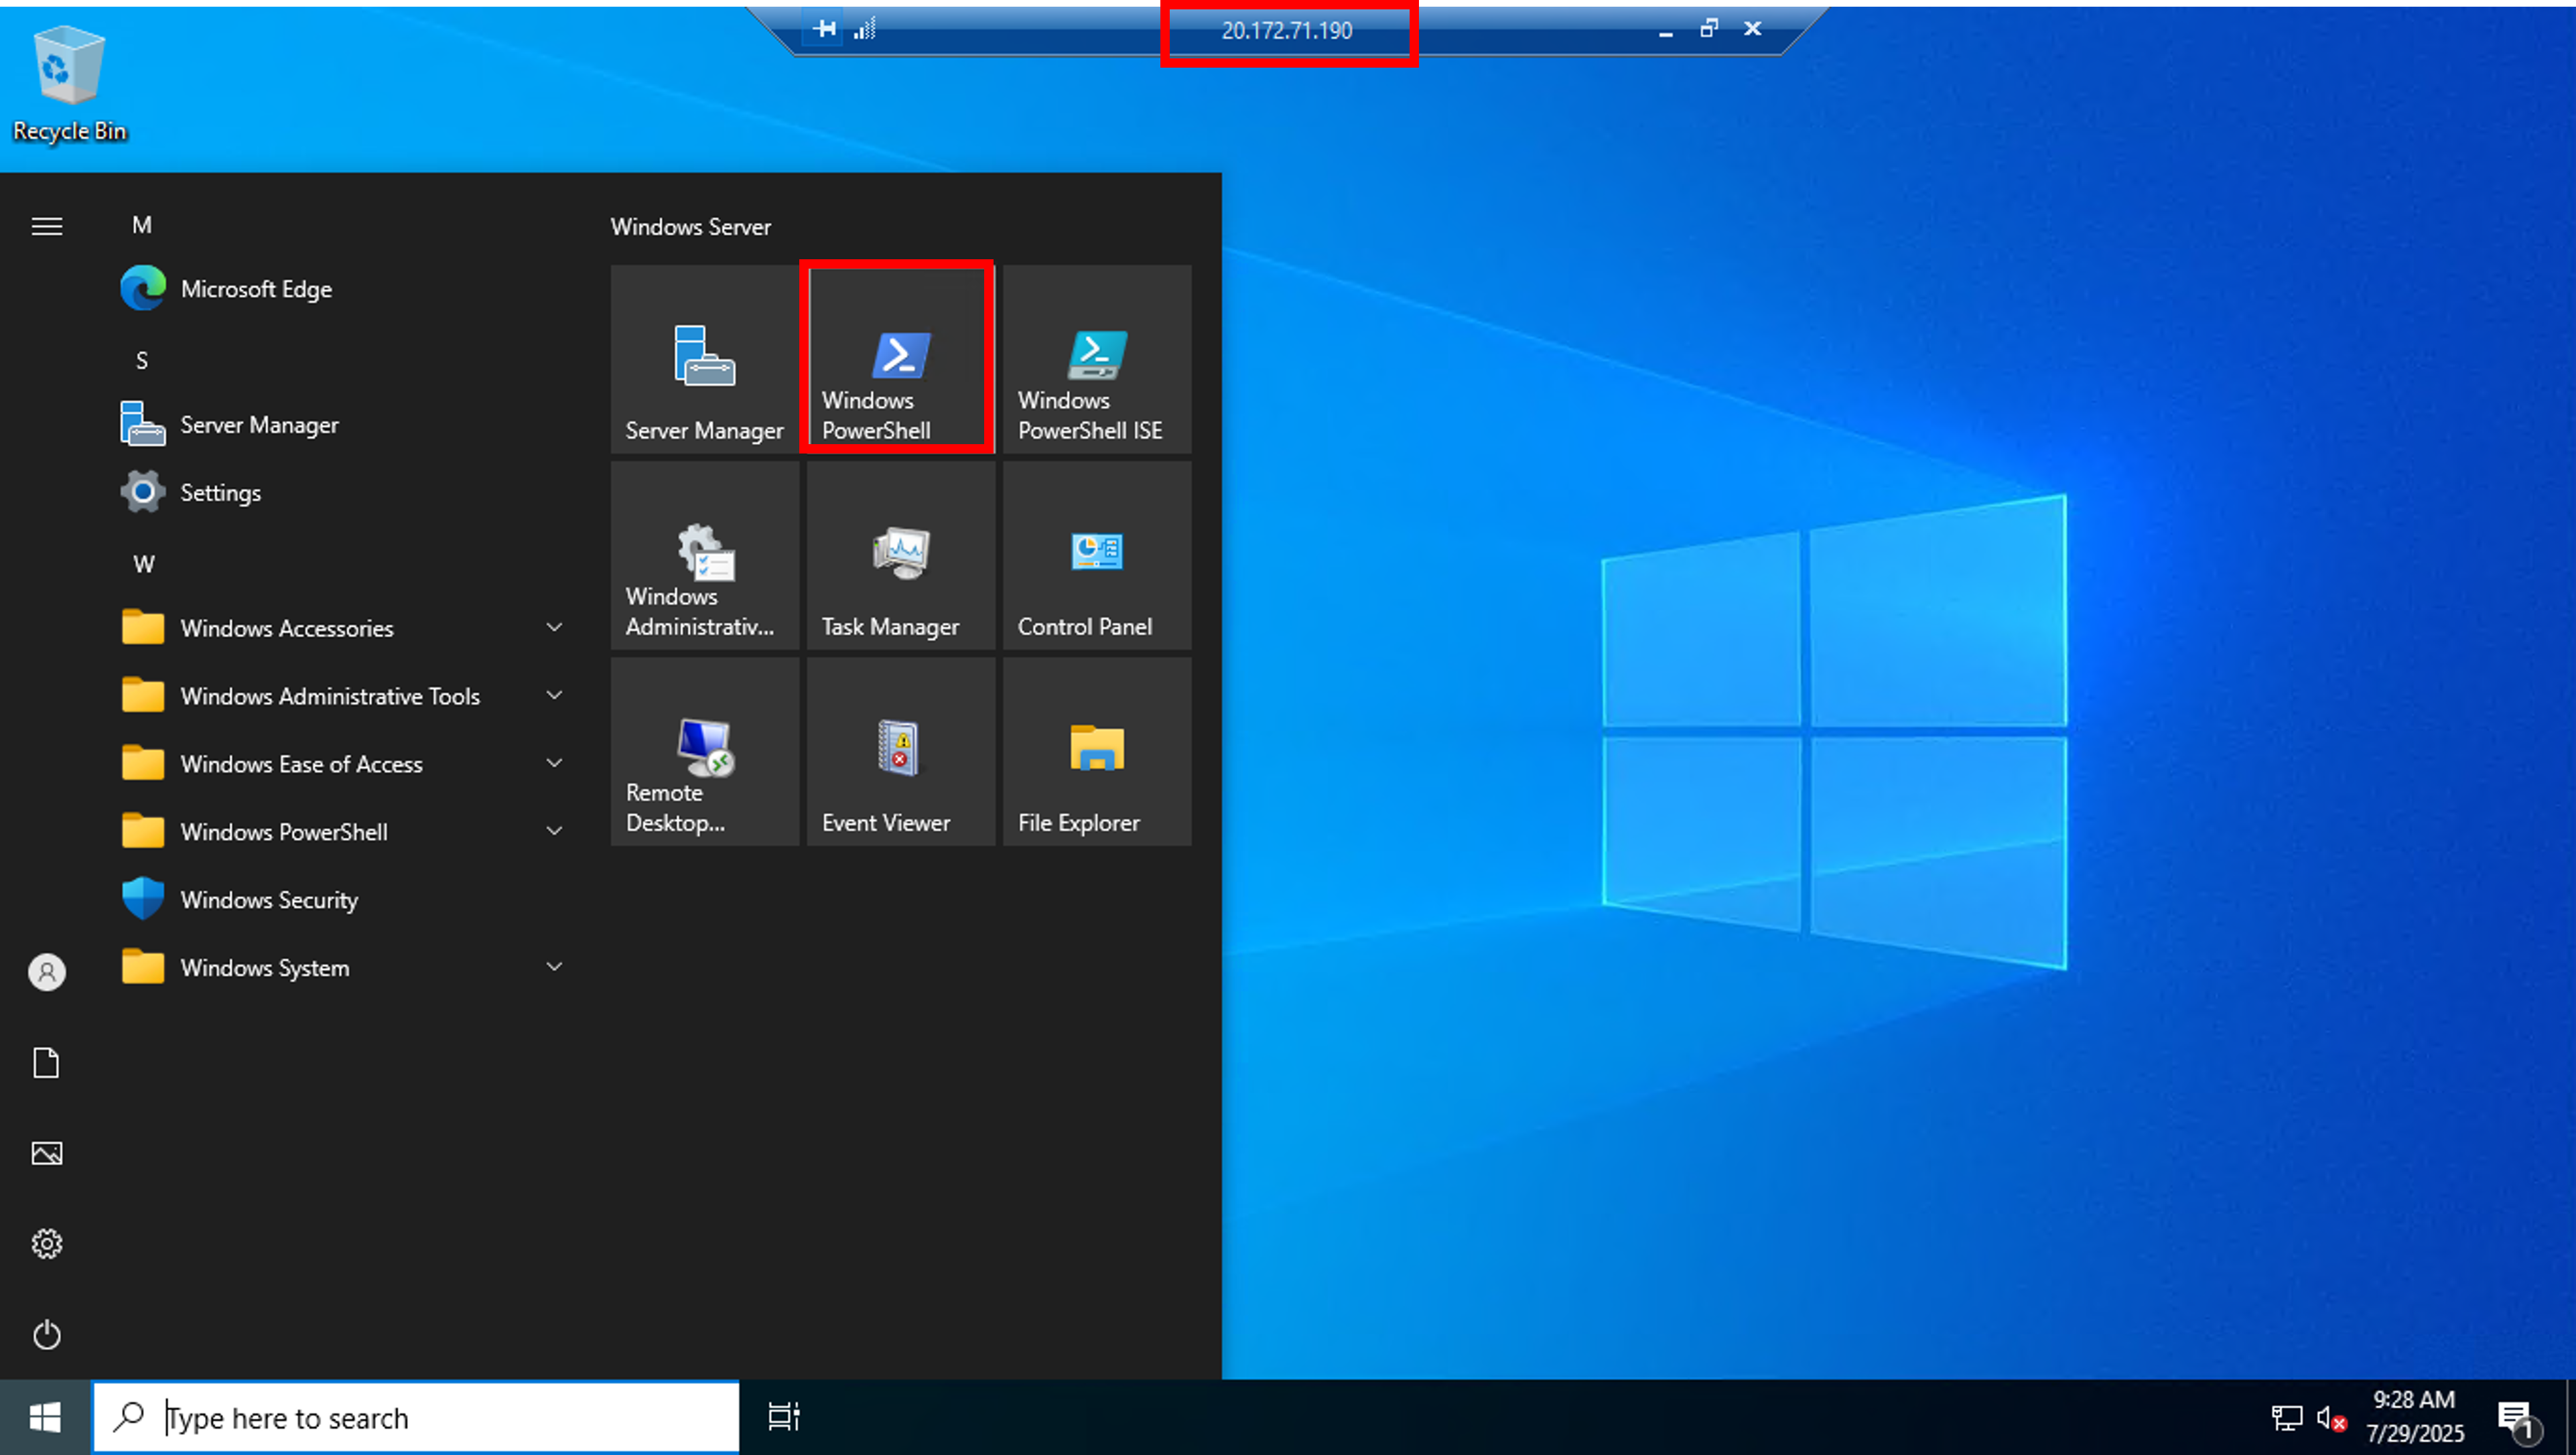
- Open a Windows Powershell prompt from Start menu of virtual machine.

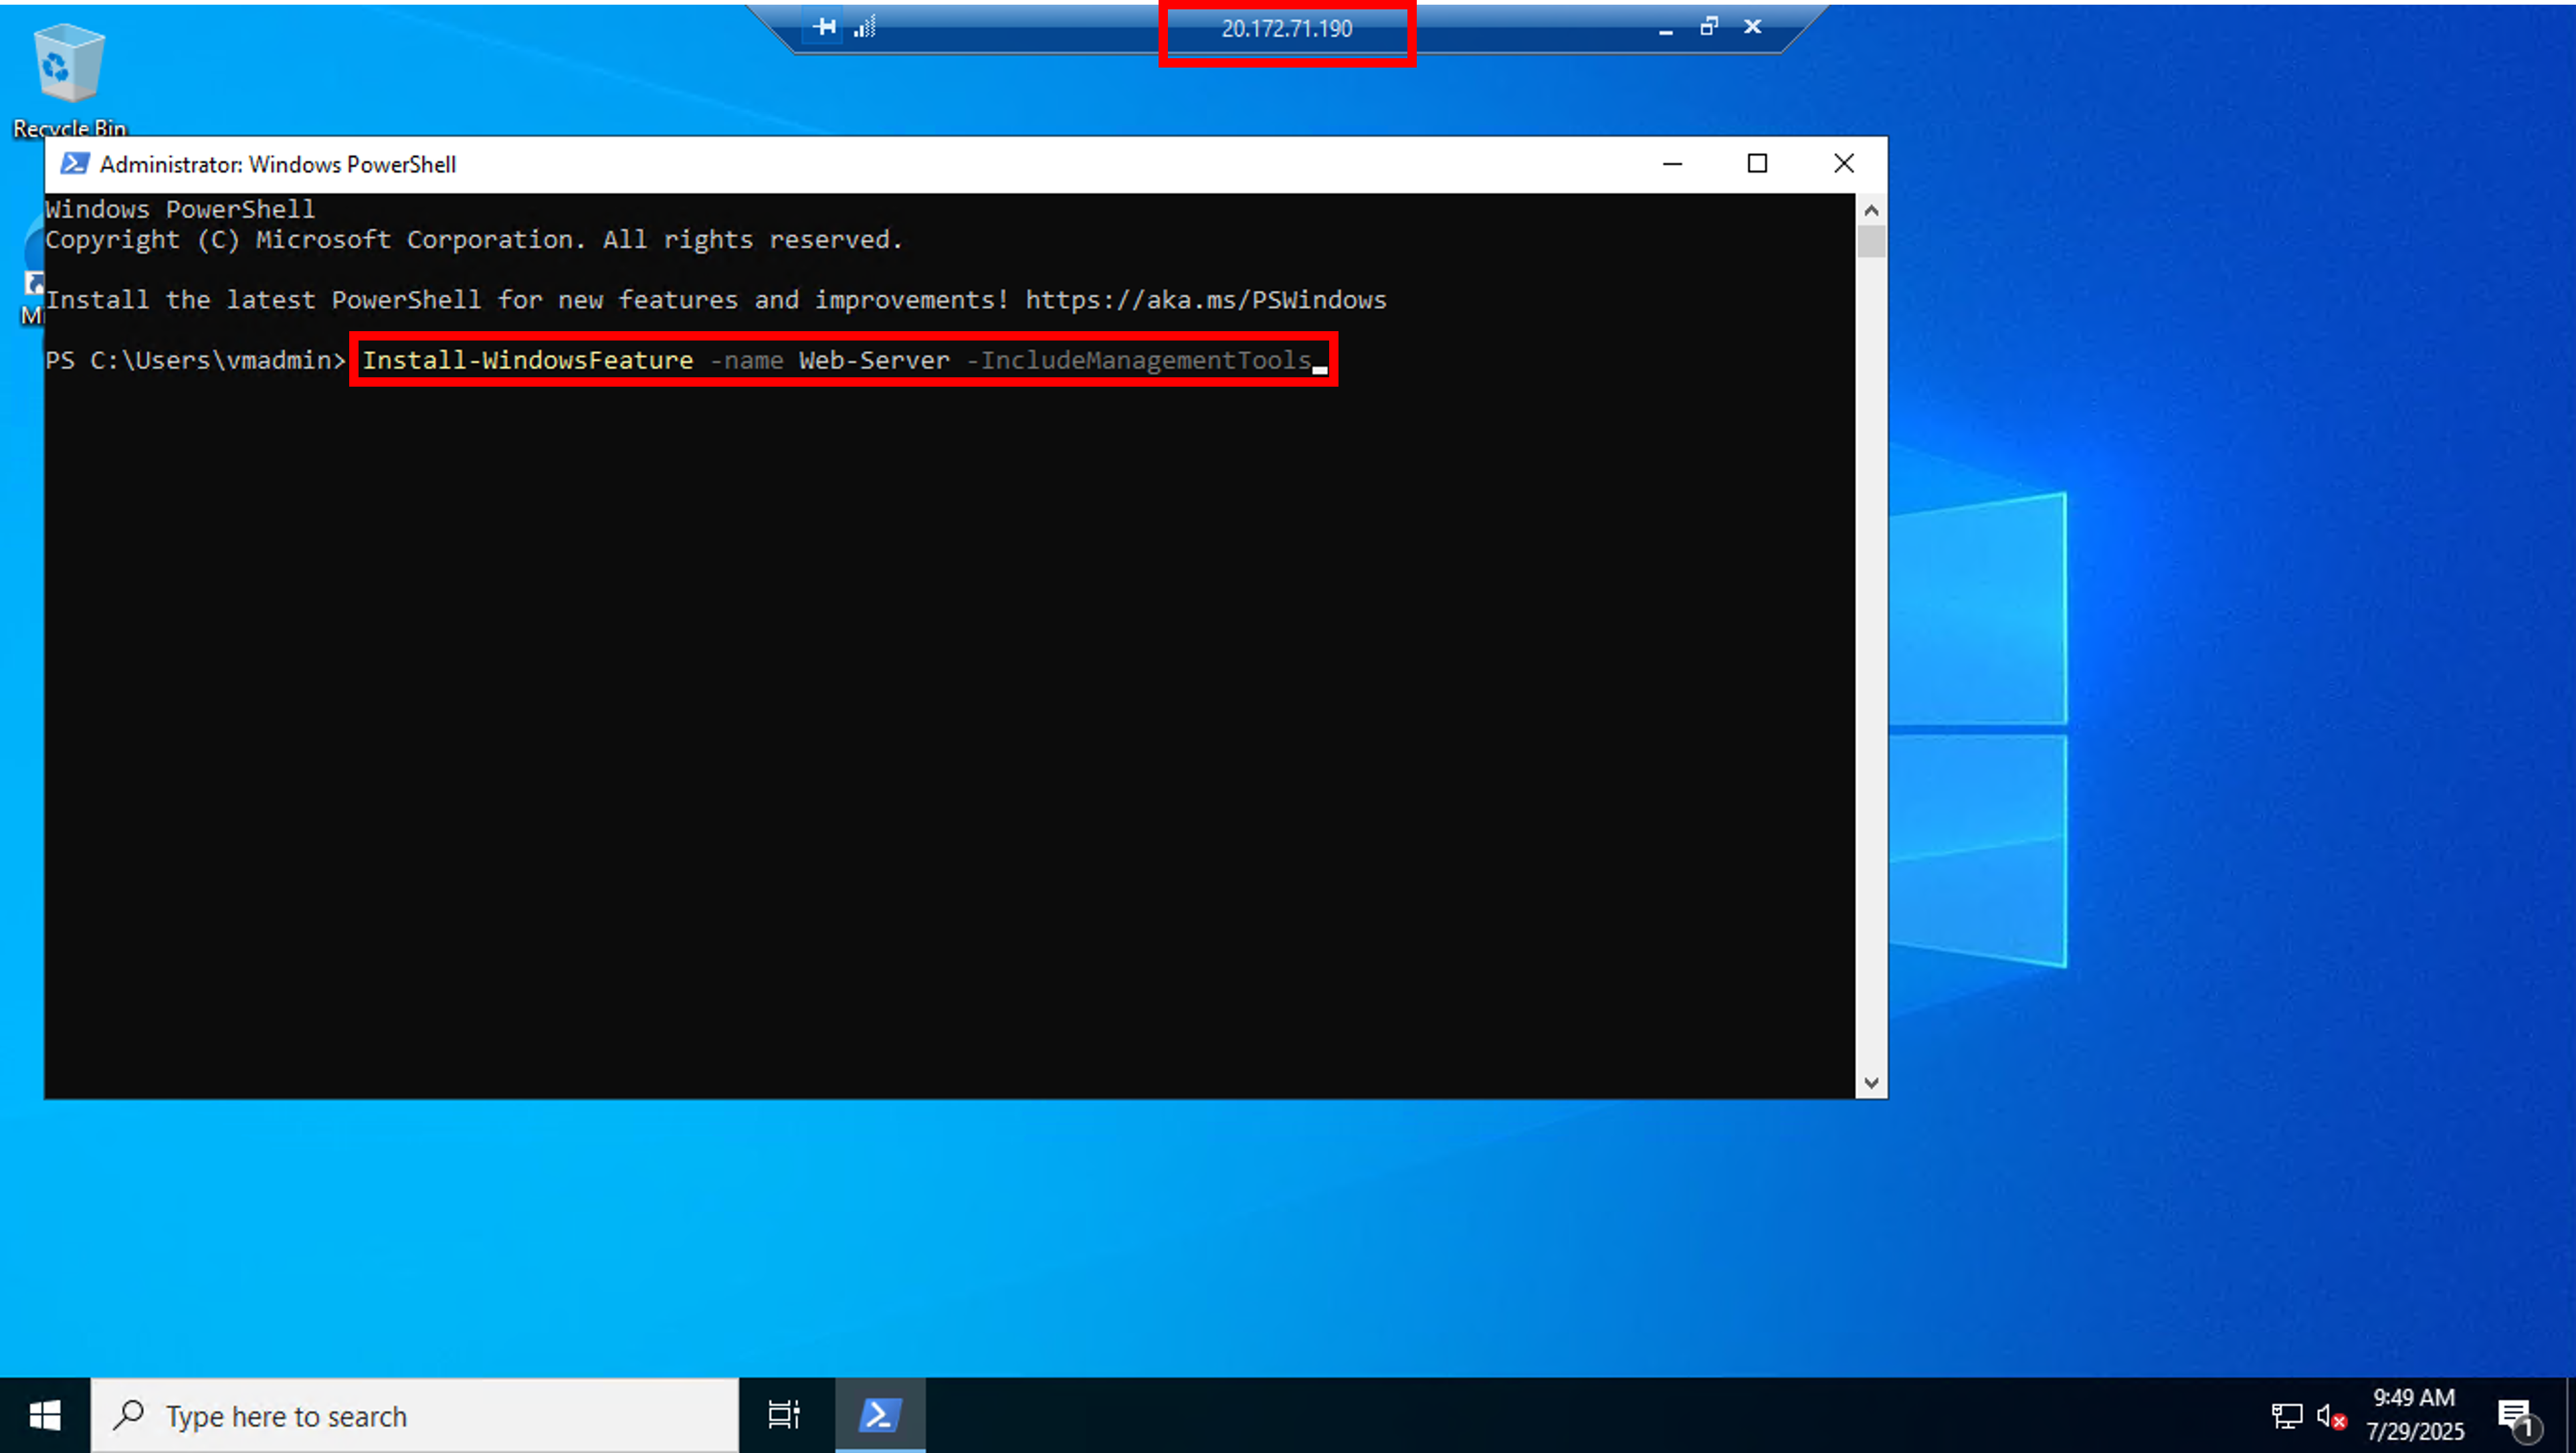
- Run following command to install IIS web server.
Install-WindowsFeature -name Web-Server -IncludeManagementTools
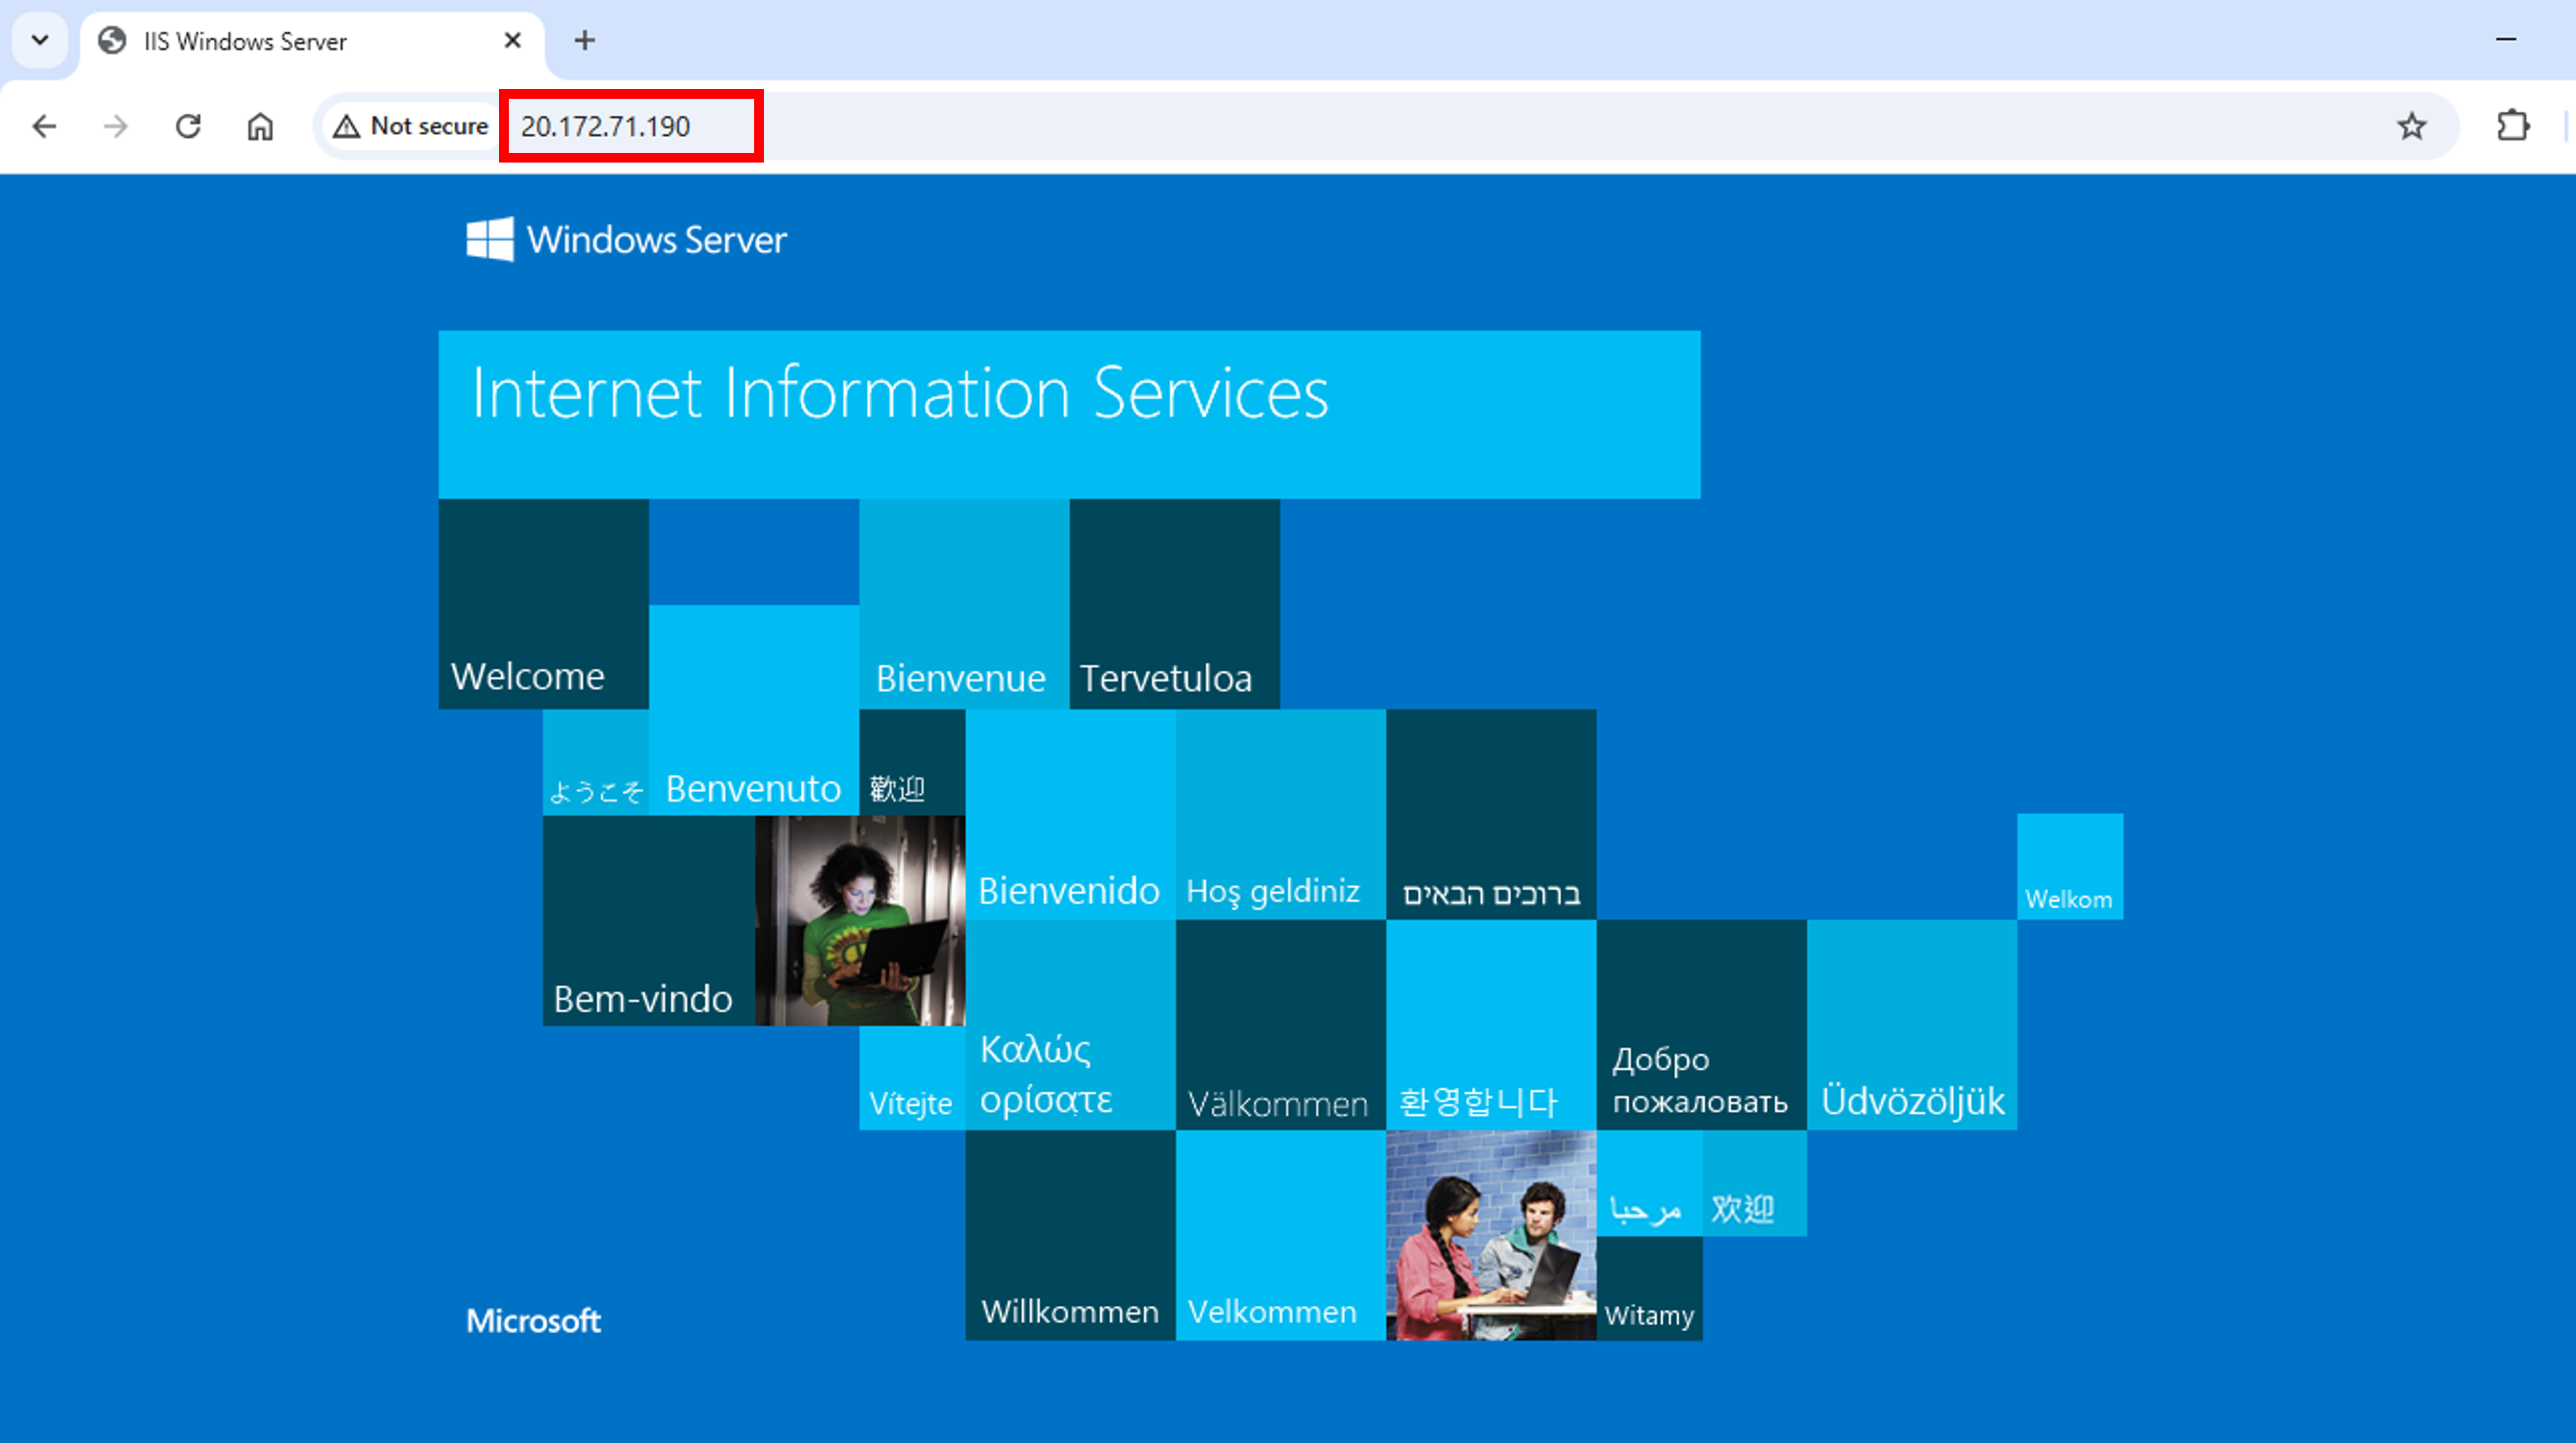
- Once installation is successful, type public IP address of virtual machine in a browser. You can find public IP address of the VM by clicking on the VM and opening Overview page of the VM. The default IIS Welcome page will open validating web services running on the virtual machine.

Conclusion
Azure Virtual Machine is Microsoft’s solution to deploy compute services in Cloud using Infrastructure-as-a-service hosting model. Azure Virtual Machines are the cornerstone for lift-and-shift migrations. Their ability to closely mirror on-premises environments significantly minimizes refactoring efforts and disruptions, making them an ideal initial step for transitioning existing services to Azure.